 >> swifty's hq v2.2 > main > blog
dogthing becomes real NOW
so the other night i really, really, really got stuck on the idea of making a plushie.
i've made a plushie before - poorly sewn but full of love, i made a shiny umbreon plush for my girlfriend one year - but i wanted something larger, simpler, and representing myself in some way.
now, you might think i'd have gone for a plushie of toby; after all, i use a stand-in ravenpaw plushie as my image elsewhere, to the point that people tell me they either didn't know or forget that it's meant to be warrior cats merchandise due to how often i associate with it.
the initial drafts did include toby, however, i ended up deciding to make a simpler dogthing first, both because i couldn't locate my black faux fur and because i wanted to do a test plush before i dove in.
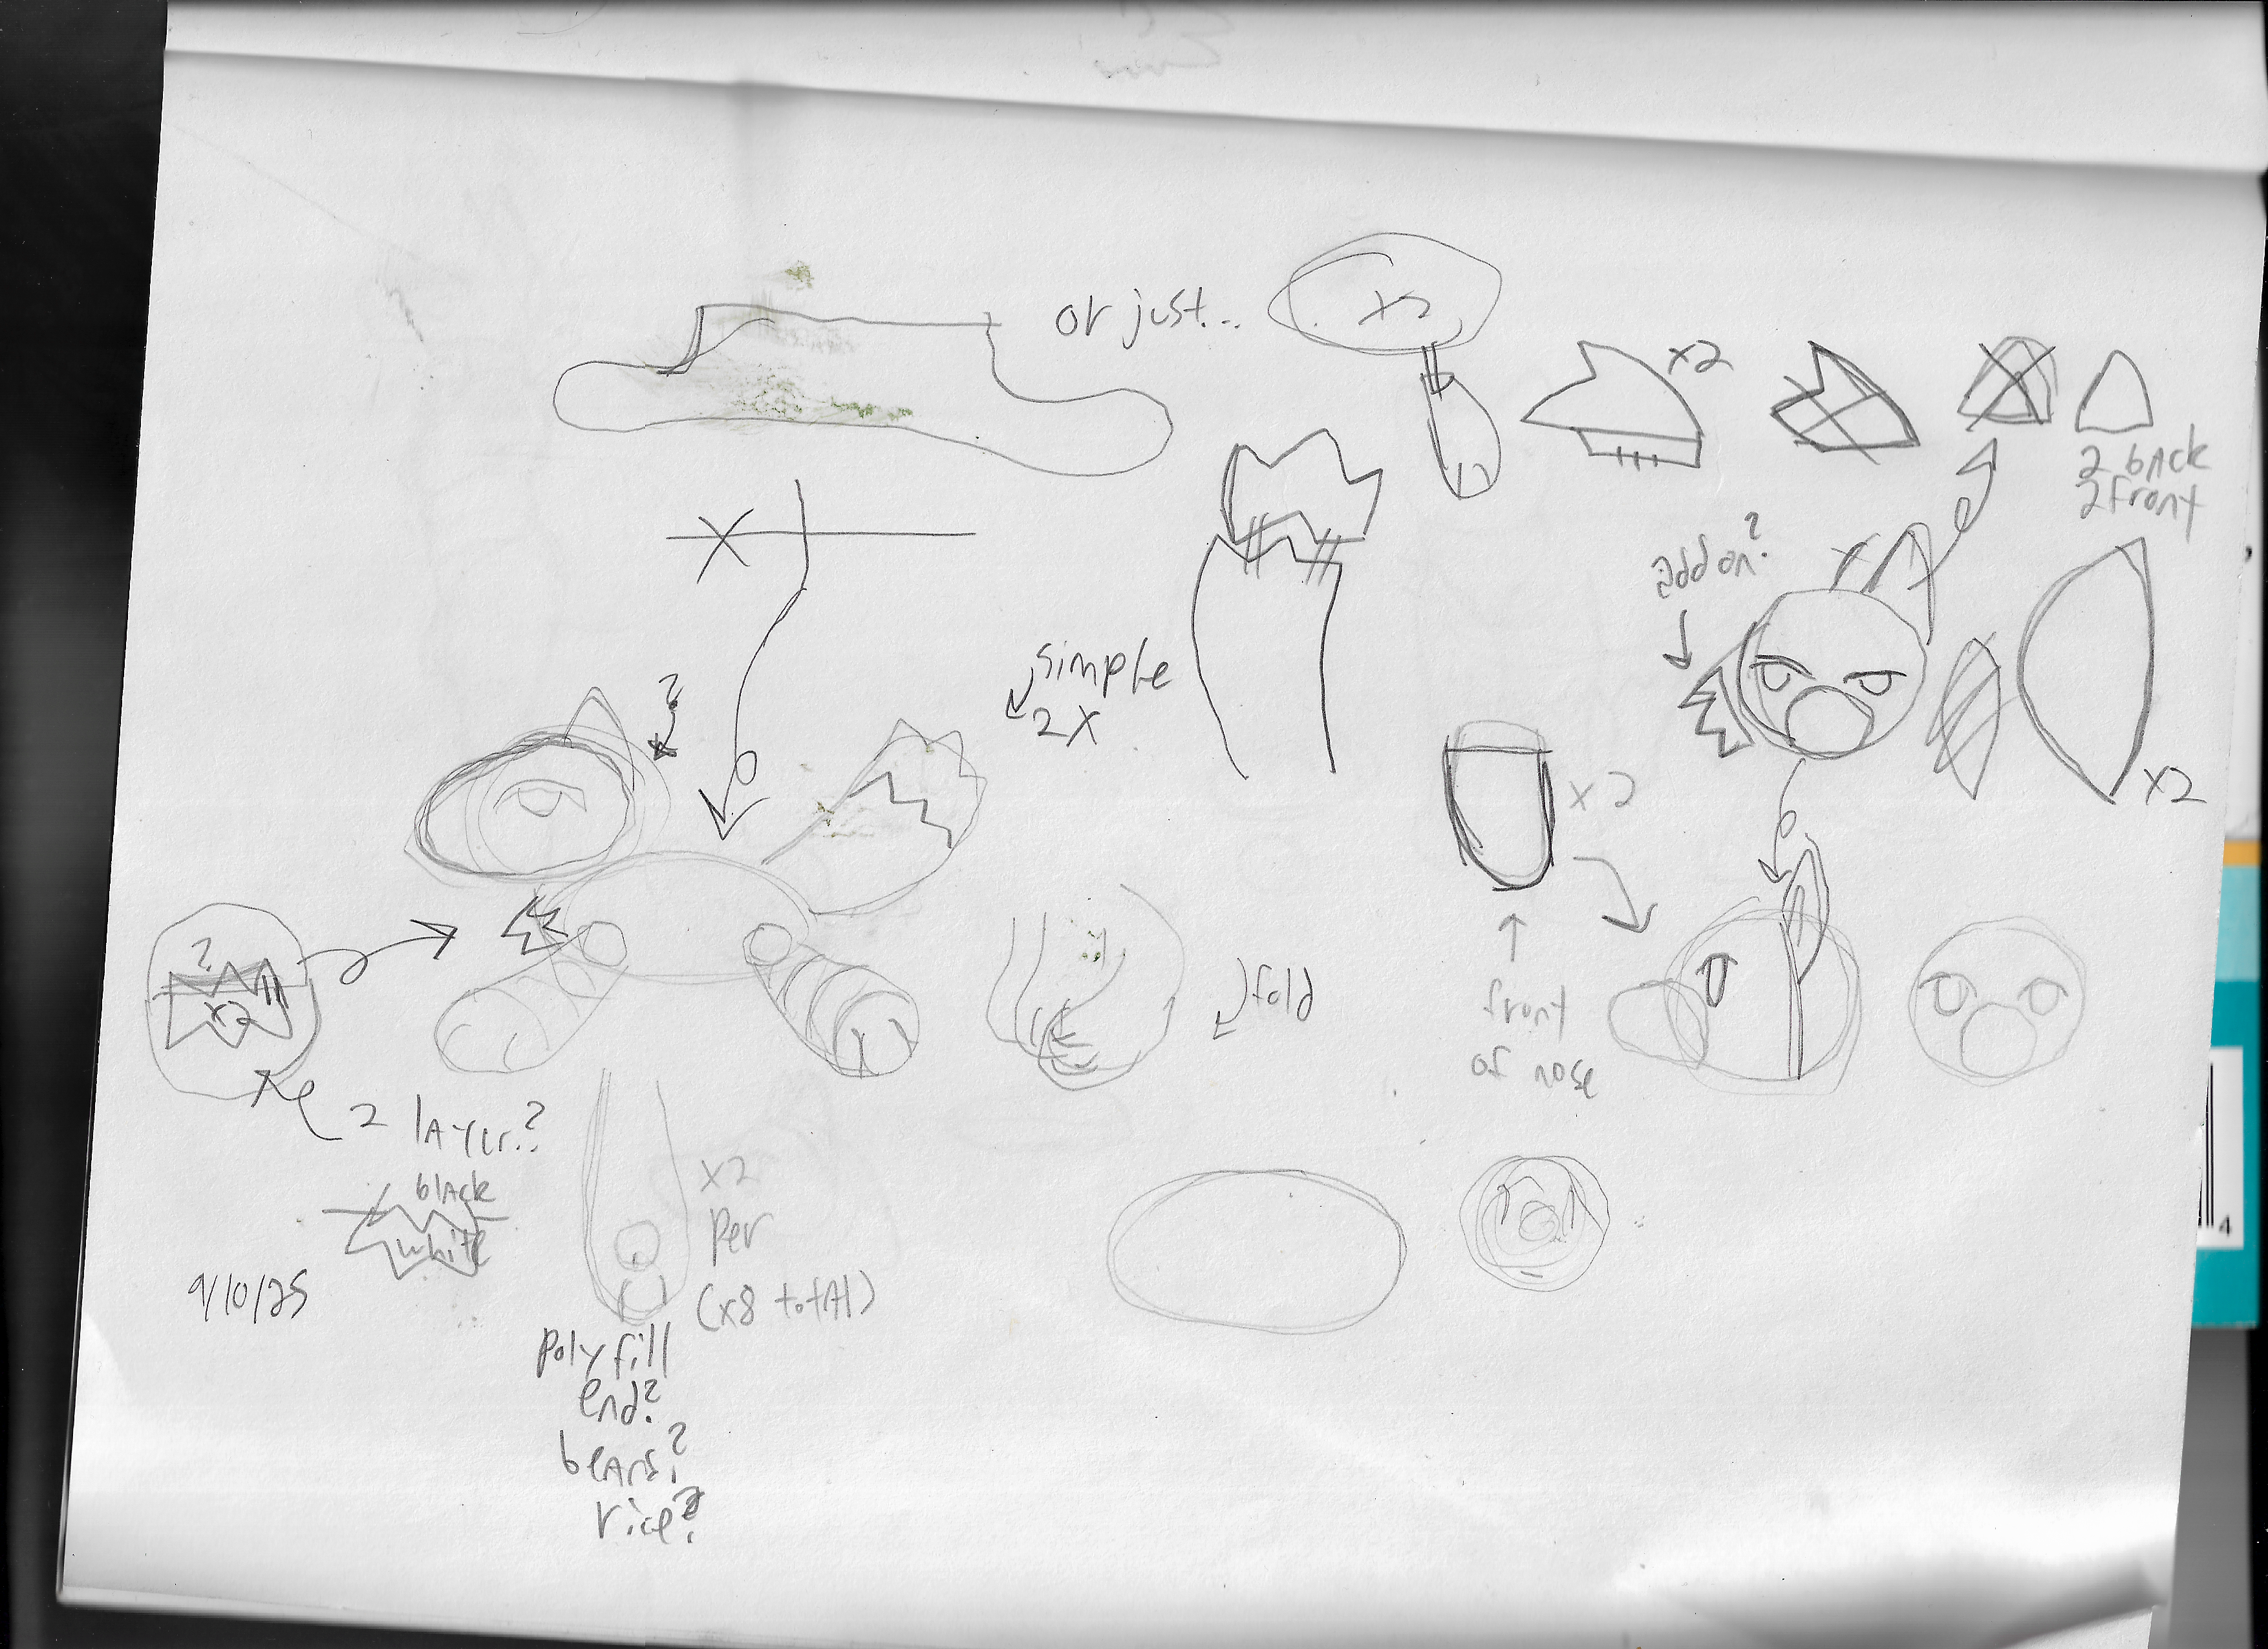
after the drafting, i cut out some shapes, then used the shapes to cut out more shapes but this time out of fabric. and then i turned on instructional VHS tape rips for background while i went at it.
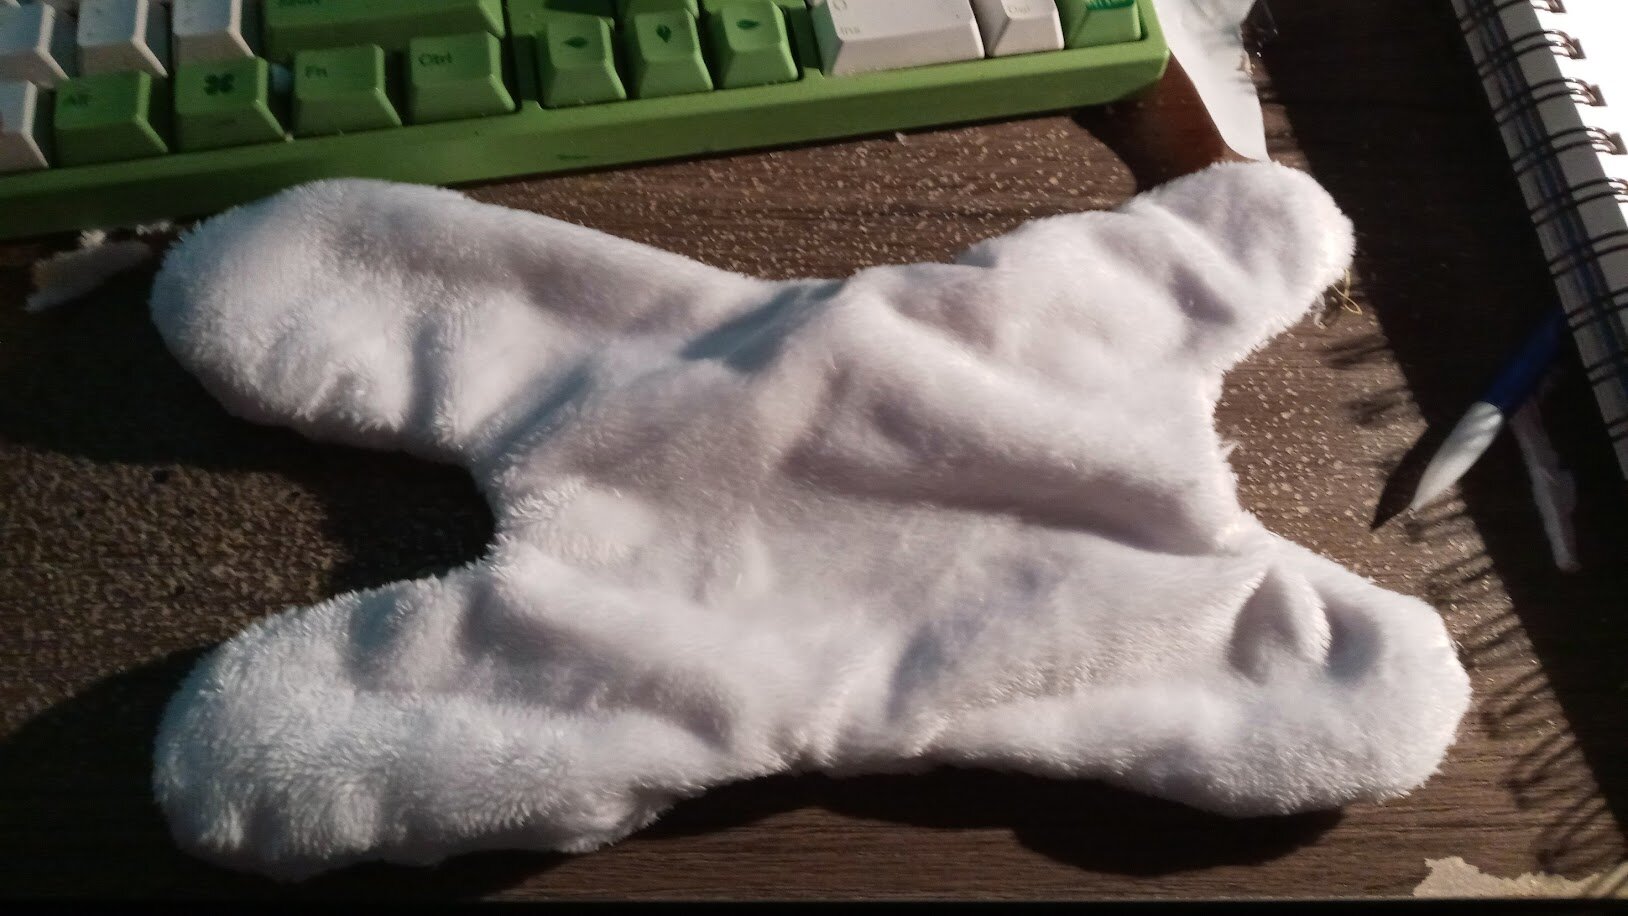
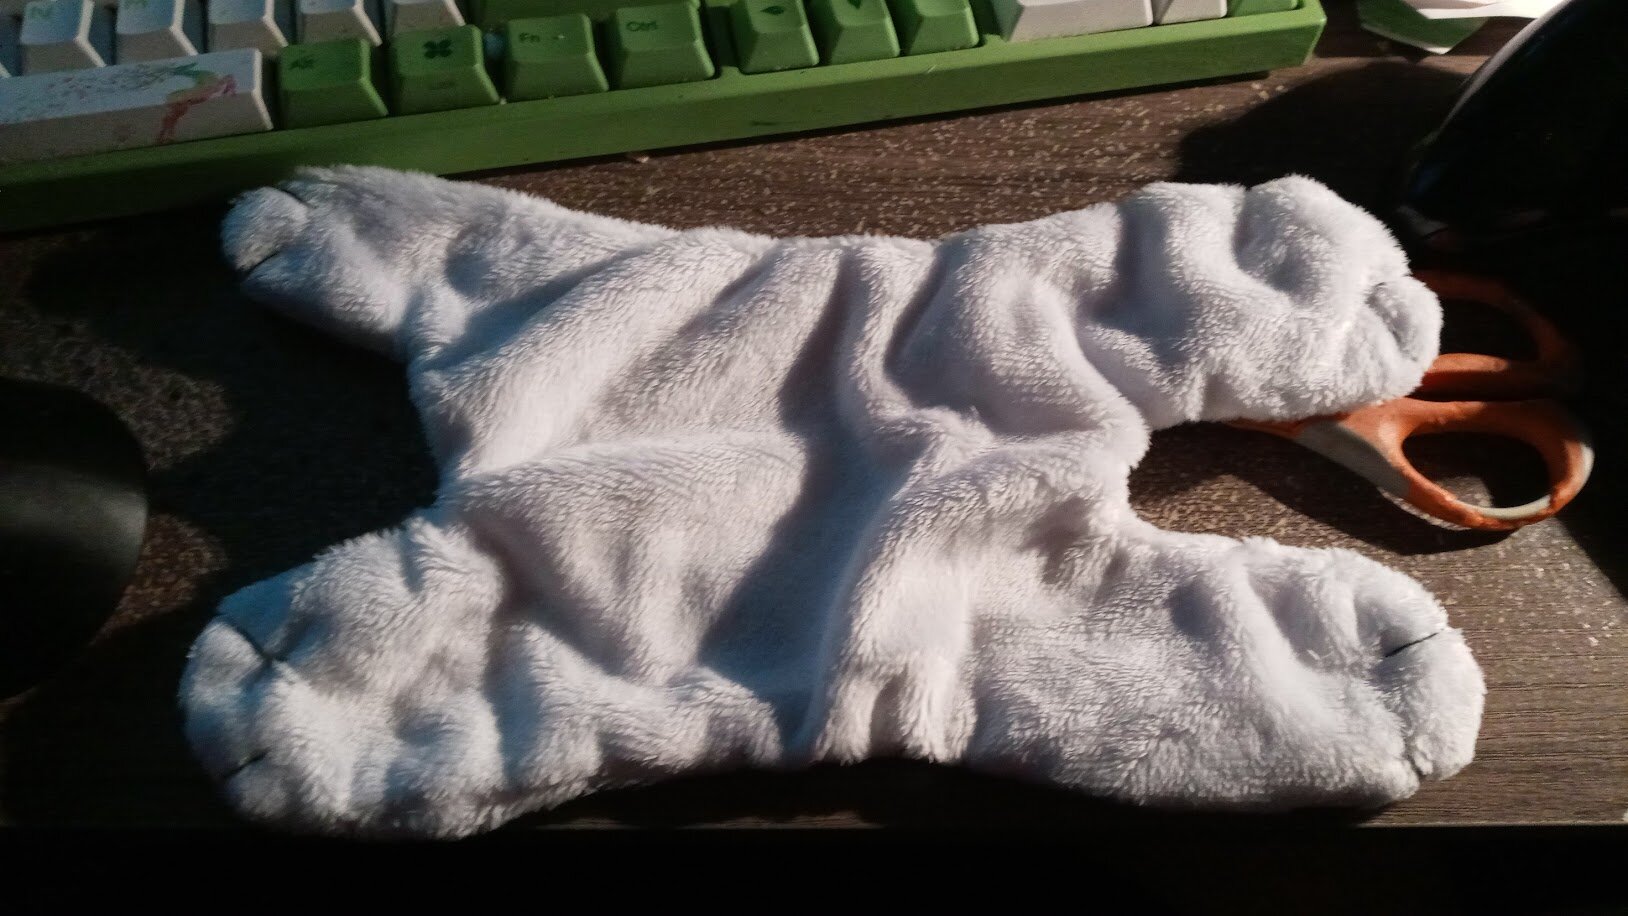
i sewed the body together, then added paws.

the next night, i put together the head using three lemon-wedge shapes and took a first pass on attaching the ears (which i would end up re-arranging two or three more times afterwards).
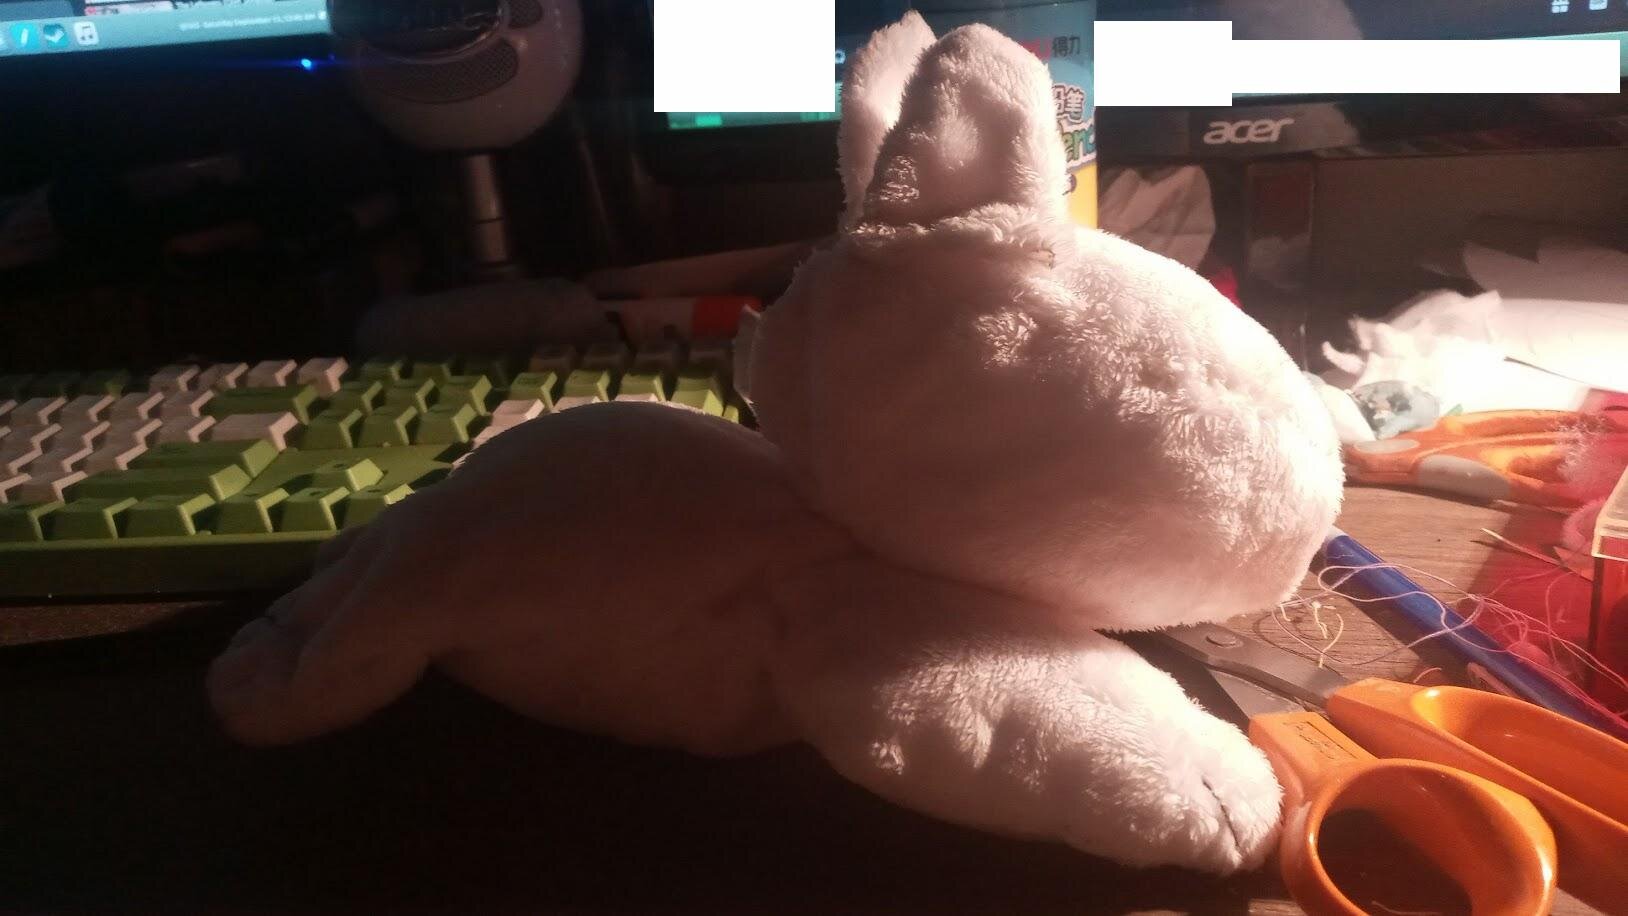
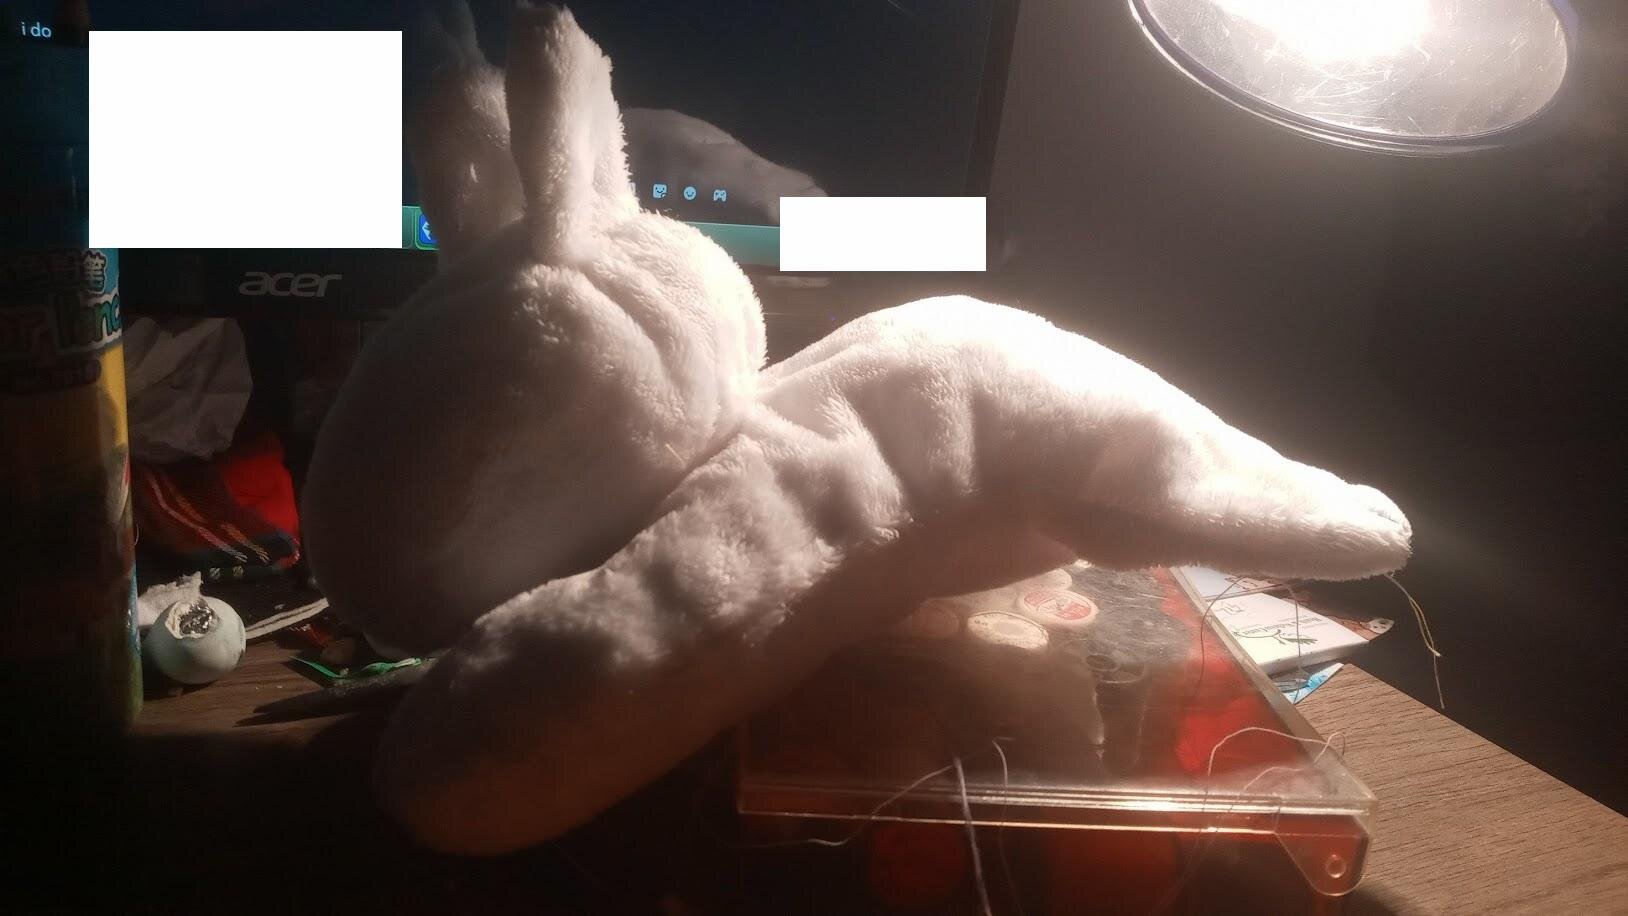
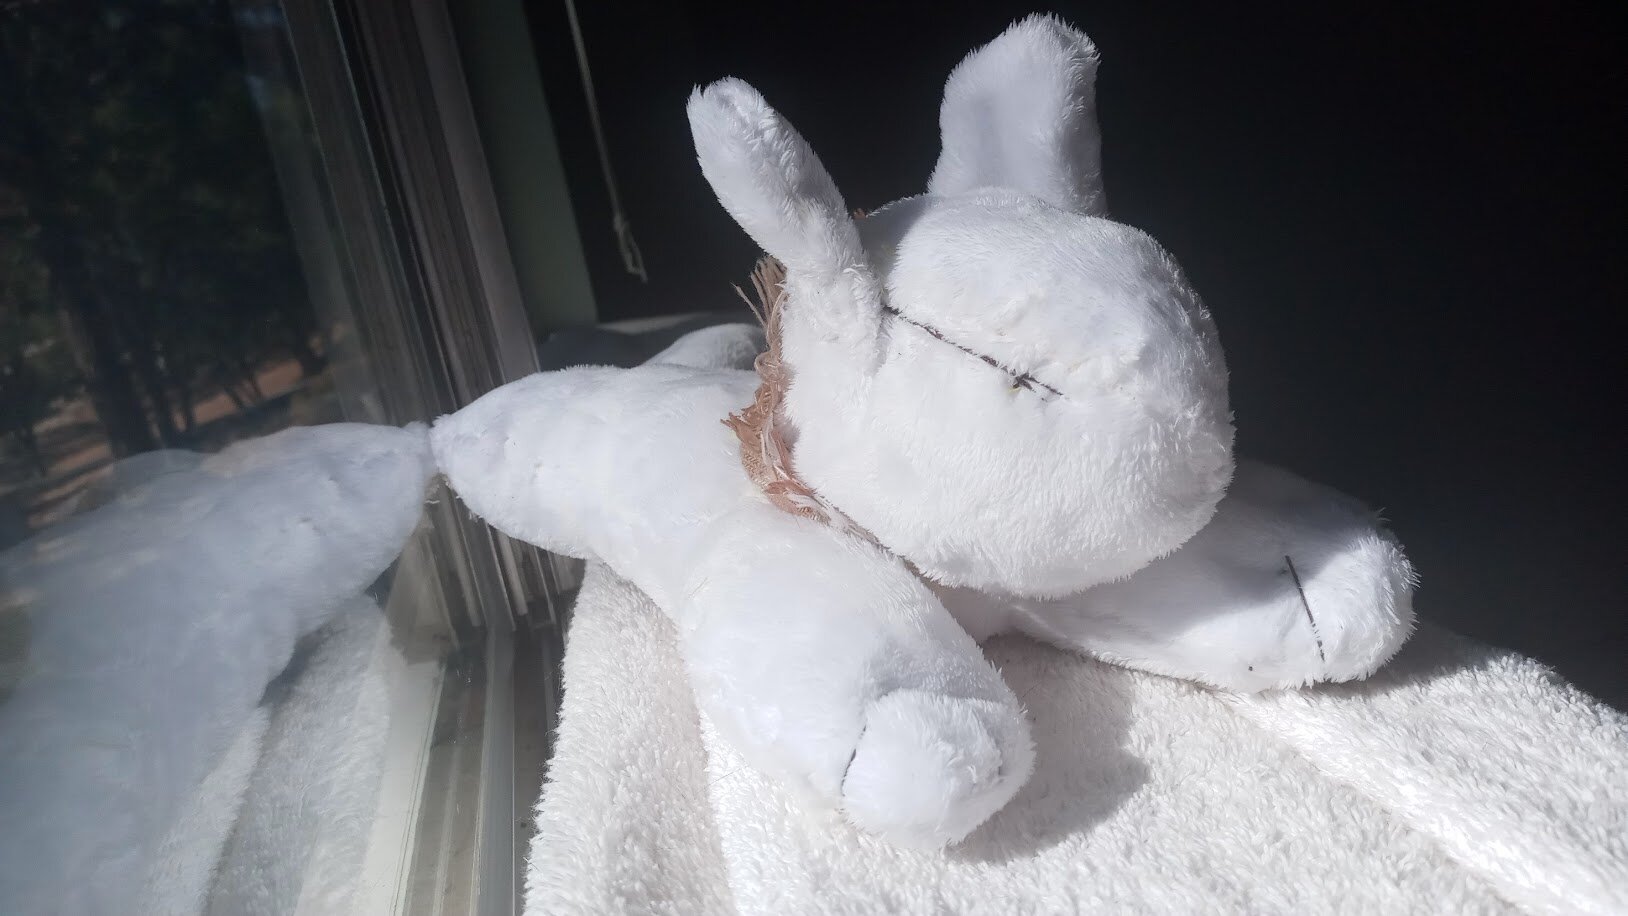
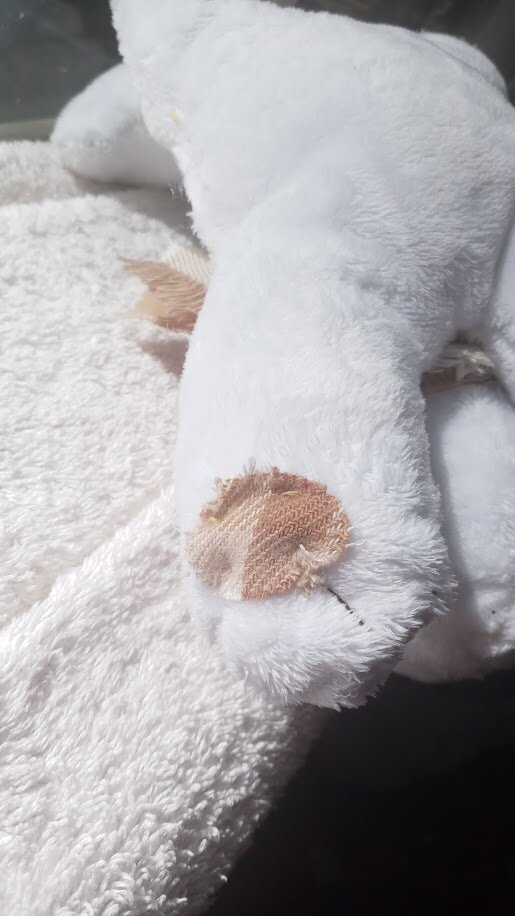
and now today, i attached the head better, attached the tail, finished the ears, and added details - the eyes, the pawpads, and the little scarf (a last-minute addition to better hide some ugly stitching around the neck ROFL).
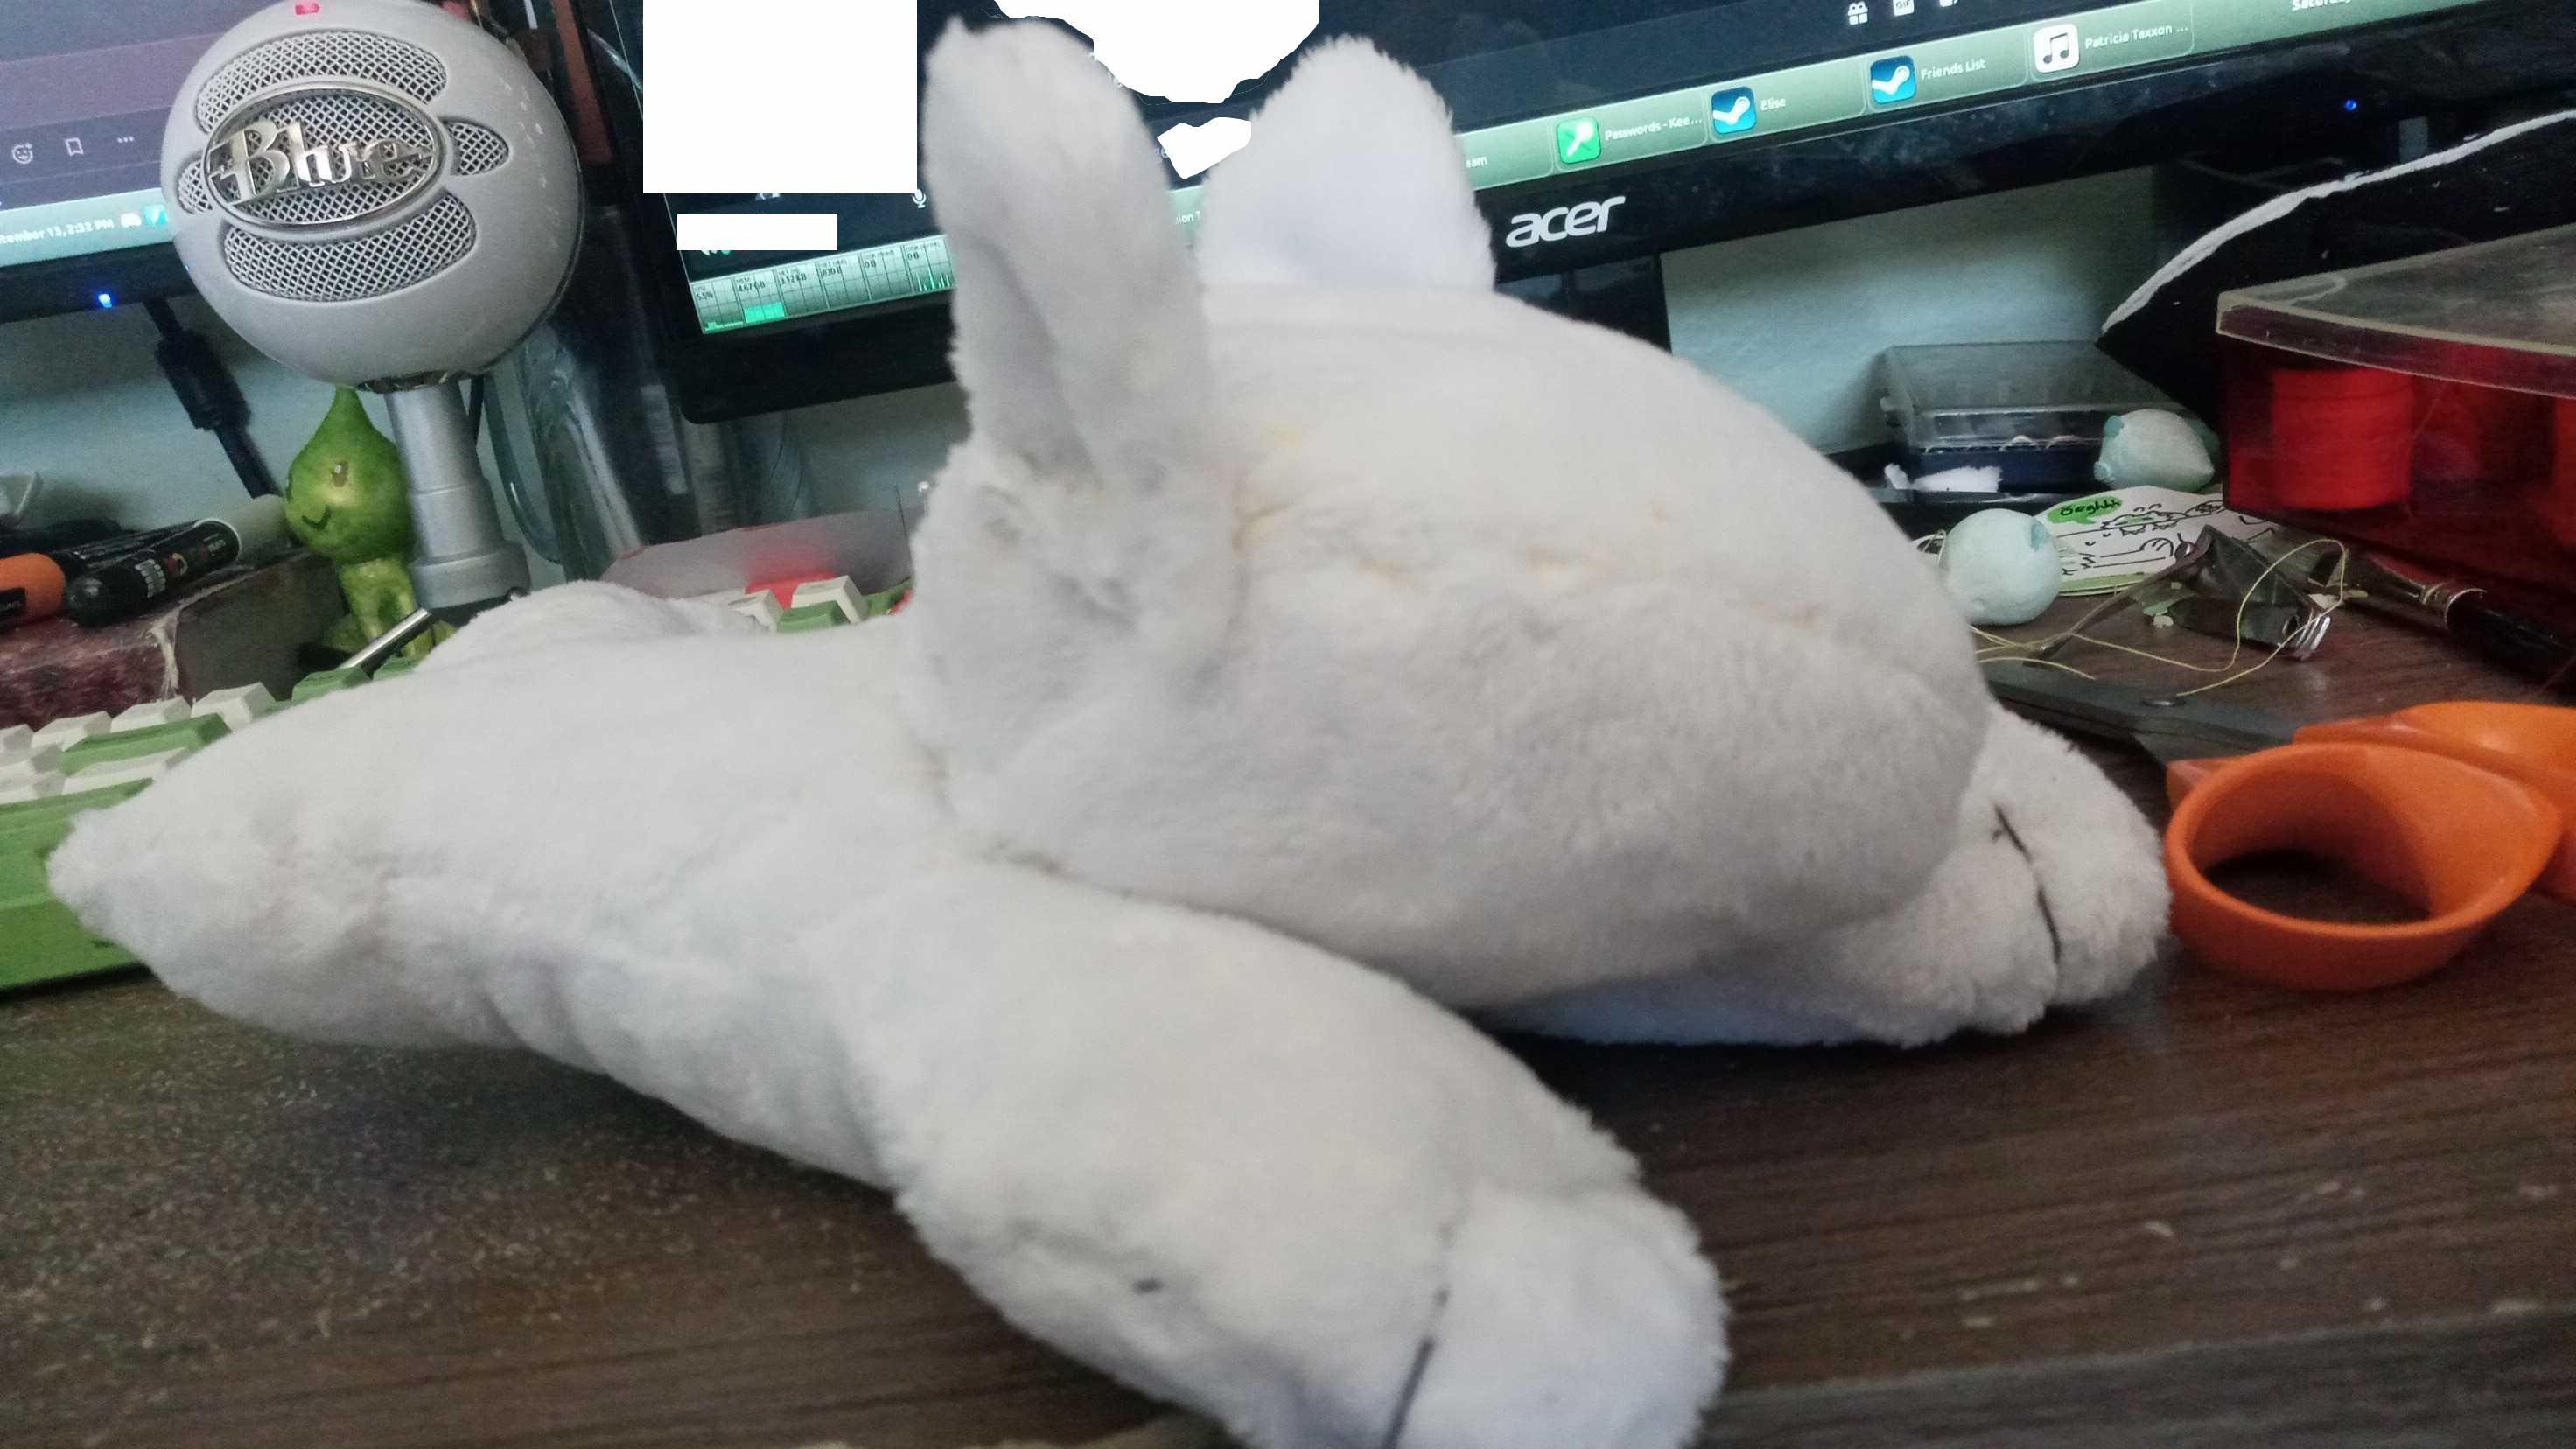
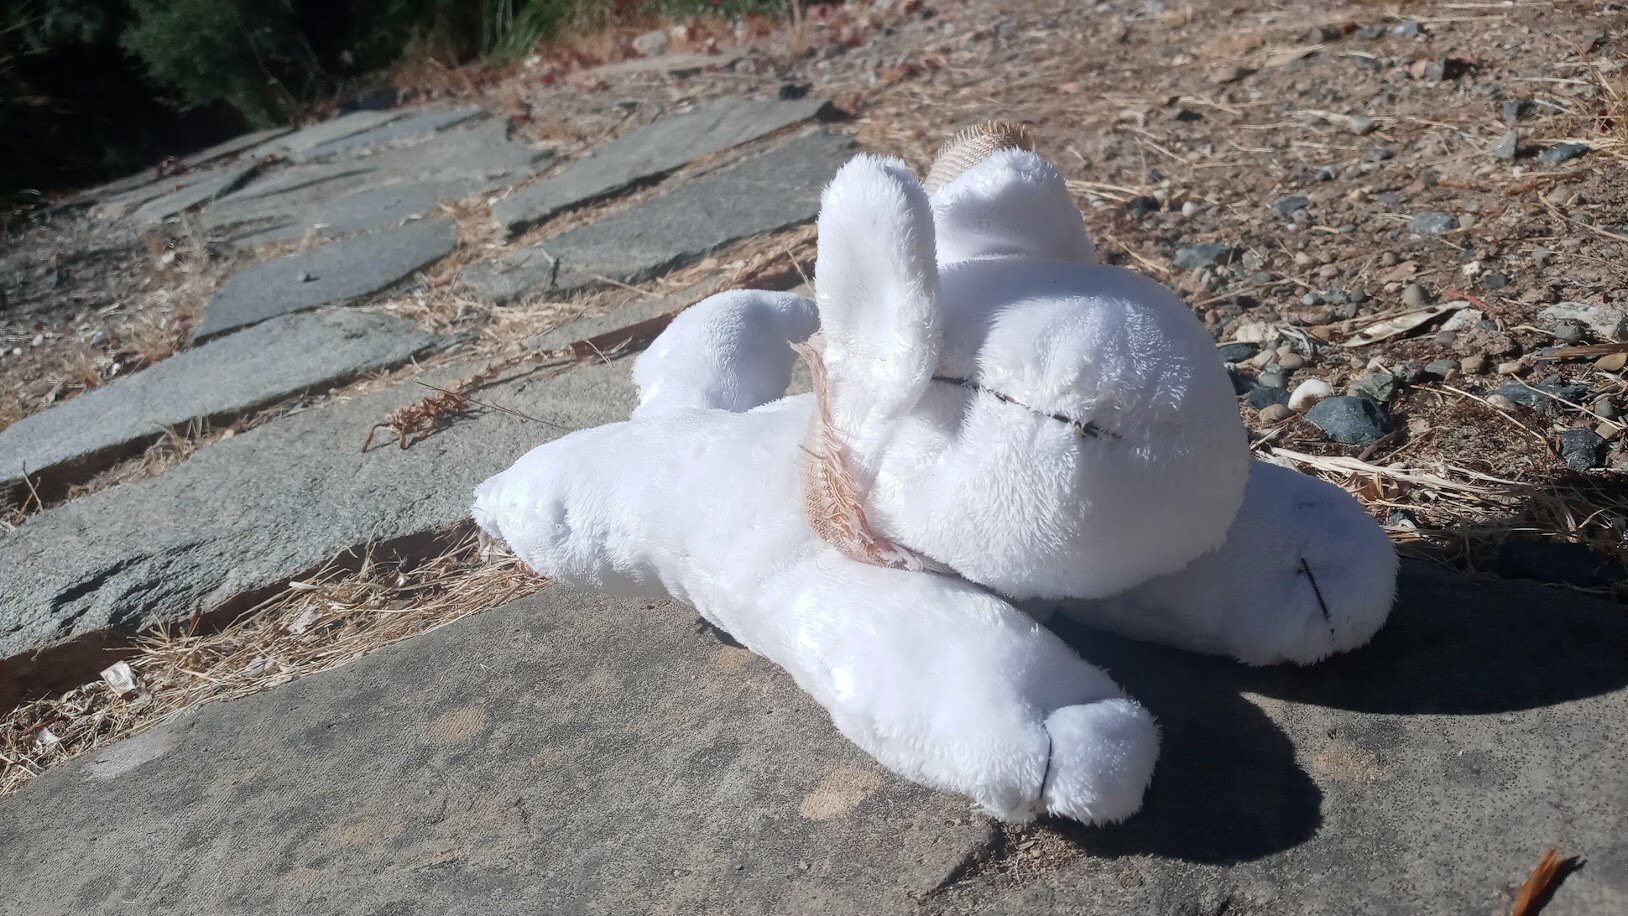
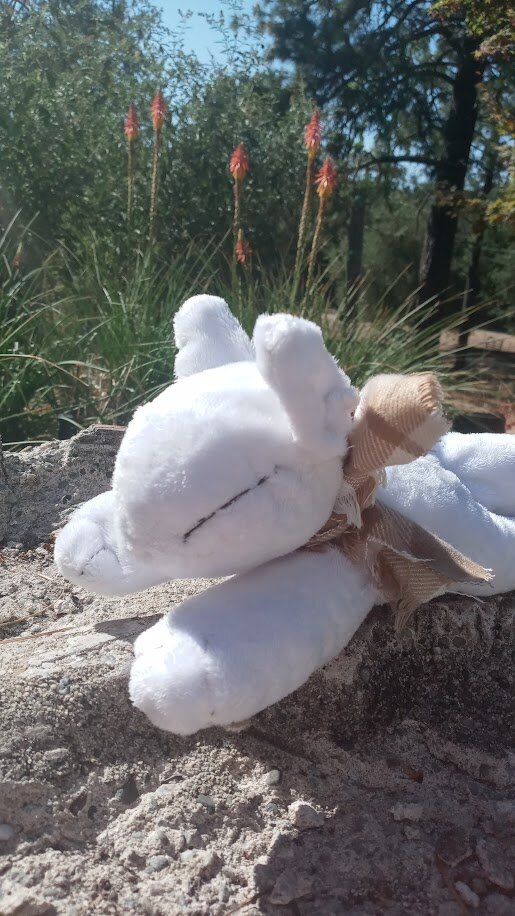
thennnnn... well, i was finished! i went ahead and took photos.
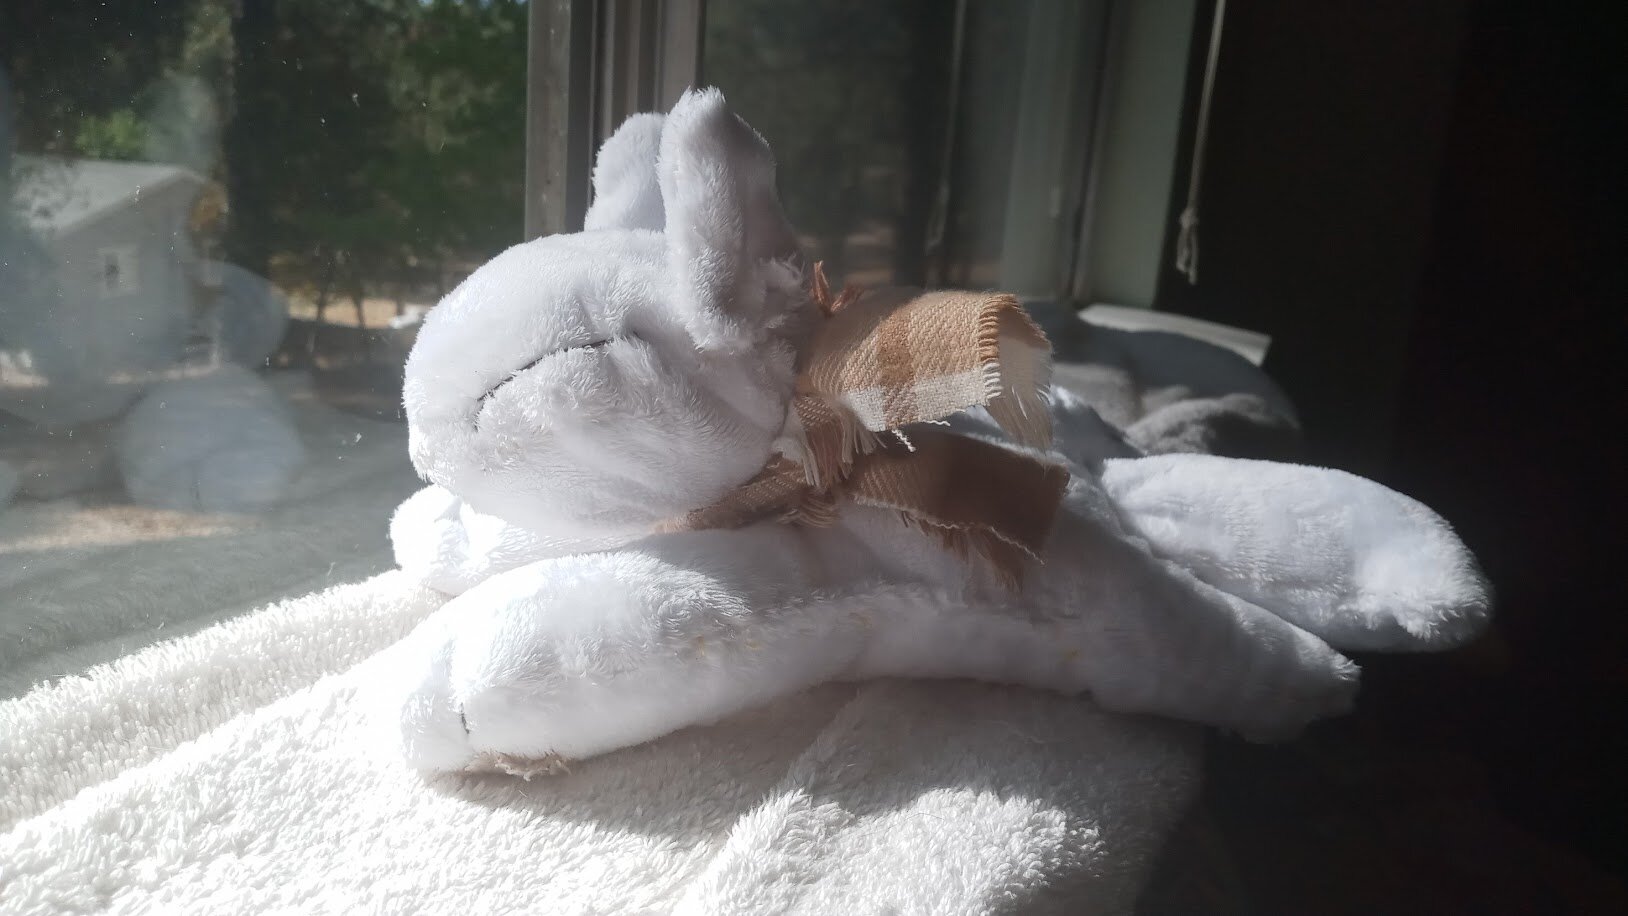
i don't think the pawpads are very durable, but they're cute for now...
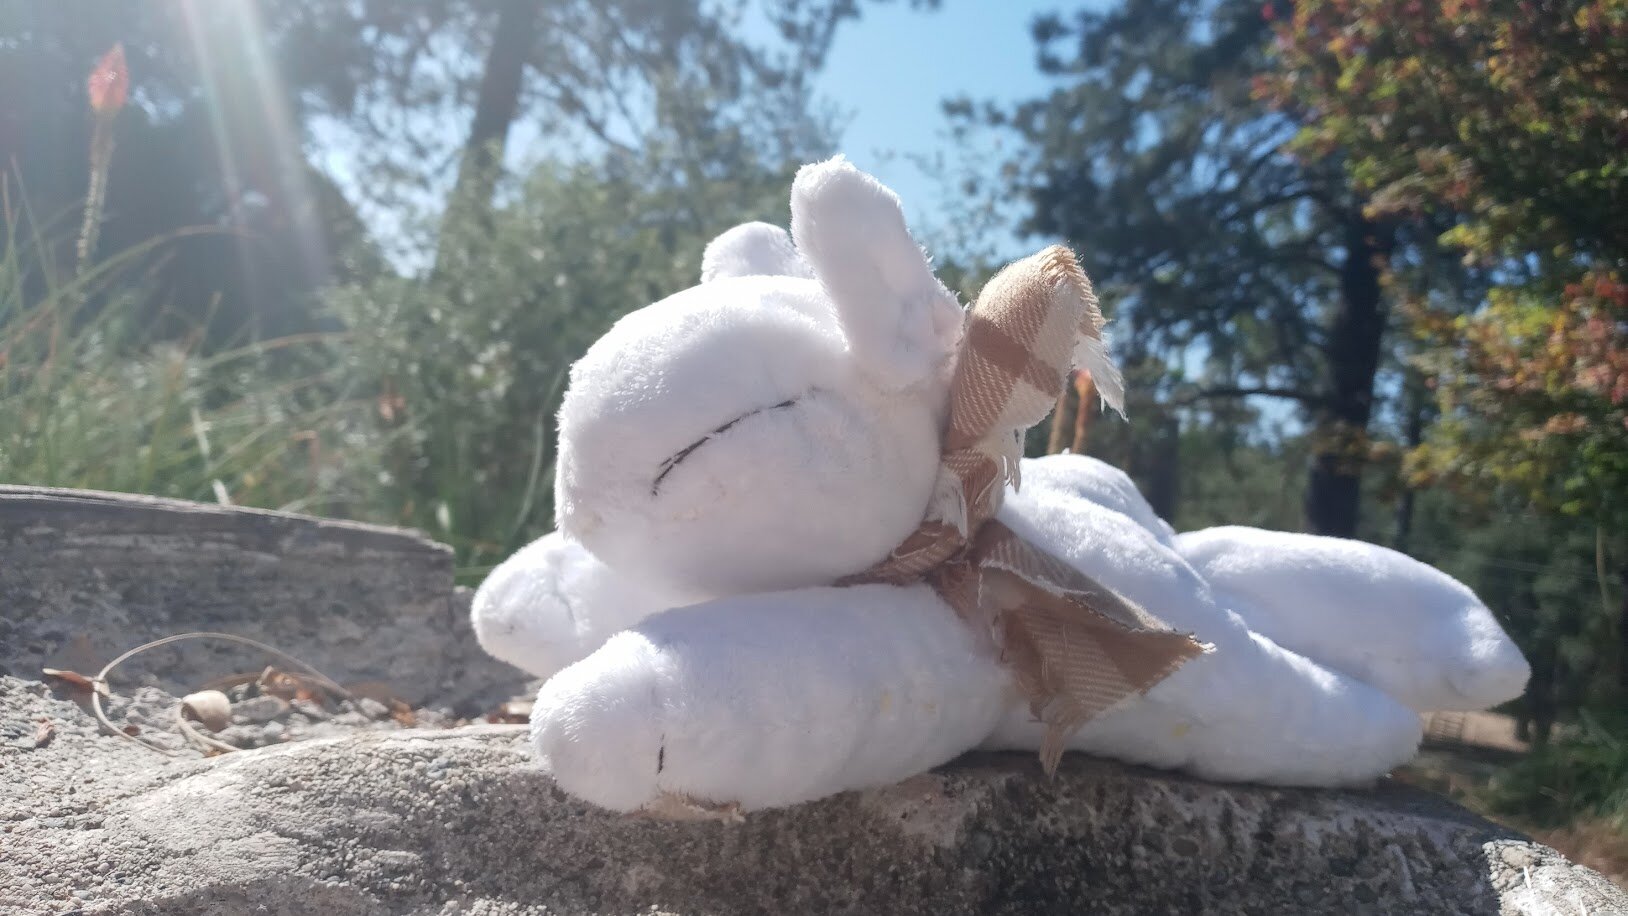
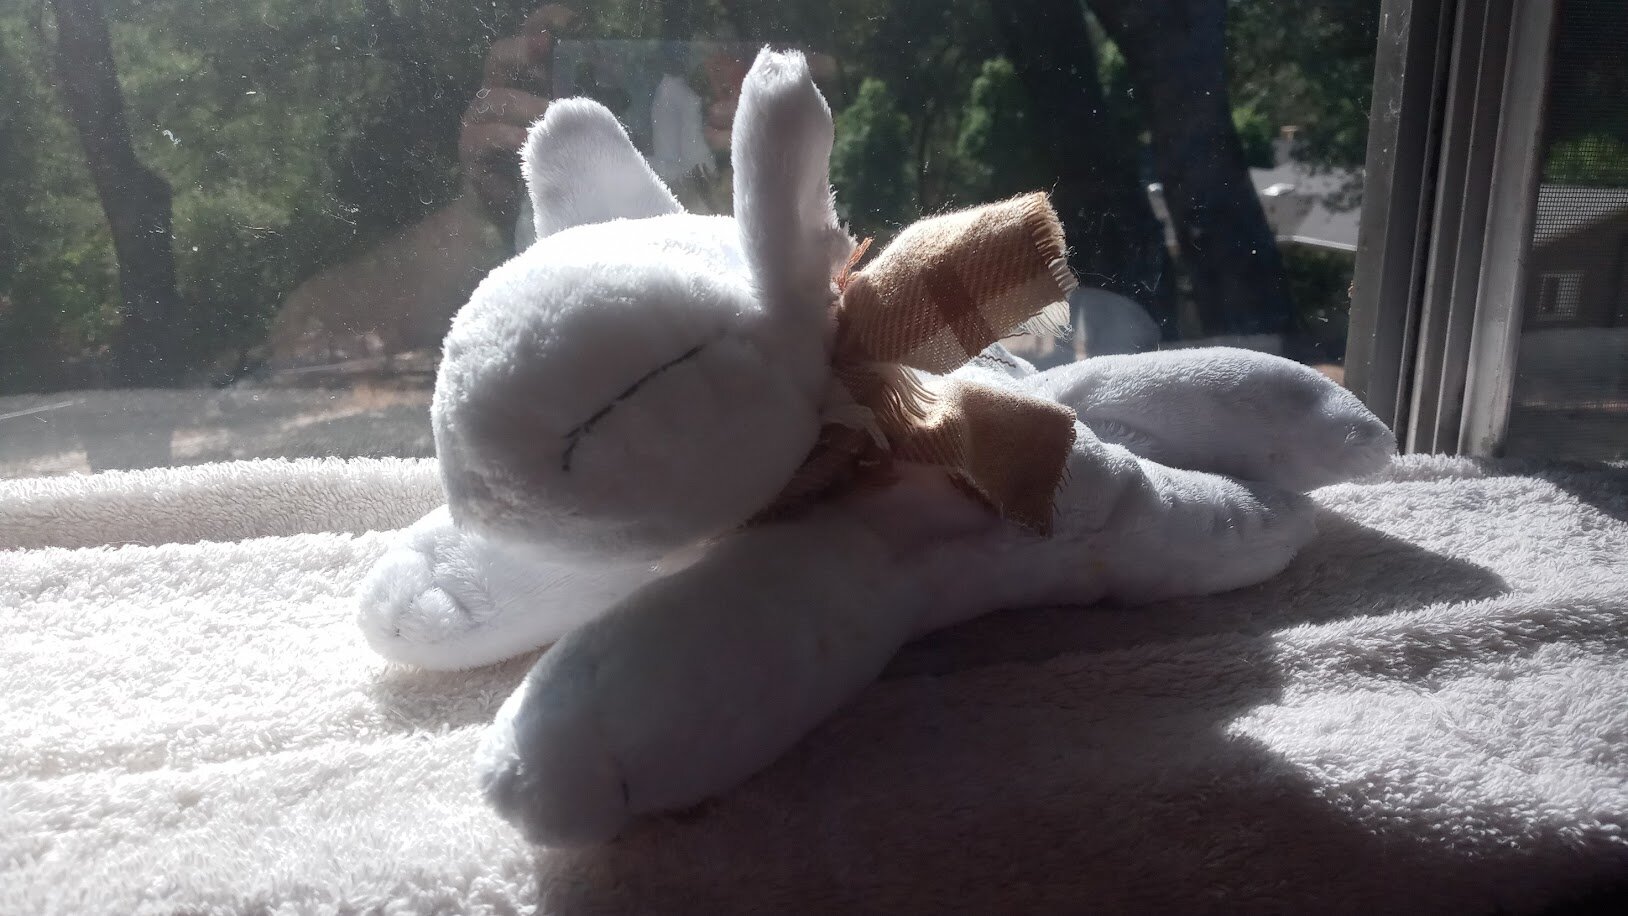
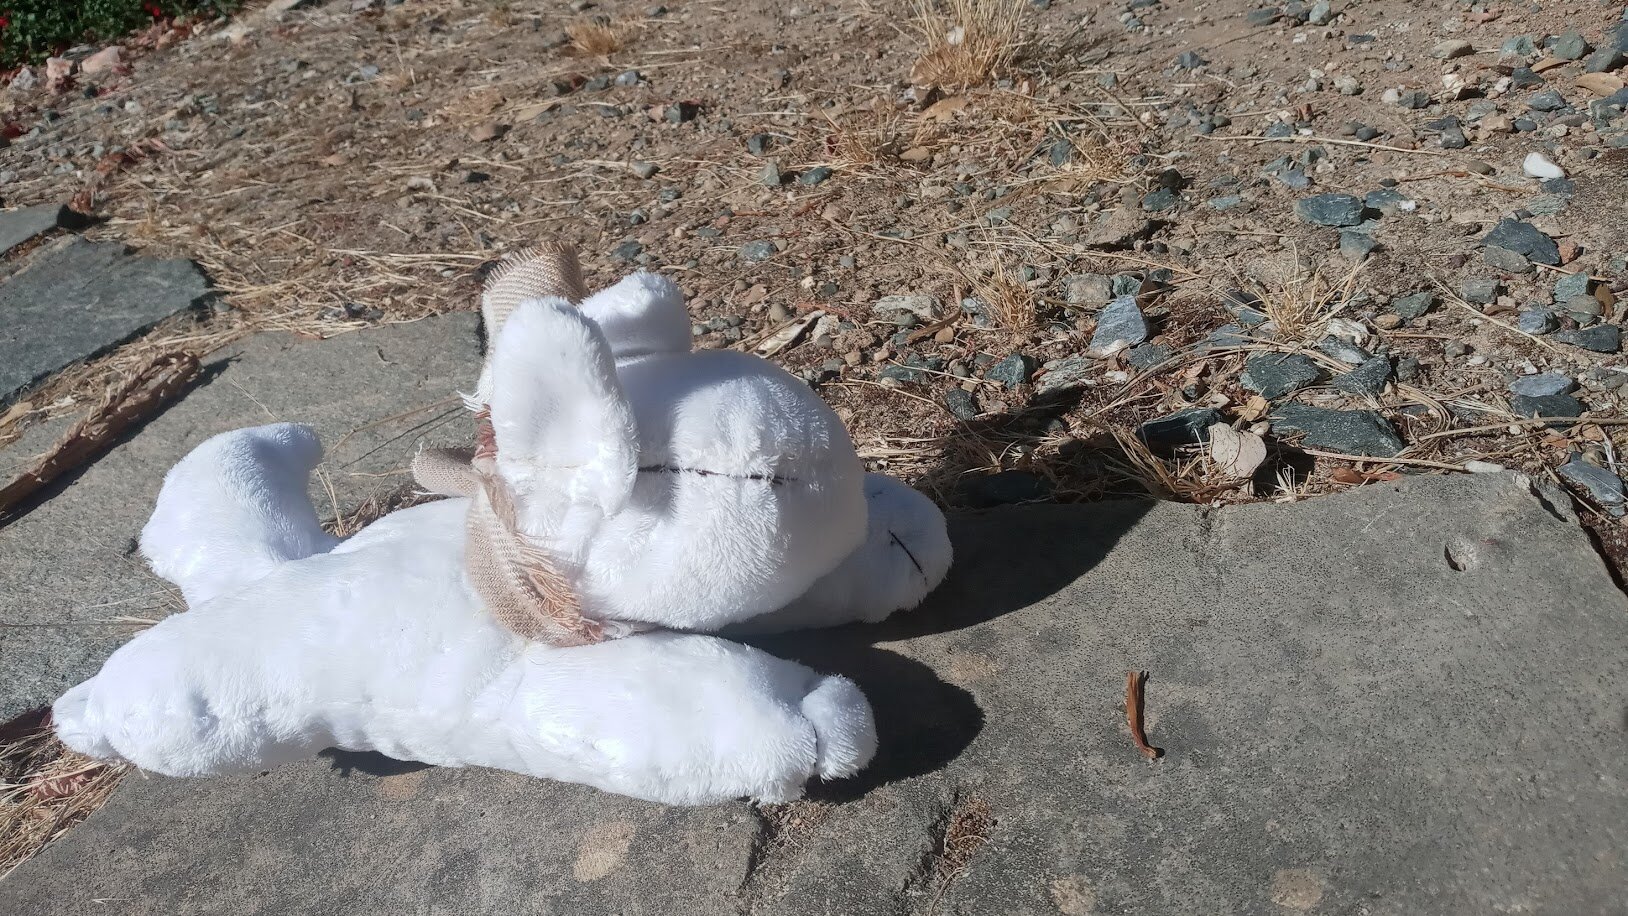
and a few more outside shots for finality...

things i learned from this project:
- that seam allowance is no joke
- don't be afraid to tape together a template piece-meal for the right size body
- pay more attention to the leg shapes (make them match better with above advice)
- the spikey tail-end ended up more lumpy than anything, so more definition might be possible but only if i push the sharp edges more and define them better
- make smaller stitches along the body, the stuffing kept comign out rofl
- anchor the head better to the body by pinning it in place. dont be afraid of pinning...
- sew the ears to the head while youre sewing the head rather than afterward
that's about it! another time i'd like to make toby proper, but for now, my dogthing lives...
 |
| listening to: patricia taxxon - i'll be |
| playing: vintage story |
| feeling: accomplished |
outside it is:  sunny sunny |