 >> swifty's hq v2.2 > main > blog
Respiratory Rodeo and Bigger Toby Theory
i guess i'll start this with a foreward, since i'd like to give a little life update.
i have been really unwell these past couple of months. not only did i get the (notably very nasty) flu near the end of december, but i also have been suffering from lung inflammation since that ended in early january. i celebrated my birthday at the end of january and slowly gathered my spoons after finally being prescribed an anti-inflammatory inhaler. i can breathe again!
i barely had energy to hang out with my friends in calls for a while there, and art was kind of unthinkable. but now that i'm being treated and i'm recovering better, i'm back at it with art. it feels a little like i'm crawling on all fours, weakly, back towards expressing myself, but i *am* crawling, let it be known!
after all, what do you assume this blog post is for? haha.
i've wanted to make a better toby plush for a little bit now. it's been kicking around in the back of my head. i want a bigger one. i want one i can more comfortably hold. i want the eyes to be better aligned and consistent. i want less threads showing at the seams. and, of course, i wanted more practice at sewing in a straight line, and also drafting better patterns.
i was simultaneously - or primarily - working on a plushie for my girlfriend's birthday in a few months. that will probably get its own blogpost, but if not, just know that it's so cutes.
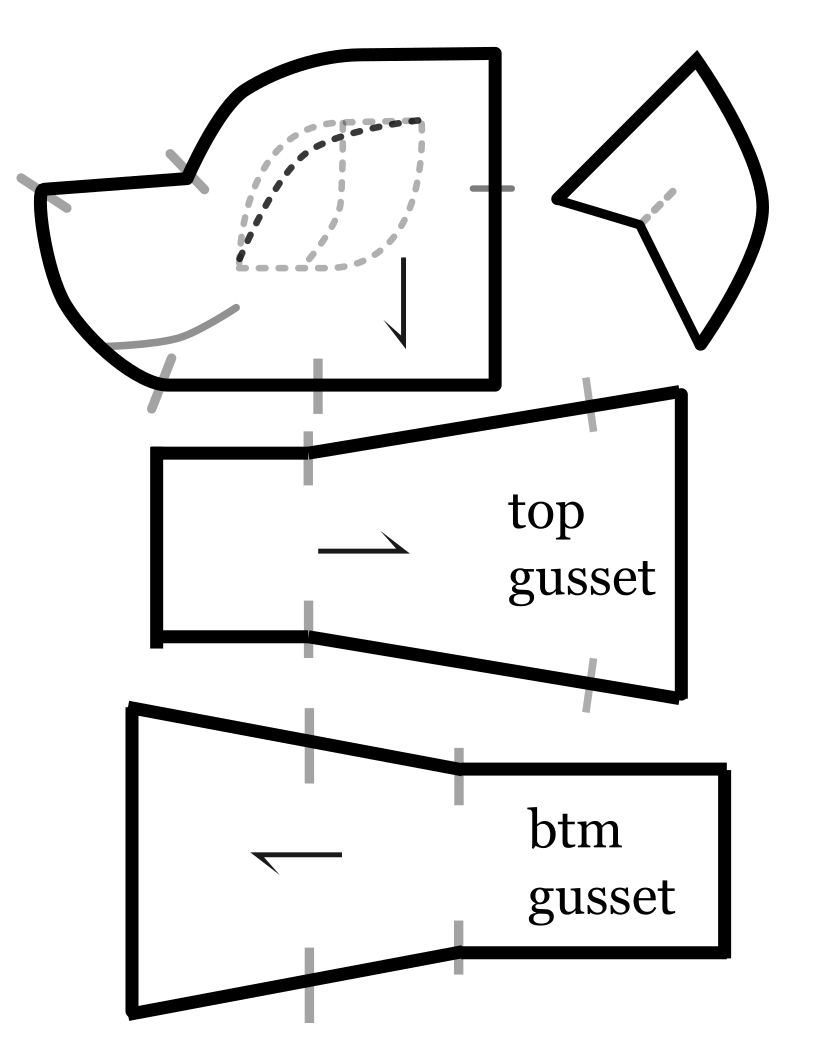
first, i attempted using inkscape to design the pattern. i liked the control i was able to get, but somehow struggled to precisely measure how long a curve is (there's ways to do it! it just took me a bit to figure out how) and then i had to sort-of-eyeball the new line's length to match.
i ended up using these for reference when i ultimately decided that drafting it in blender would be easier than eyeballing slightly-inaccurate curved line lengths.
this is not something that teddy bear pattern makers of old did, of course, but it's part of my skillset and helps me get an idea of the way things will come together.
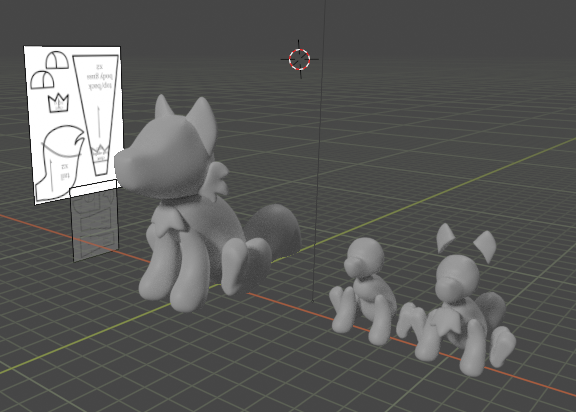
i used the seams-to-sewing-pattern addon for blender; i did not end up using the pattern generated with it for the plush, but i did use it to get an idea of how it might come together with more realistic shape-pinning.
the more i looked at it, the more i realized i wanted that simple dogthing headshape again.
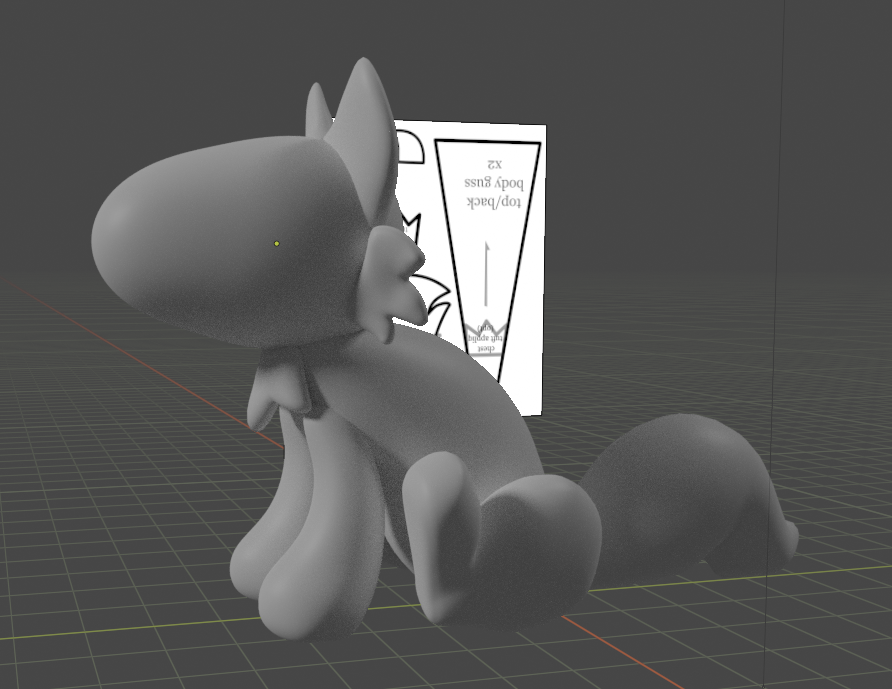
so now that i had the shape ready, i ran a bunch of seam simulations using the aforementioned addon.
a *lot* of them.
you may notice that the ears kind of just went into fuckoff wherever. i think it's really funny that it happened every time because it wasn't anchored. but that didn't matter to me, because i knew how it would be shaped - smaller ear shapes like that aren't too hard to imagine in 3d. i kept the body parts separate somewhat so they would resolve better.
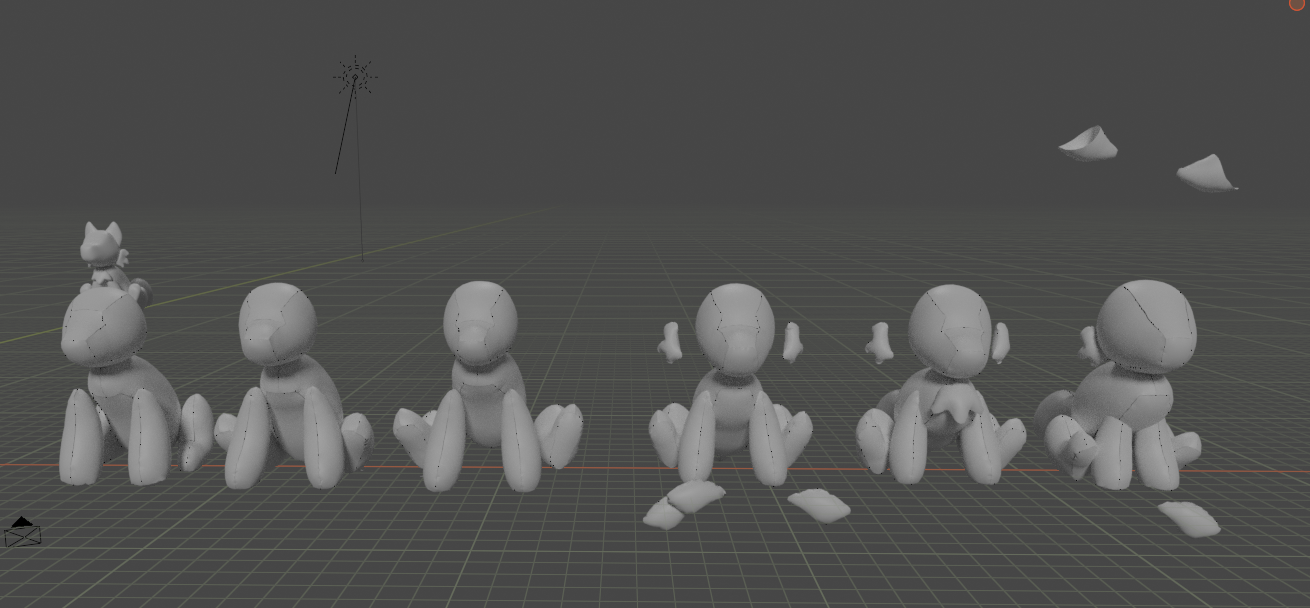
with the final shape ready, i went to plushify. i realized this while sewing, but plushify kind of gets you *most* of the way there, pattern- and size-wise. i had some issues with certain seam junctions, and the island tended to be kind of... square? for lack of a better word. it *did* work, of course, but i think with better drafting, it would have worked *better*.
the tail was the first part i finished and stuffed. with this photo taken on february 22 - hey, that was this website's fourth anniversary, by the way!
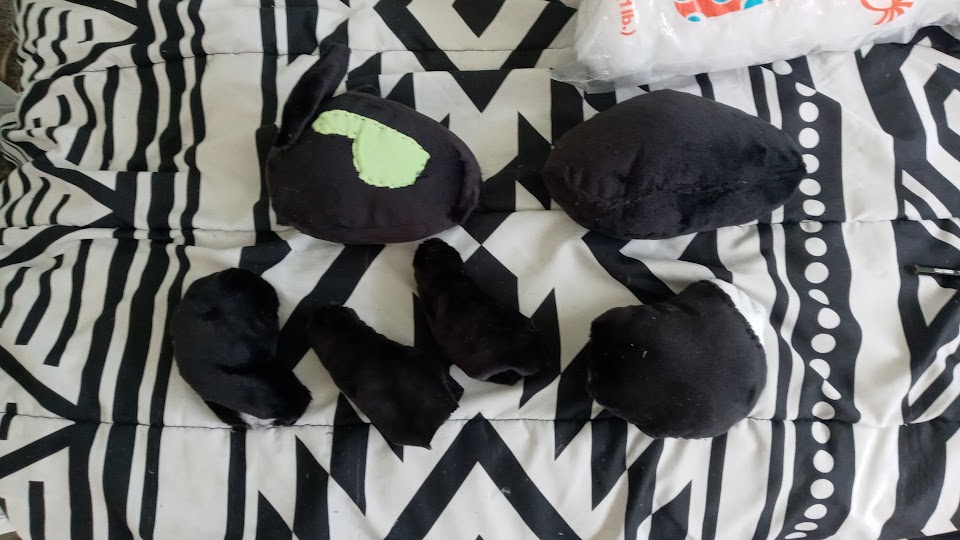
i finished up the various parts after finally obtaining more polyfill. (this took a while.) although the legs look properly finished-ish here, i ended up having to turn them back inside-out, sew the soles on, then *cut a hole* into the interior sides to stuff them. please plan ahead better than me, lol!
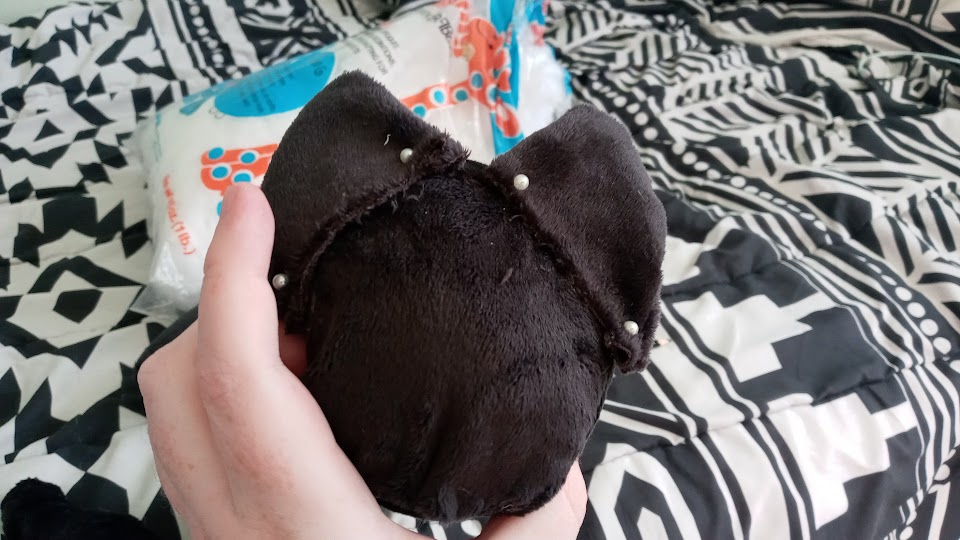
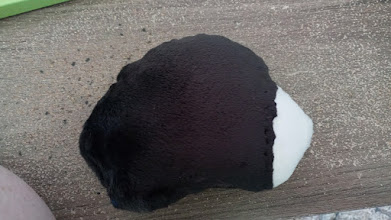
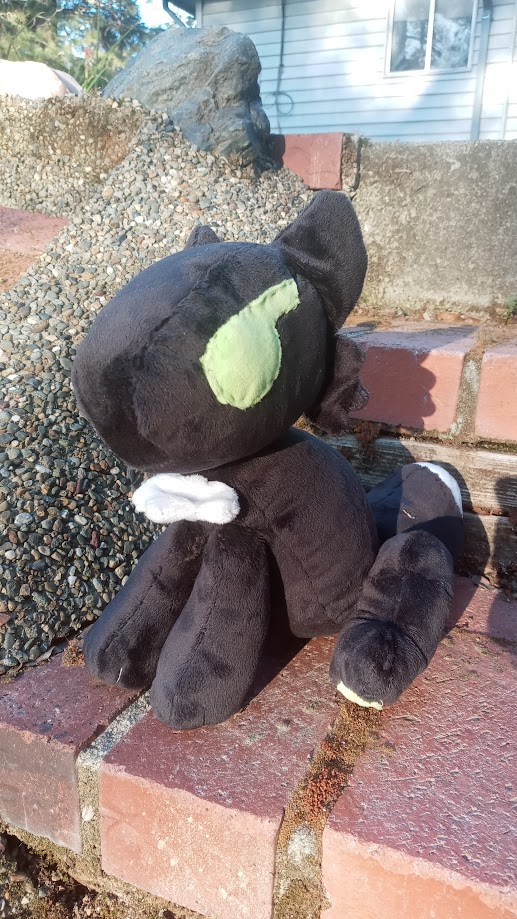
the head consists of two head gussets (a long one on top, and a shorter one on bottom), a back, and the two profile bits.
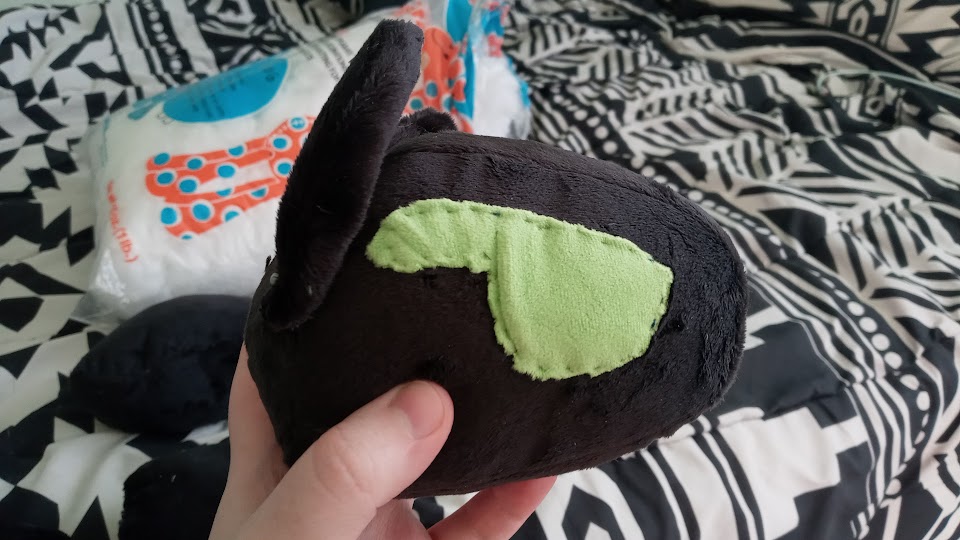
when tracing the headshape onto the fabric, i cut out the eye-shape-hole on the cutout and traced over where i would sew it. then, over the furred side of the head, i attached a square of green mochi minky; this type of minky fur is notably pliable and stretchy, so getting it in place is difficult. with the first plush, i struggled to figure out a clean way to use it as applique, but with this method, i managed to sew the pattern on from the unfurred side, then trim to shape. i kind of wish i'd used a lighter thread for the applique though LOL.
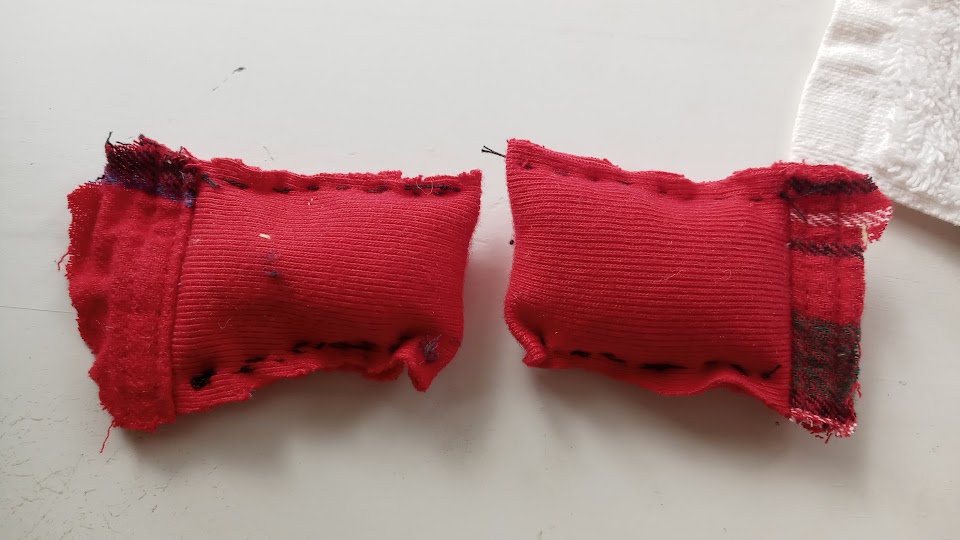
i used scraps from an old pair of night-pants and stuffed them with rice for weight, then put them in the base of the paws before sewing them up. the backside of them has 'toby the fox' and my name and the current year, respectively.
the base of the feet, by the way, have a circle of green minky (pawpads!). i thought it'd be cute to give toby pawpads. after the legs were stuffed, i then went over them with thread to make the 'paw lines' and define the toes some, hiding the knotted ends under the pawpads. it works really well.
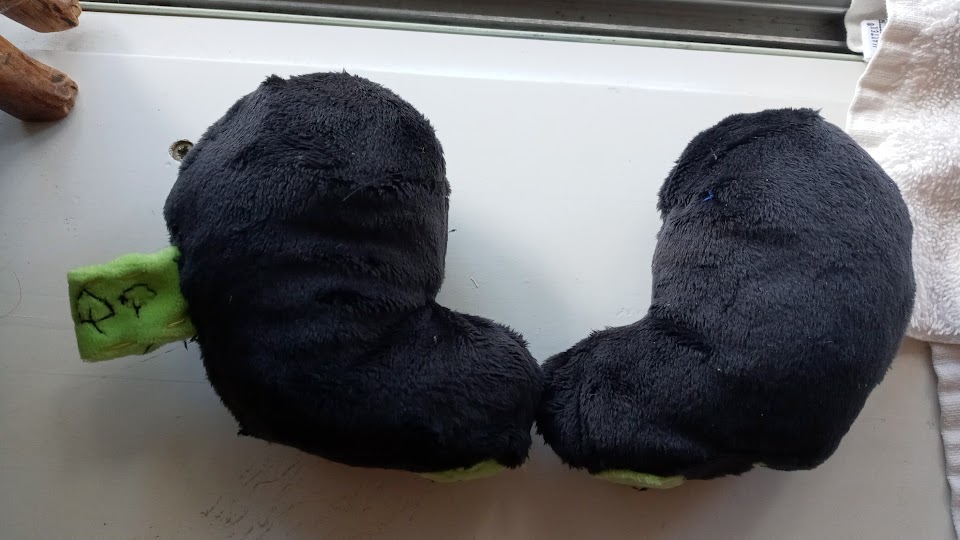
i'm happy with the shape the back legs took in the end. they have two darts (on each half of the leg) to assist with the curve, then there's a piece for the bottom of the leg so it holds form and sits (sort of) flatter.
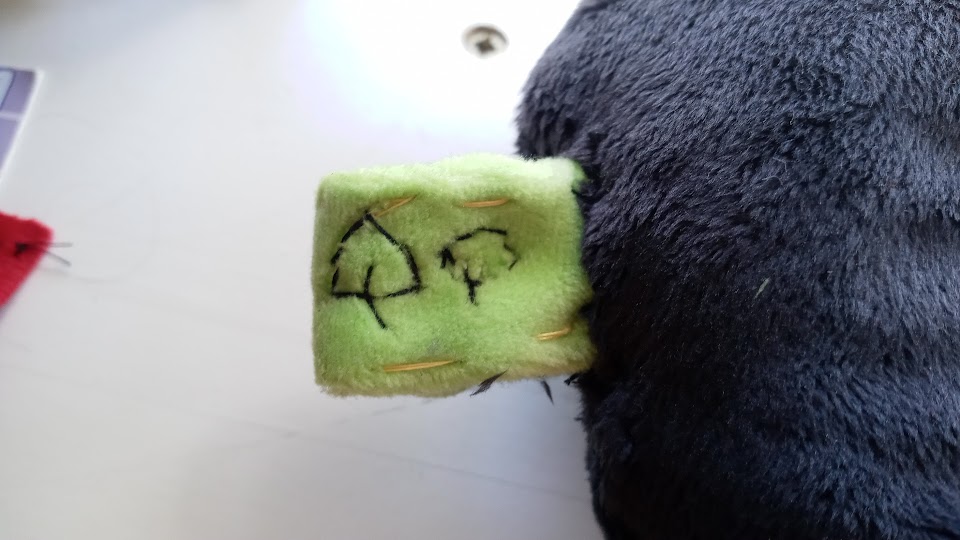
i decided to get a little fun with it, too. if i were more forward-thinking, i'd have sewn it into the seam, but i didn't, LOL. i added a little tag to toby's back right leg with my little tree signature. i made sure to fold and sew the edges of the tag down so they wouldn't fray.
with all the pieces sewn together, more or less, toby was... mostly finished! the leg placement was adjusted later, so these next few pictures aren't representative of the front leg placement in the final... let's compare with the old one!
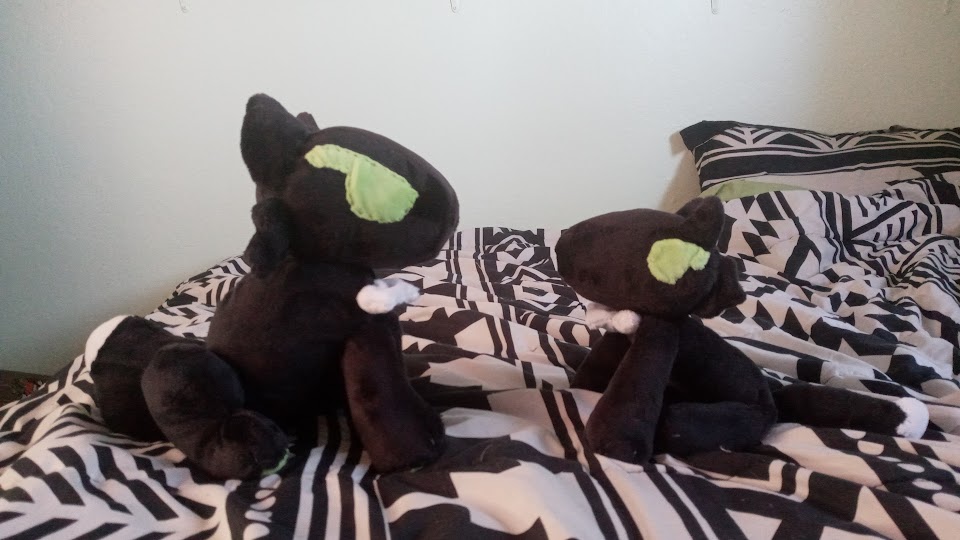
as you can see, the old plushie was pretty small and lean. it measures around 7.5 inches tall when sitting proper. in contrast, the new plush is - drumroll please - 9.5 inches tall (counting the ears)! wow!
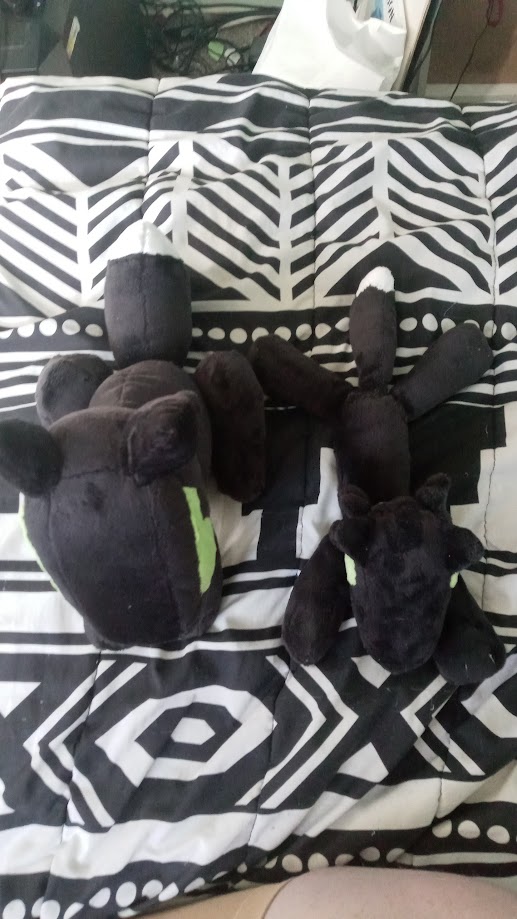
the front legs can be posed a little, while the back legs are mostly stuck in position. the head is large and a little heavy, but supported well enough that the plush can sit properly without slumping over too much.
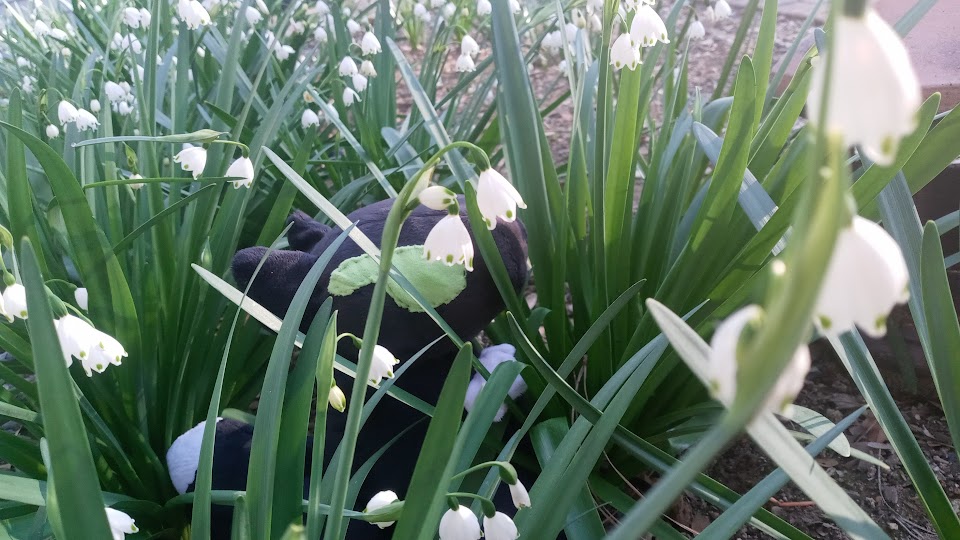
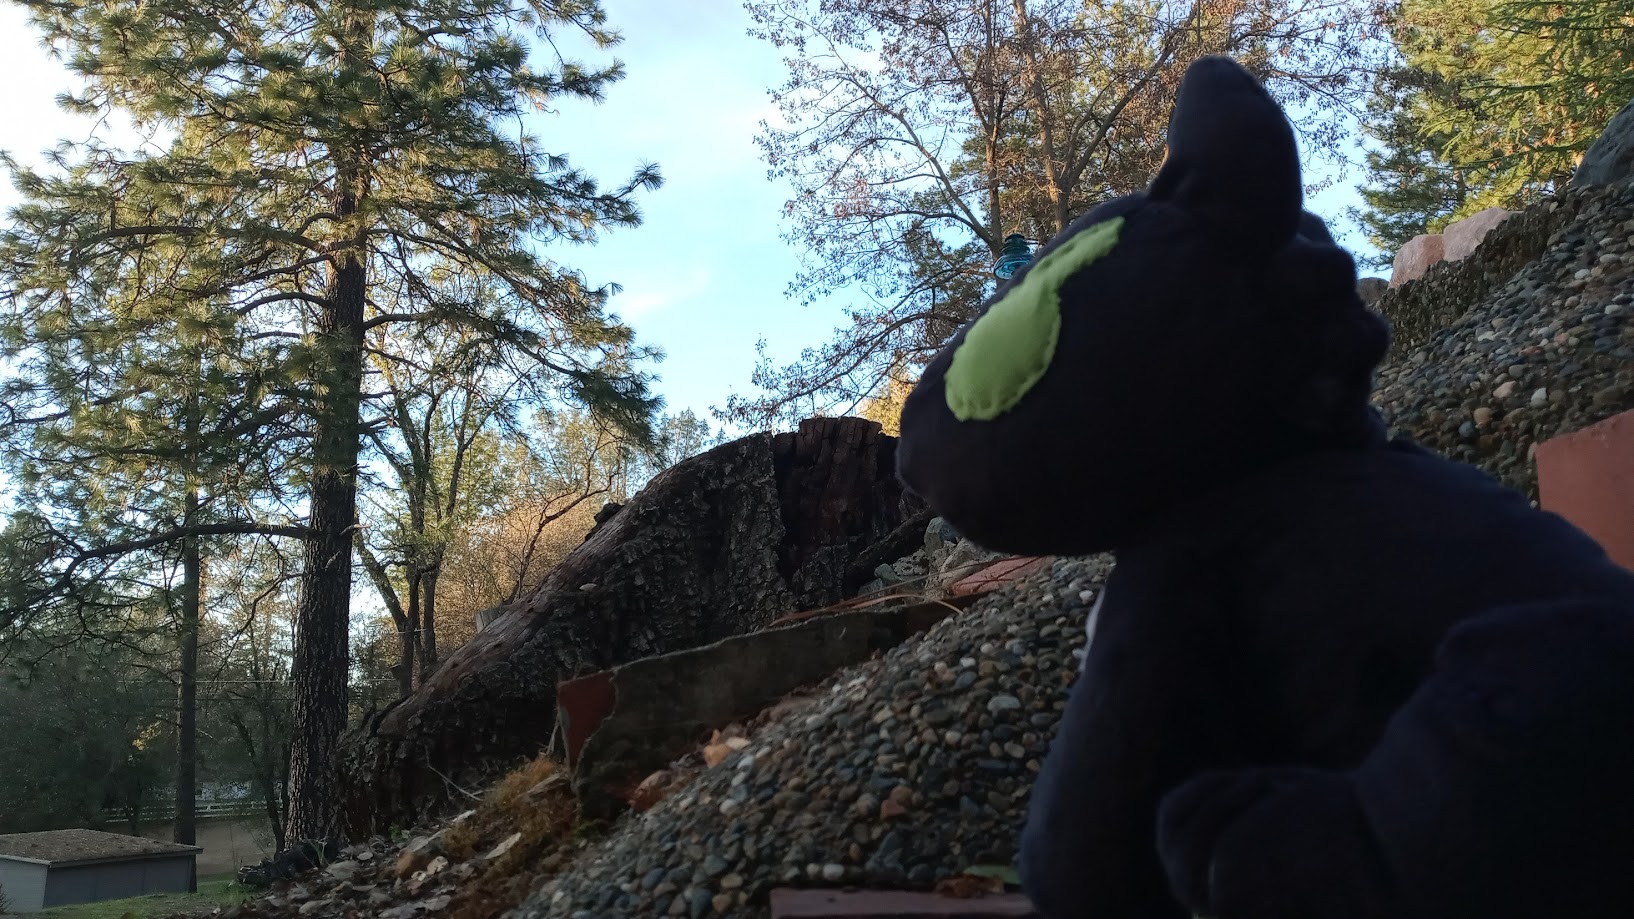
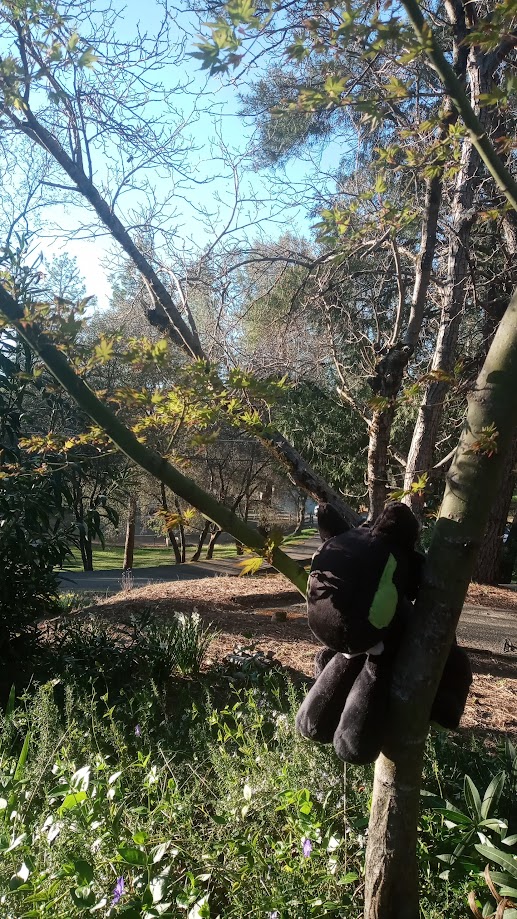
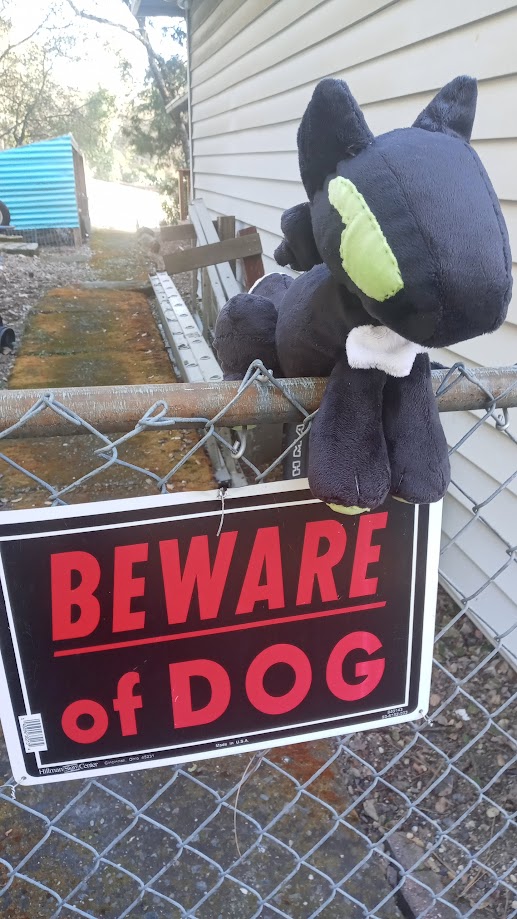
i took a few nice photos of it, both yesterday (before re-attaching the legs) and today (after).
i don't feel totally confident in the pattern in its raw plushify-export form, so i won't be sharing it, but i might share a modified version sometime later. thank you for reading!
 |
| listening to: gulp swamp |
| playing: warframe |
| feeling: calm |
outside it is:  overcast overcast |