 >> swifty's hq v2.2 > main > blog
oh god there's another one (plushie number 2)
yes, you read that right. i made another one of them.
after i published my last blogpost, i found myself wanting to improve on what i had made, a common refrain among fellow artists. there were a lot of things that i liked, but also a lot of things i wished were different.
i started by sketching out the body shapes i wanted to cut out, and started prototyping head shapes. i REALLY wish i'd spent more time on the prototypes than i did, even if i was getting impatient.
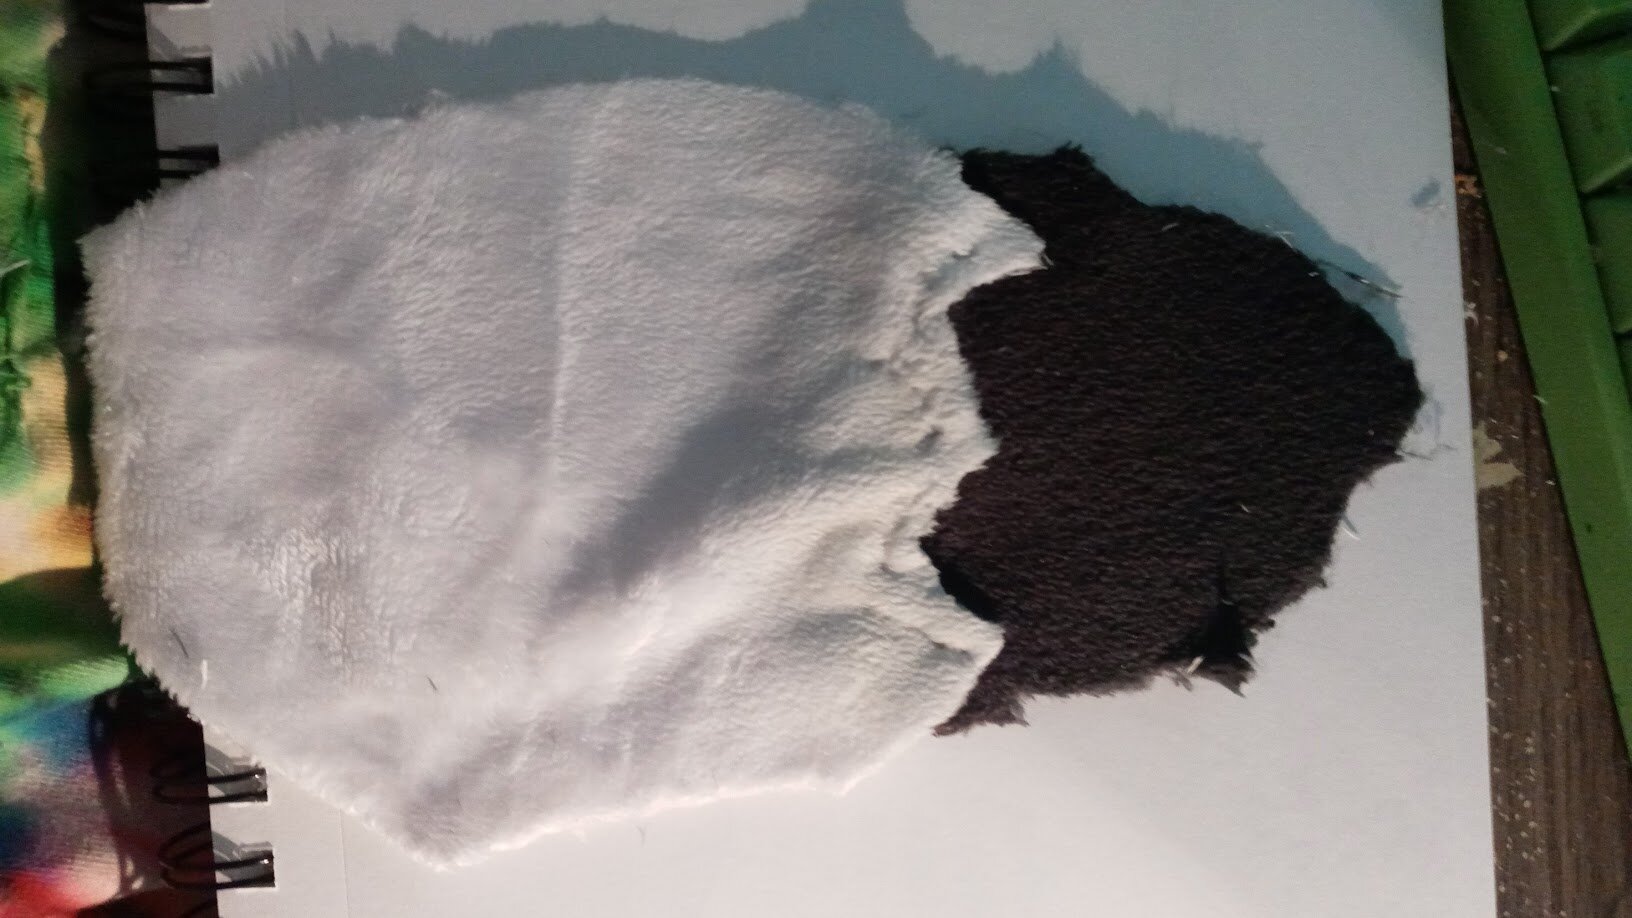
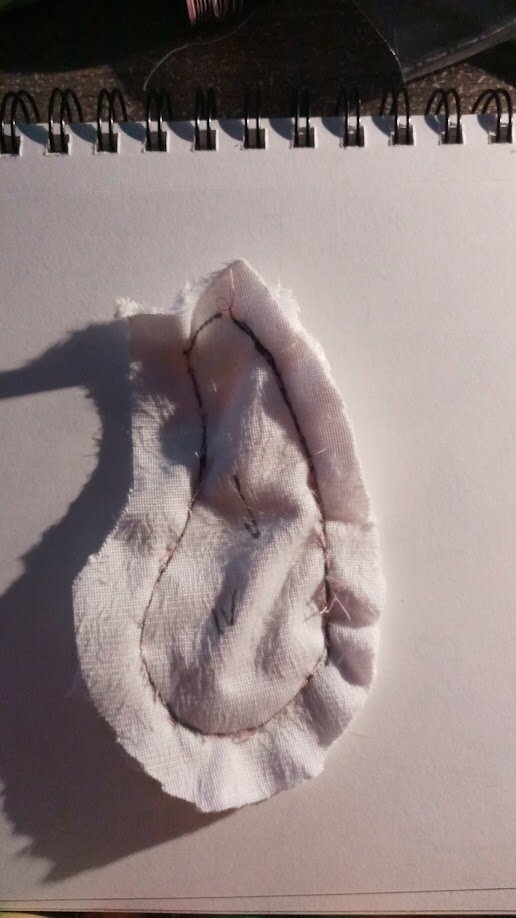
one such experiment was this: what if i incorporated the ears into the rest of the head pieces, instead of attaching them separately? this was, unfortunately, a wash. the shape was too small and shallow and didn't have a distinct enough shape, at least not while i'm hand-sewing it.
i decided to put it off to the side while i did the parts i felt more confident in - the rest of the fucking owl dogthing.
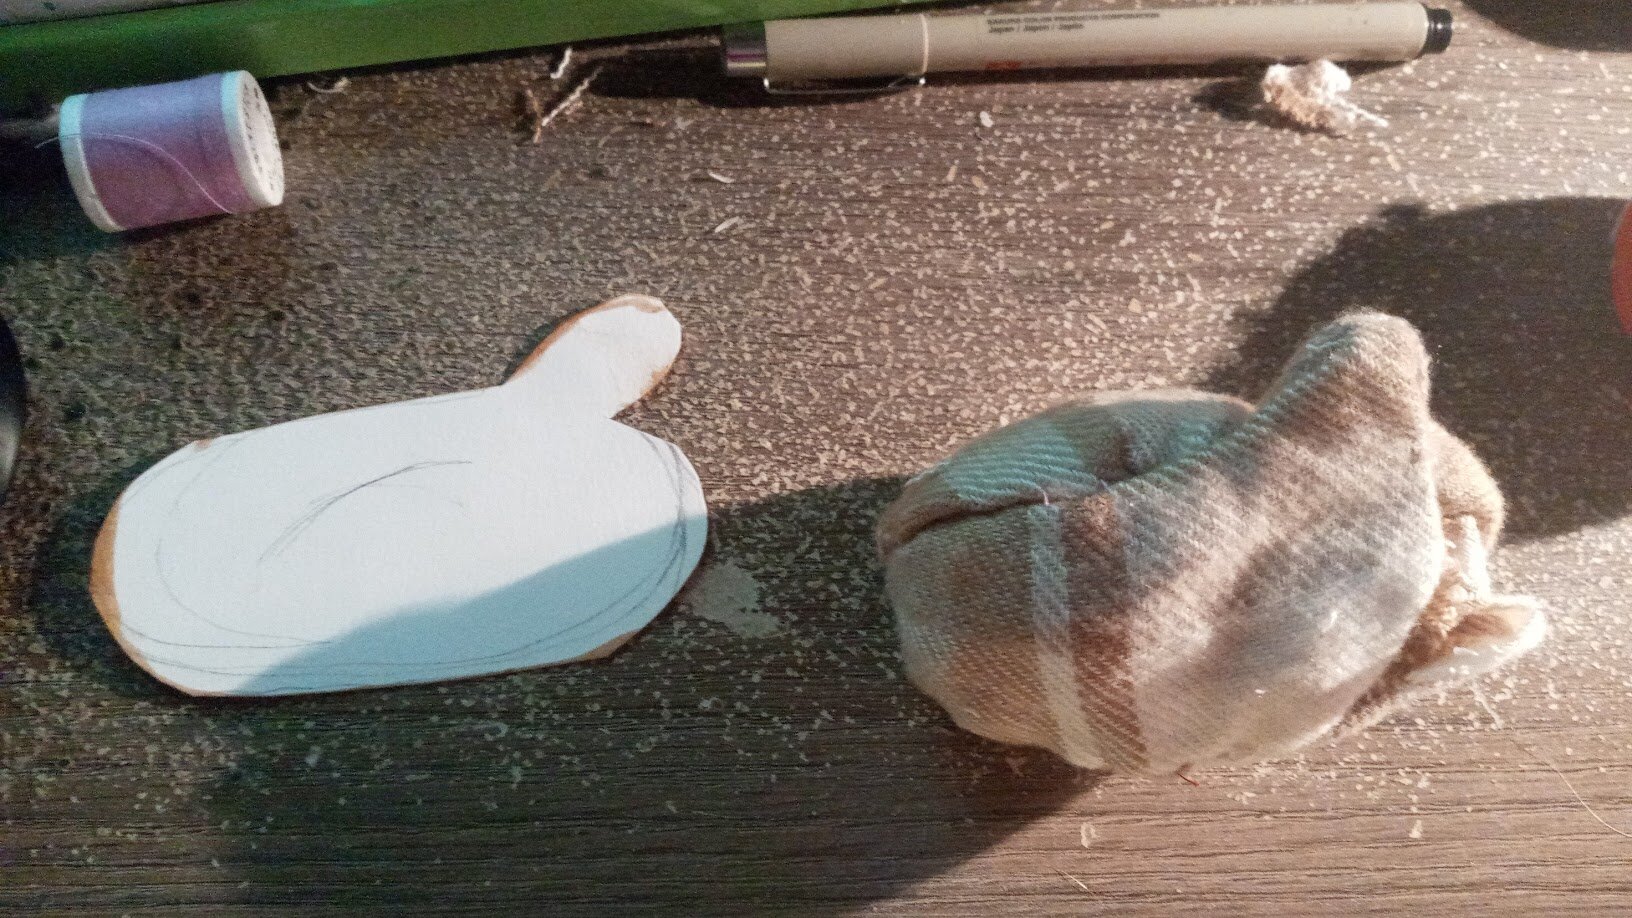
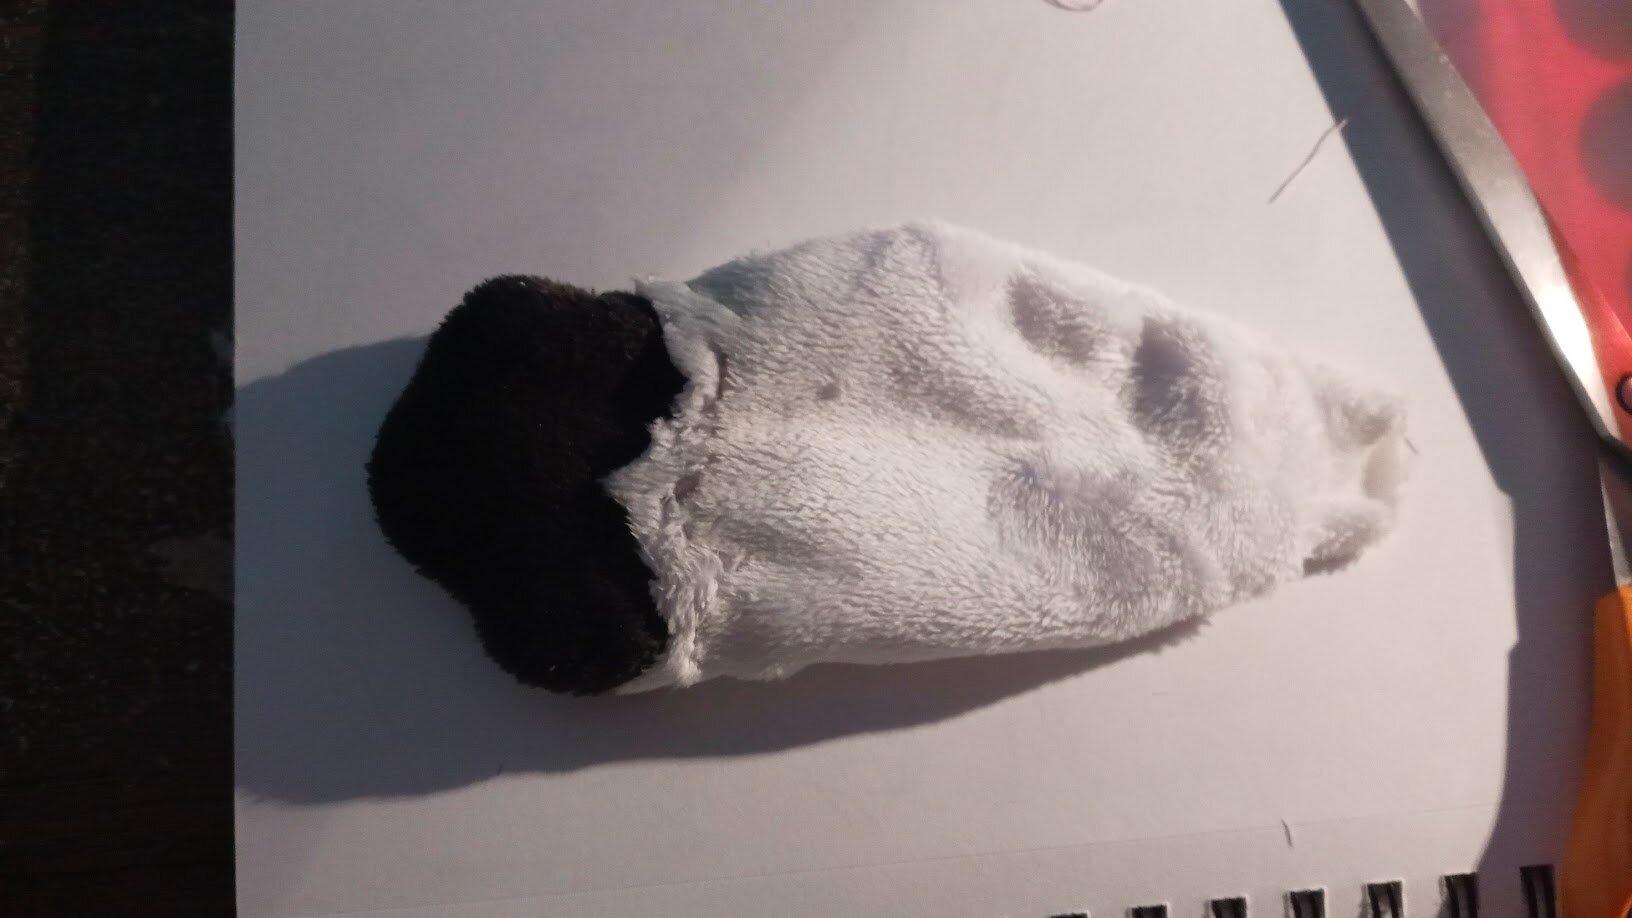
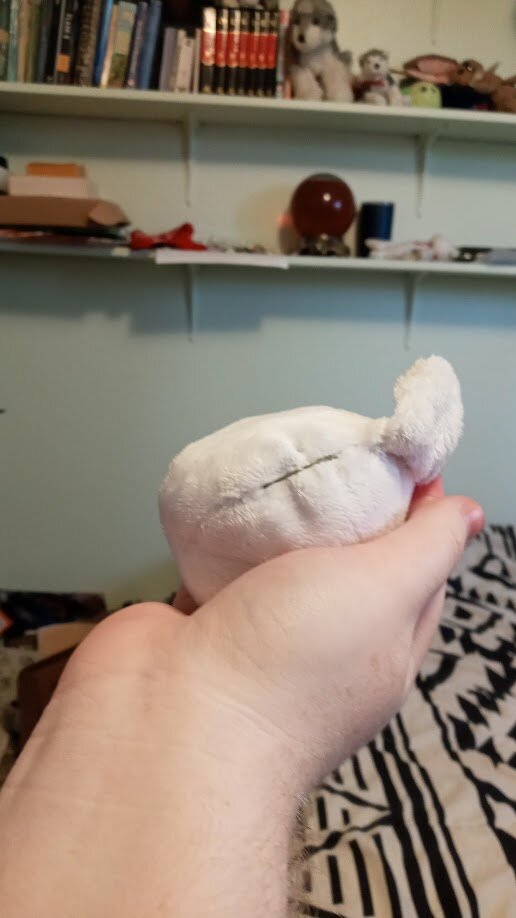
i was nervous about the shape of the tailtip; on dogthing version 1, the pointed ends were way too shallow, so the tail ended up just looking weirdly lumpy. thankfully, i seemed to do a good enough job on both the shape of the sketch and the short distance between stitches that it looks pretty close to what i was hoping for, so that's a win.
next, i did four legs - each used two halves, totalling eight pieces altogether.
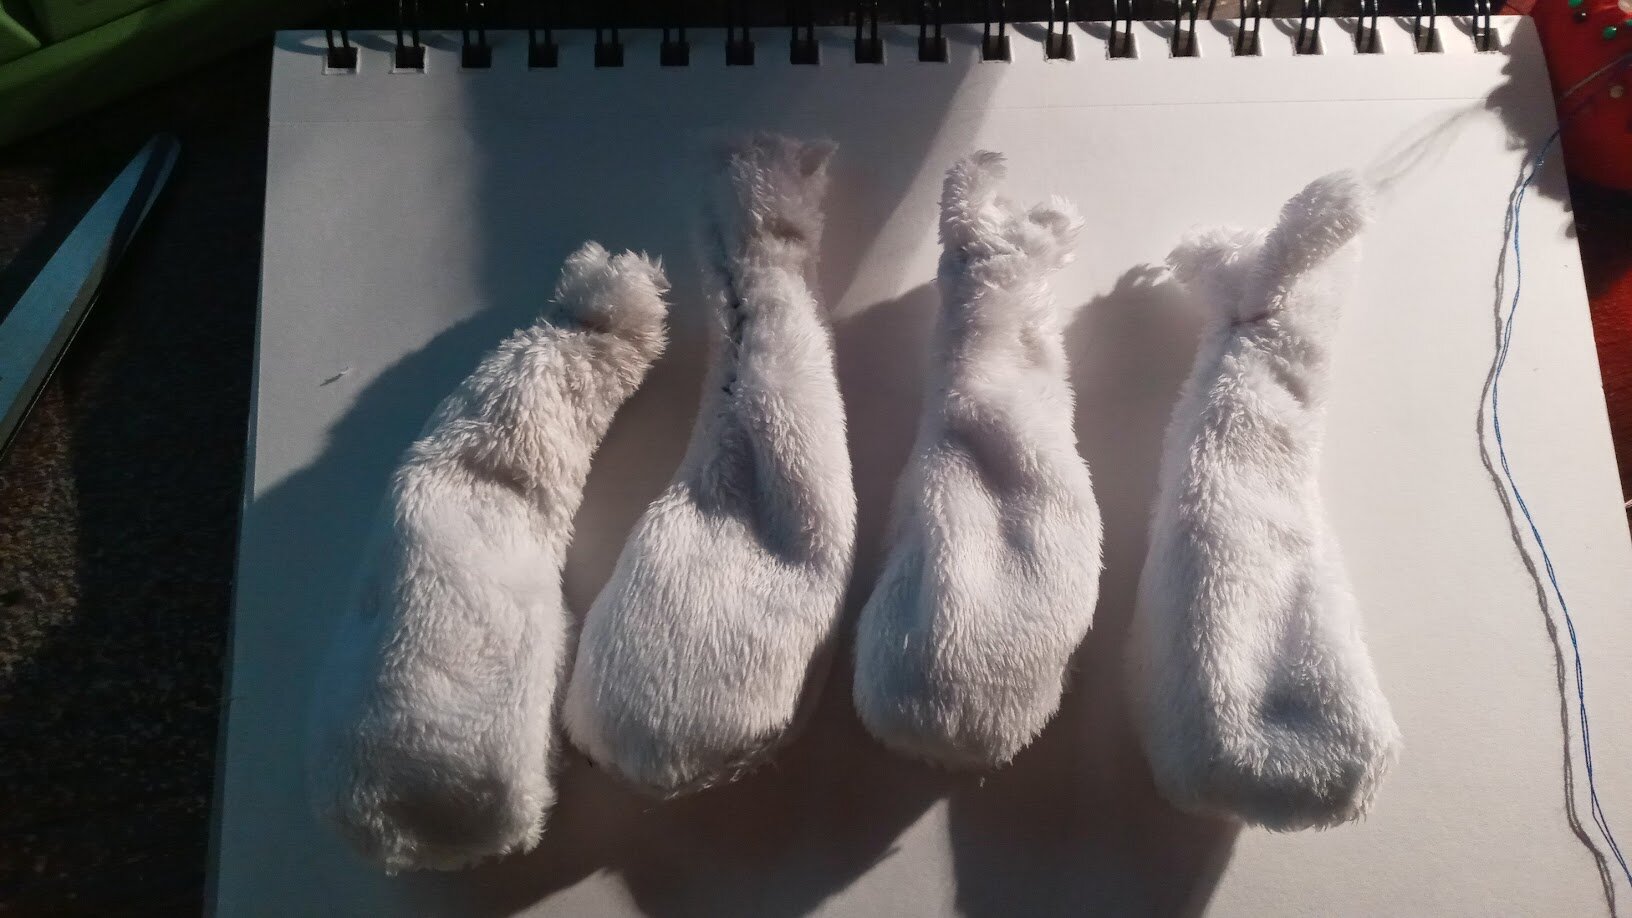
finishing all four limbs wasn't actually that hard... however.... i had two problems....
problem number one: oh my god. i forgot to trim the seam allowance so it was easier to stuff.
problem number two: i was set on adding rice to the paws for squishability. i was using long-grain rice and, even with a funnel, the fact that i forgot number one here made it WAY MORE GRUELING. if i had just used shorter-grain rice and trimmed that allowance, it would still have been a bit difficult, but not nearly as much as it was. i used chopsticks to push the rice down in the end.
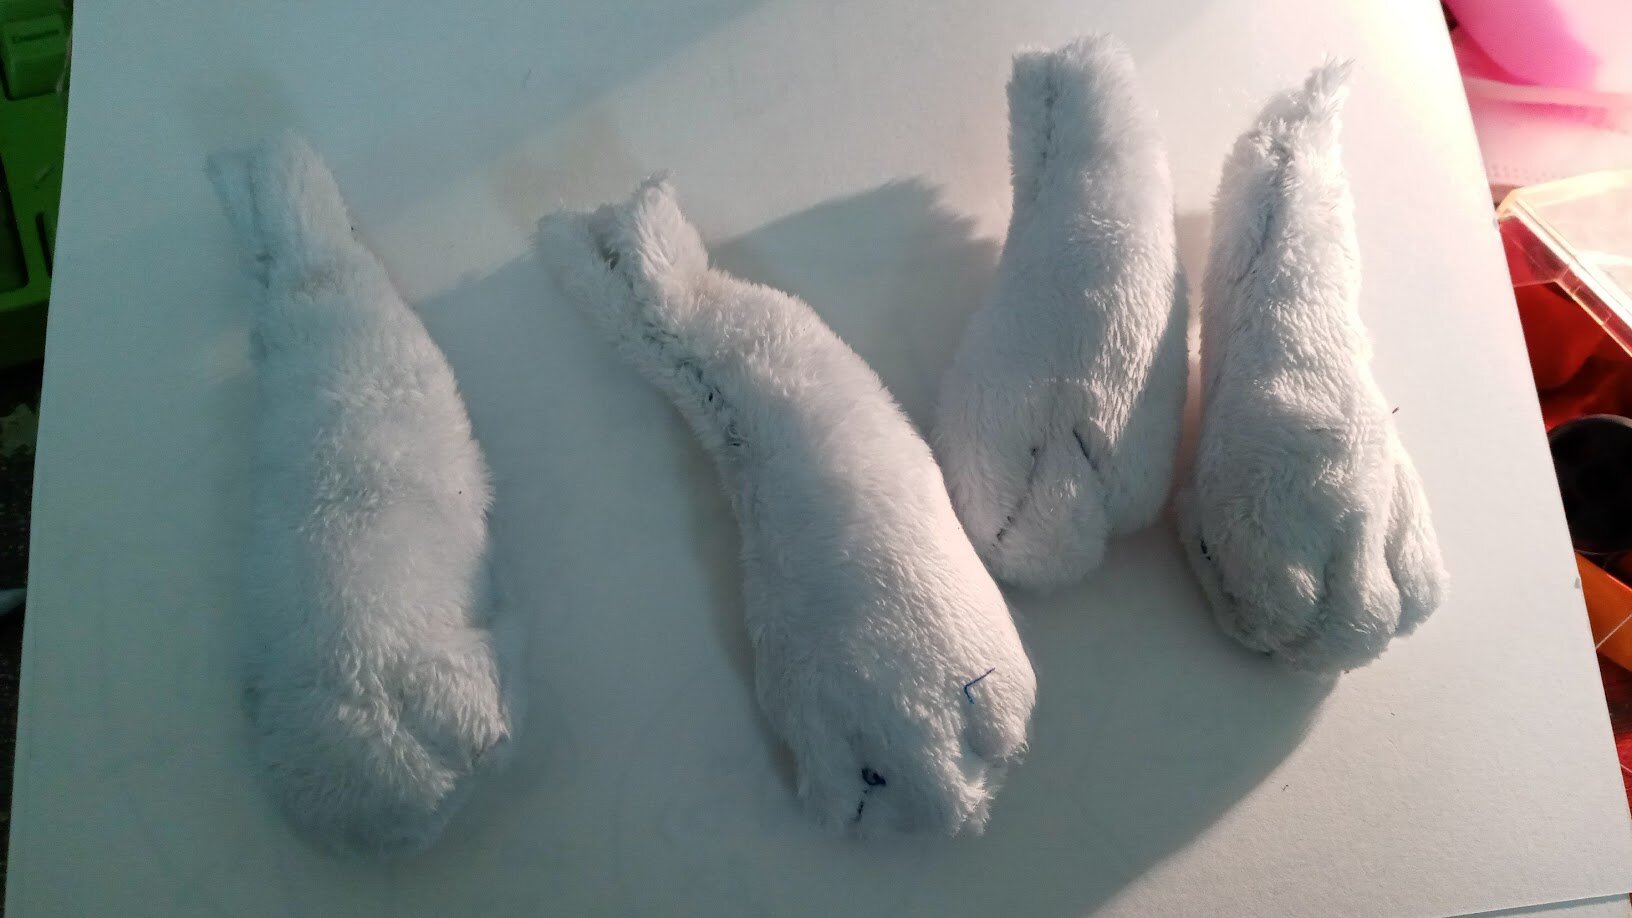
i added the toe lines by hiding the knot inside via a seam and then pulling it downwards from above and diagonally from inside. hard to describe, not too difficult to do. the rice added a nice firmness to the paws...
if there's one thing i wish i'd thought to do, it's checking whether i could fit all four stuffed legs into the body shape before cutting the body shape itself. it was quite the squeeze, and in the end, i sewed three of the four limbs - plus the tail - from the inside, and then attached the fourth with a ladder stitch.
i tried a little harder to make the legs symmetrical, but tbh, i could have done with more attention to that. i eyeballed the adjacency a little too much. at least it's passable from whatever given angles when finished.
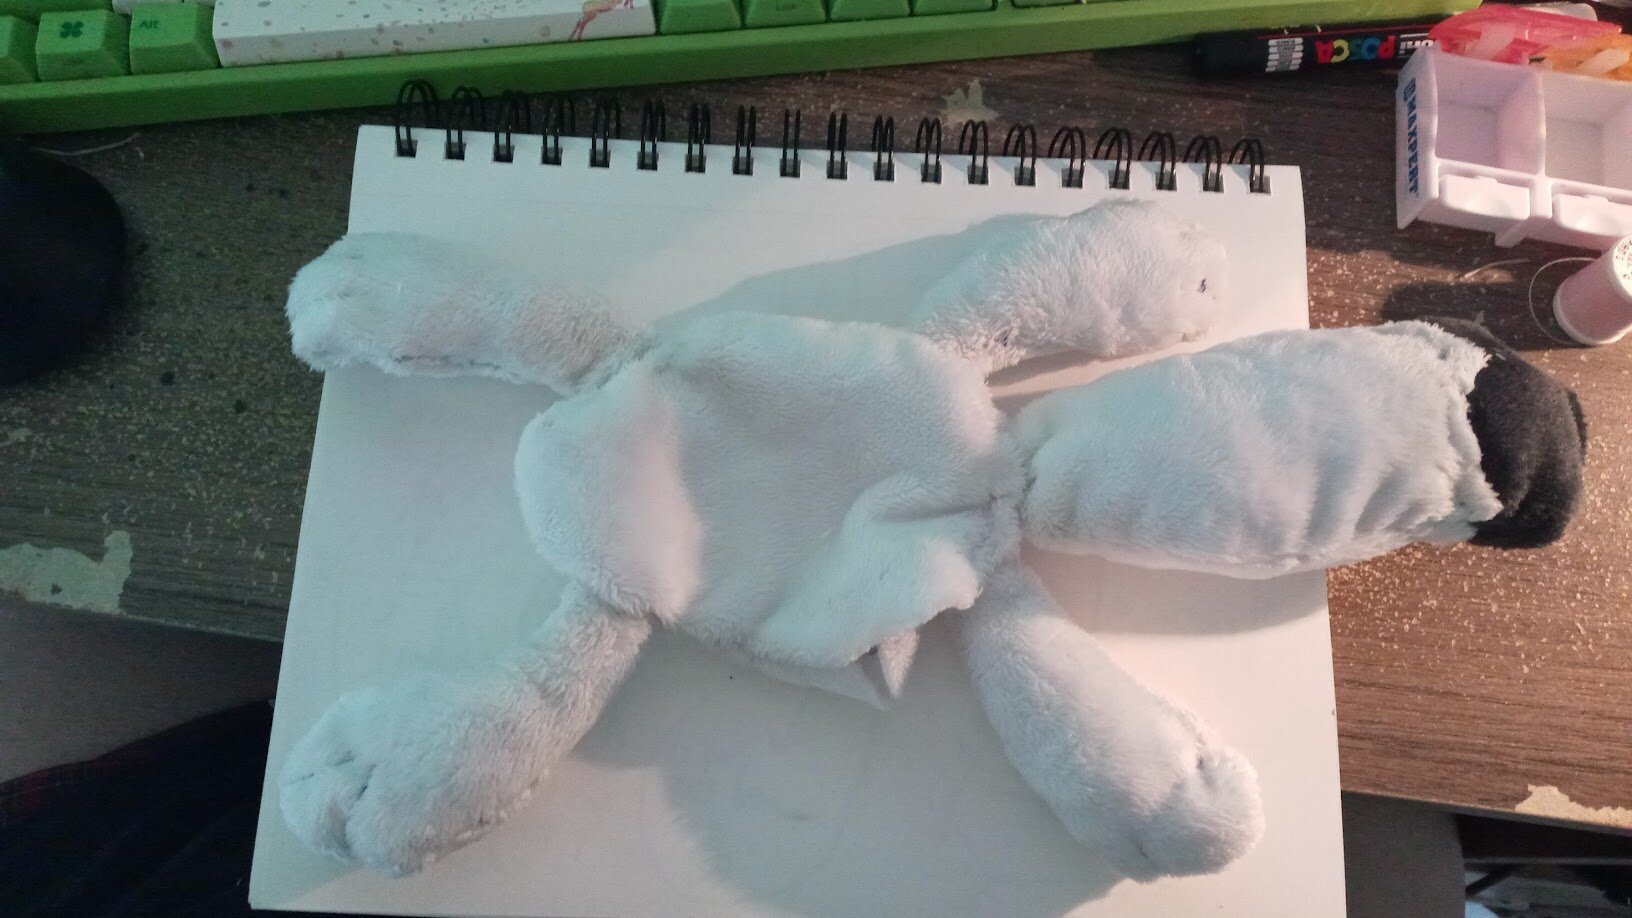
the body ended up pretty alright. i decided to stuff it from the side, rather than the back or similar, but i think i could have just ladder-stitched the tail. it ended up being sewn kind of sideways, so the seam is on the sides rather than through the middle from above. i think i can improve on that.
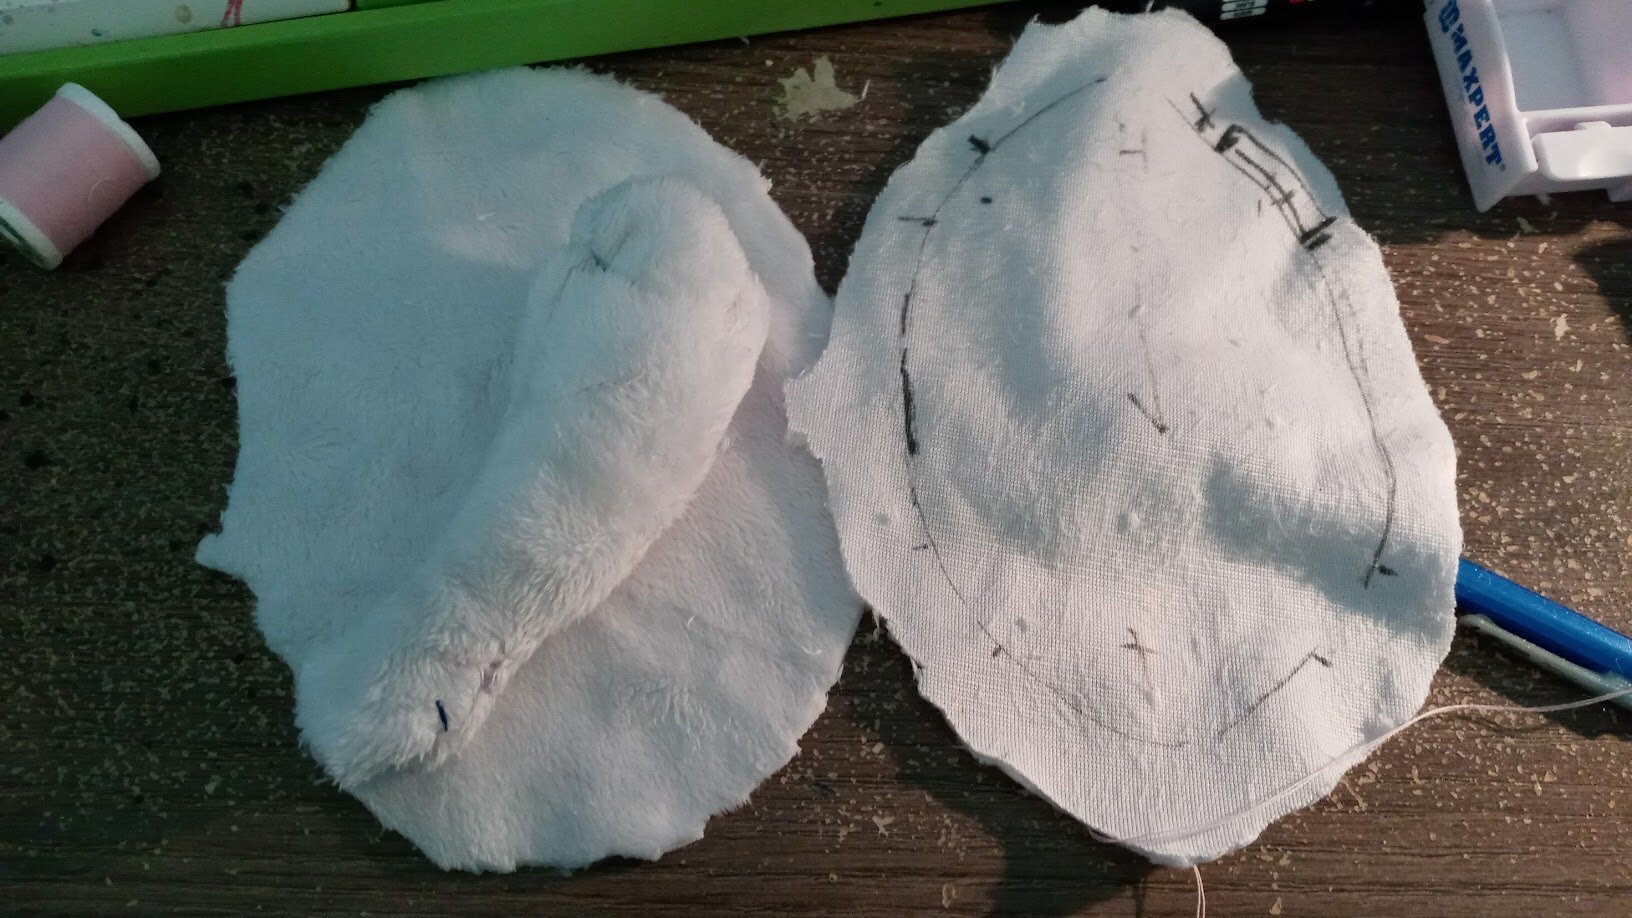
the first head i made was GOING to be final, but two things led me to tear it apart and try again:
- the headshape was so close, but the bottom was too lumpy, and made it difficult to ladder-stitch to the body;
- the ears were asymmetrical, both in placement and length (one longer than the other);
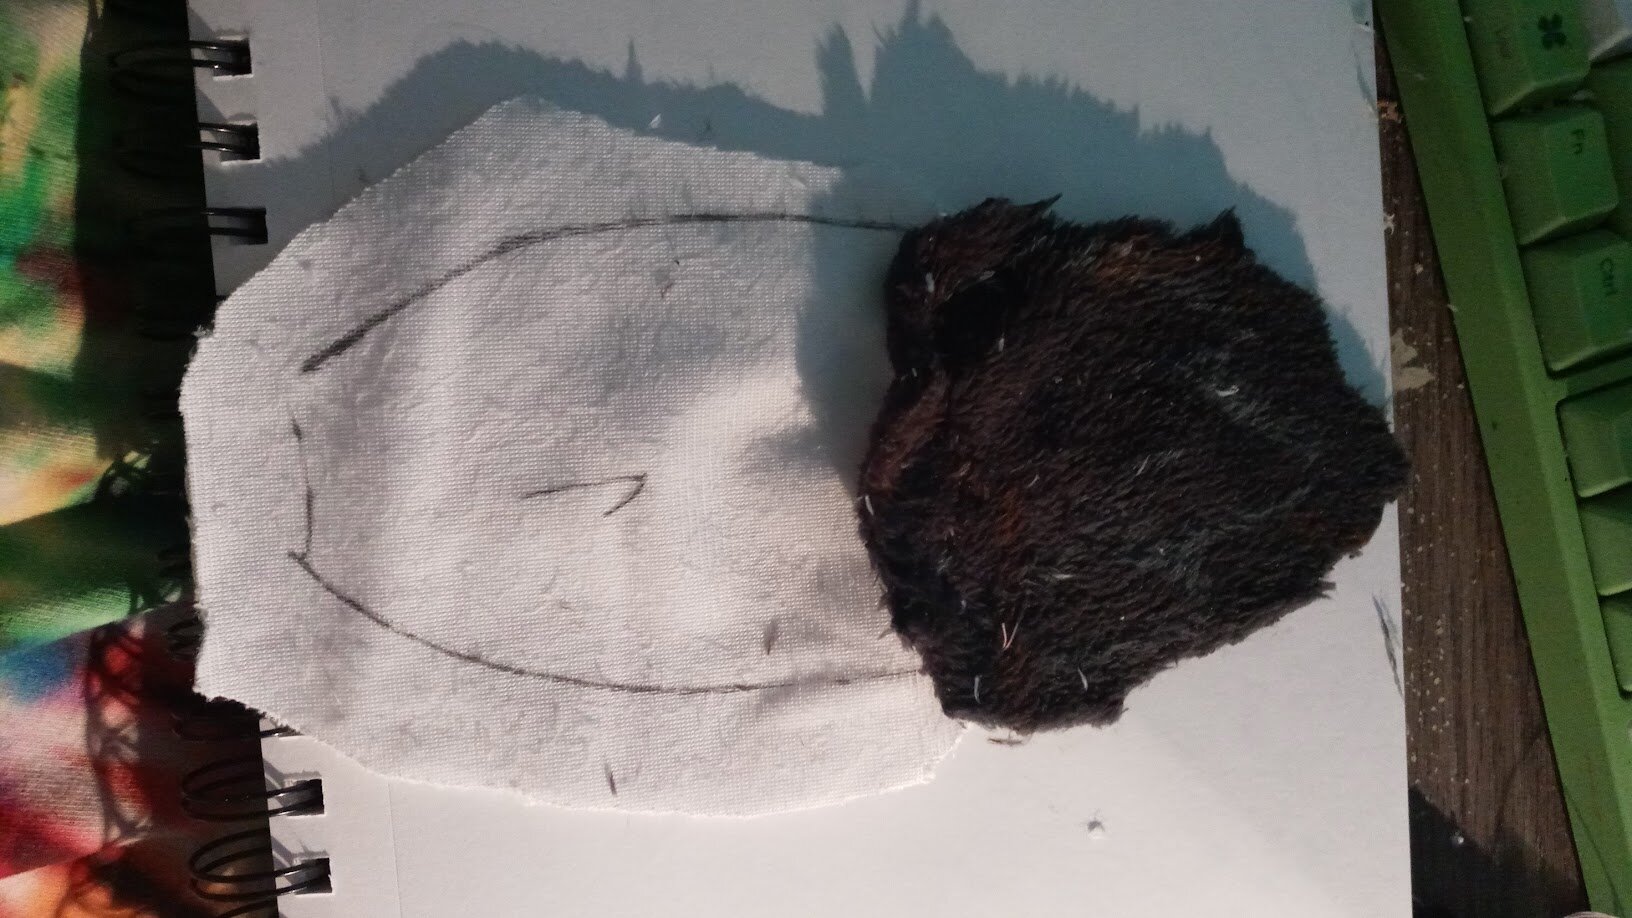
thus began my descent into madness. i was having the worst time drafting a new head shape. i wasted a decent amount of white fur in my attempt to remedy it.
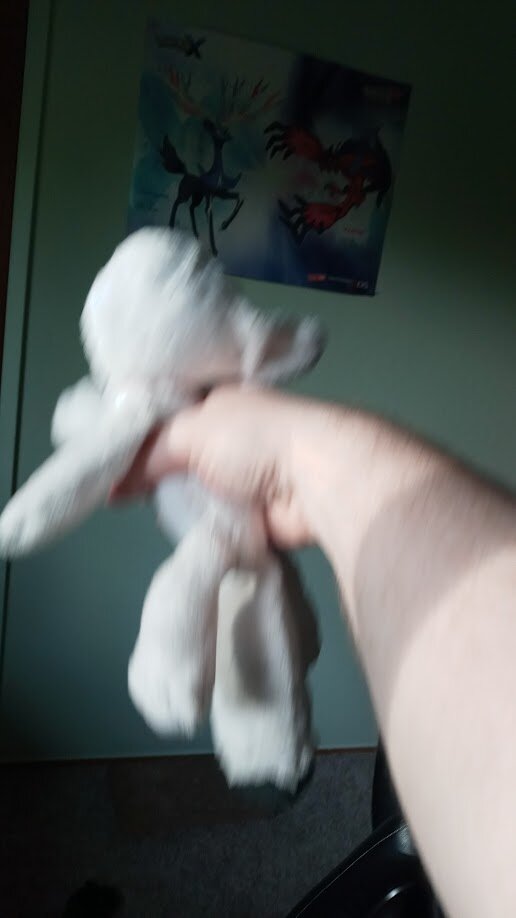
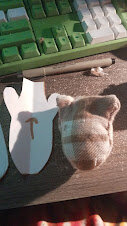
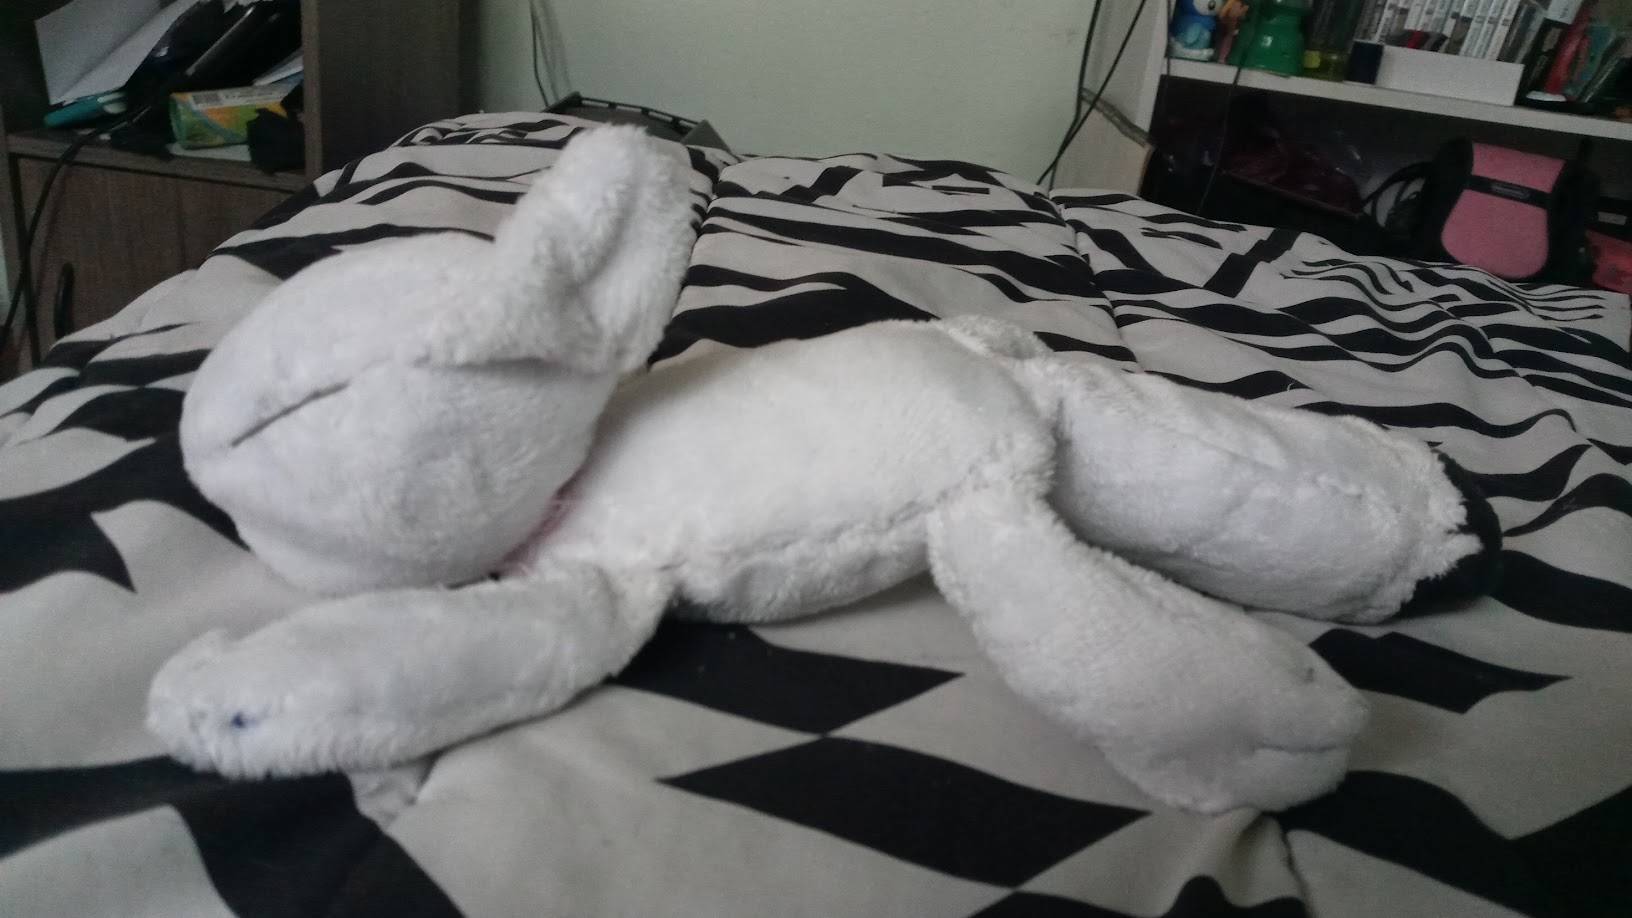
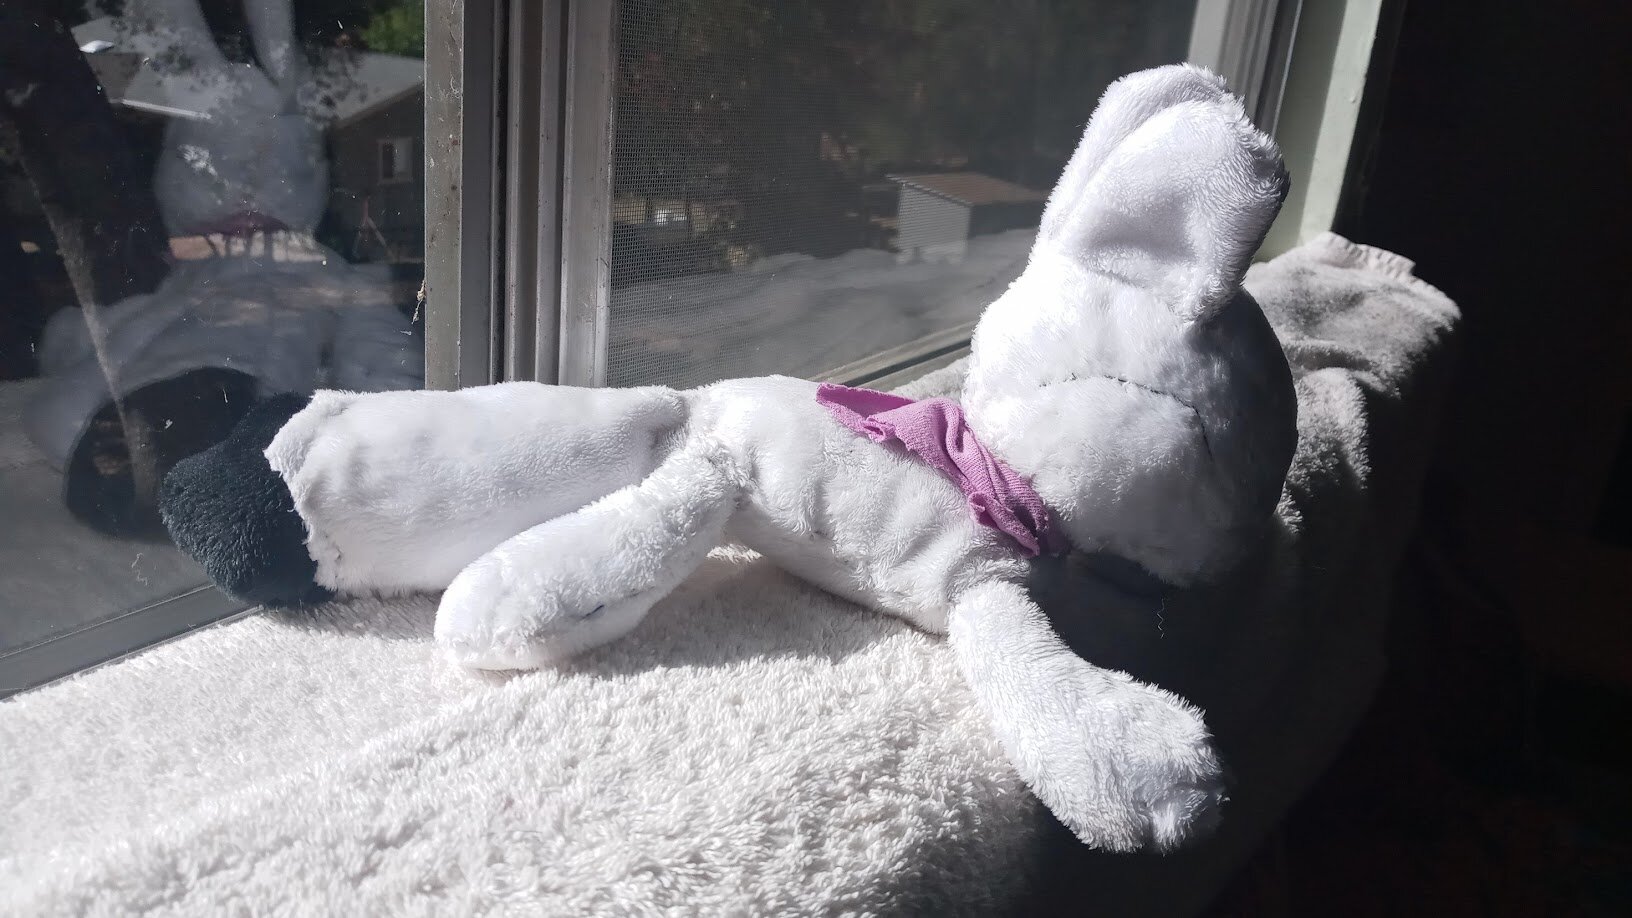
this damn thing. anyway. after some fumbling, and then some corrective stitching for what i mis-stitched, i ended with a final dogthing i was at least mostly pleased with.
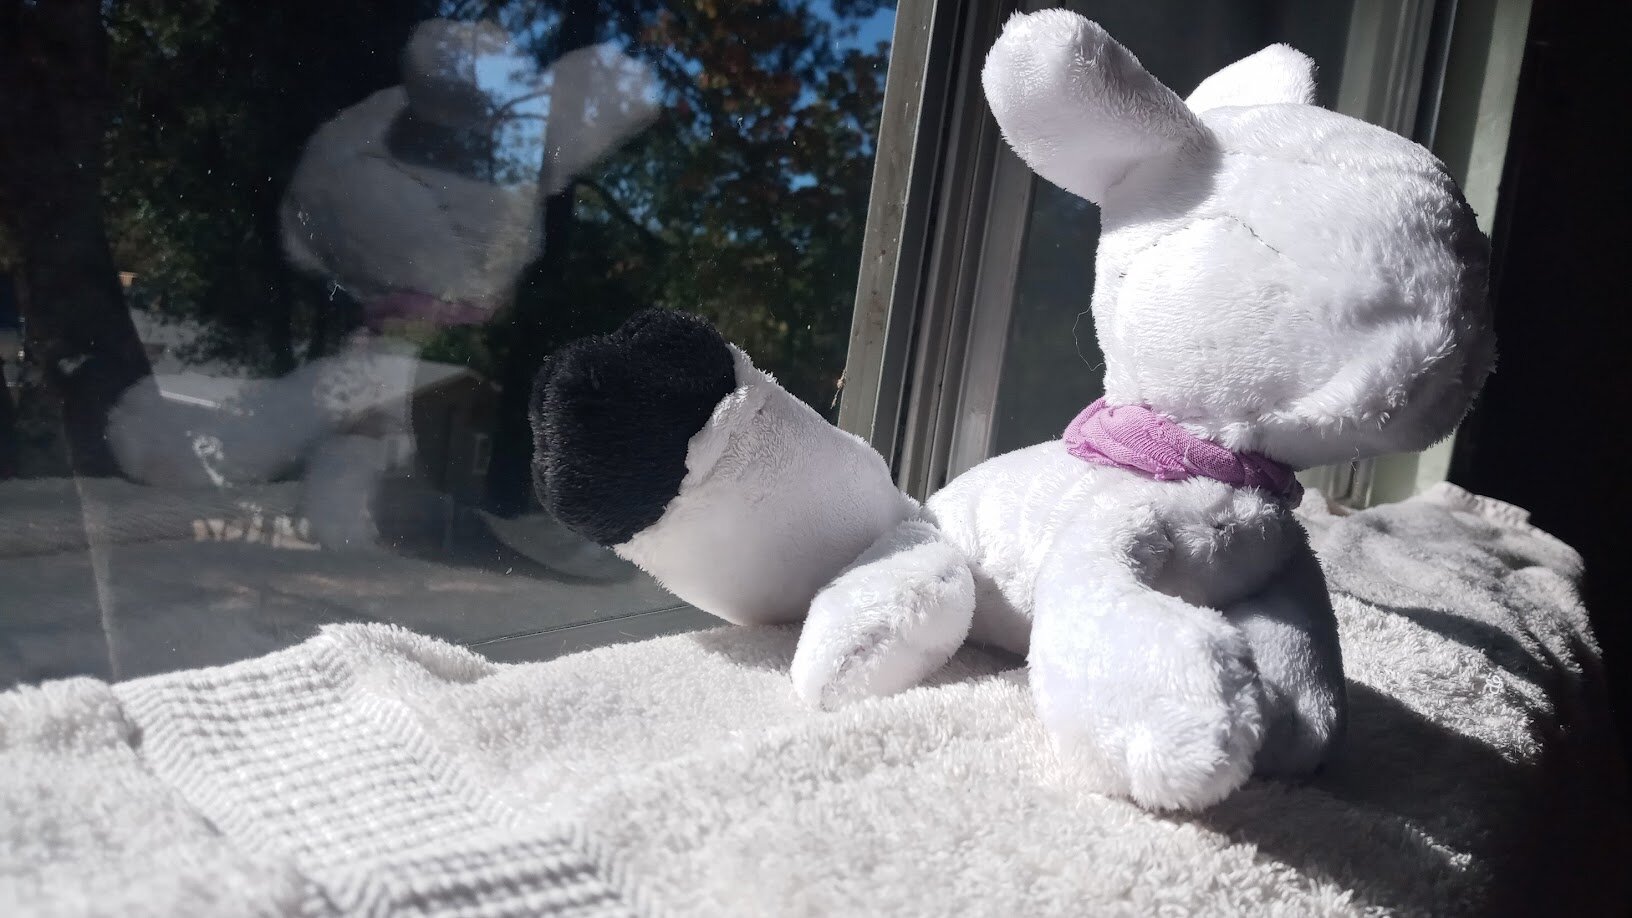
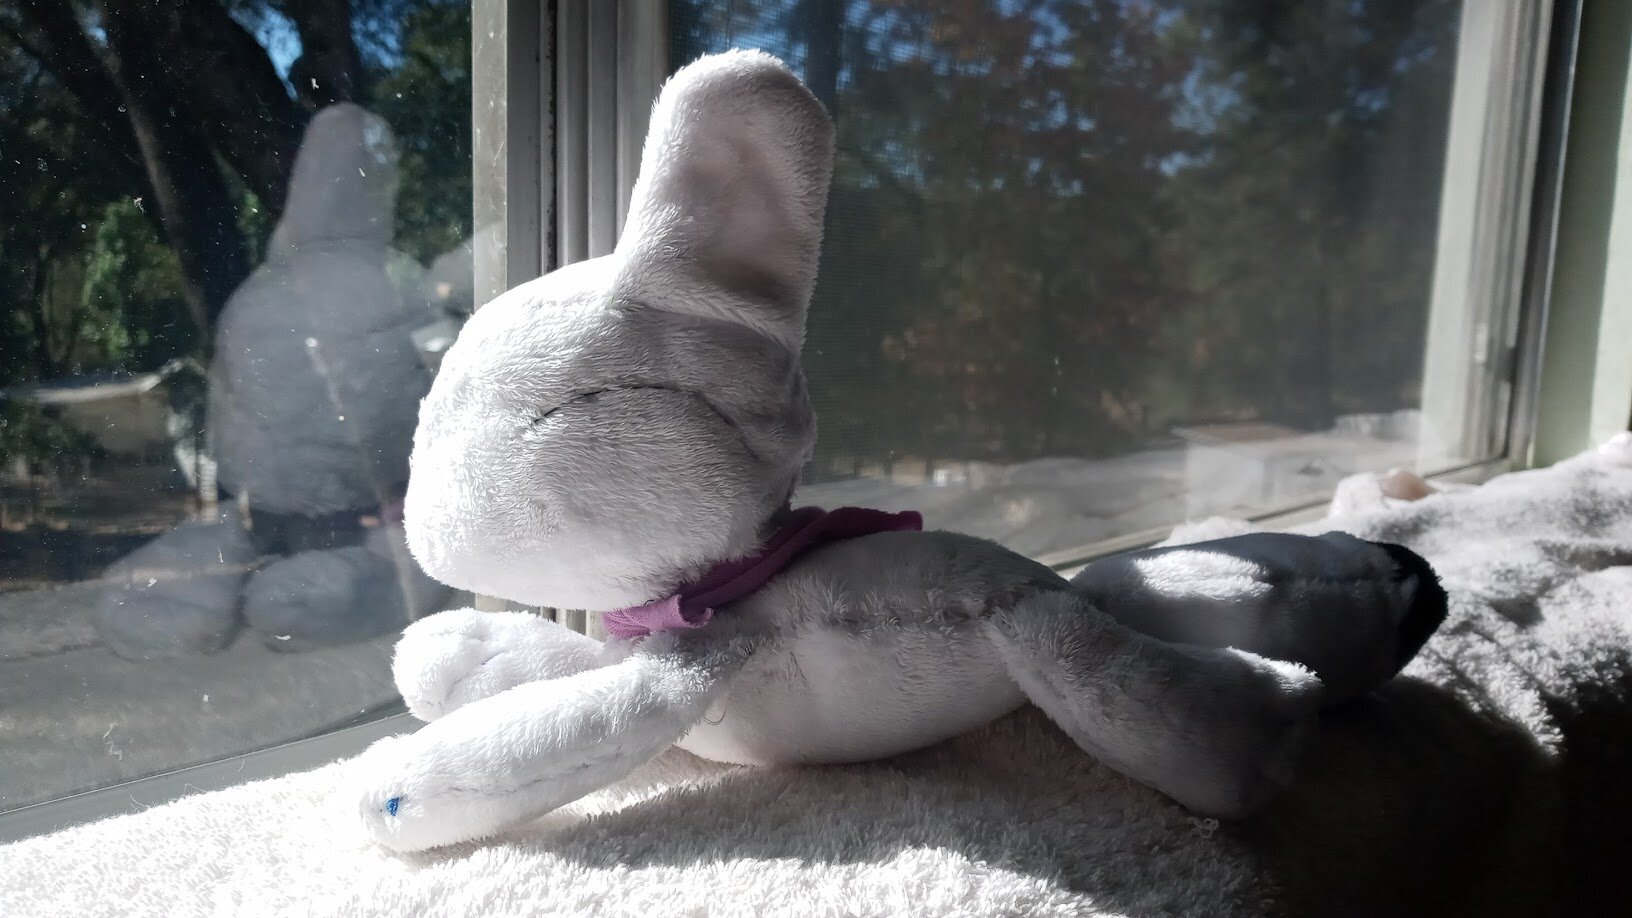
and here are some comparison shots between version 1 (dubbed "vermillion") and version 2 (dubbed "foxglove"):
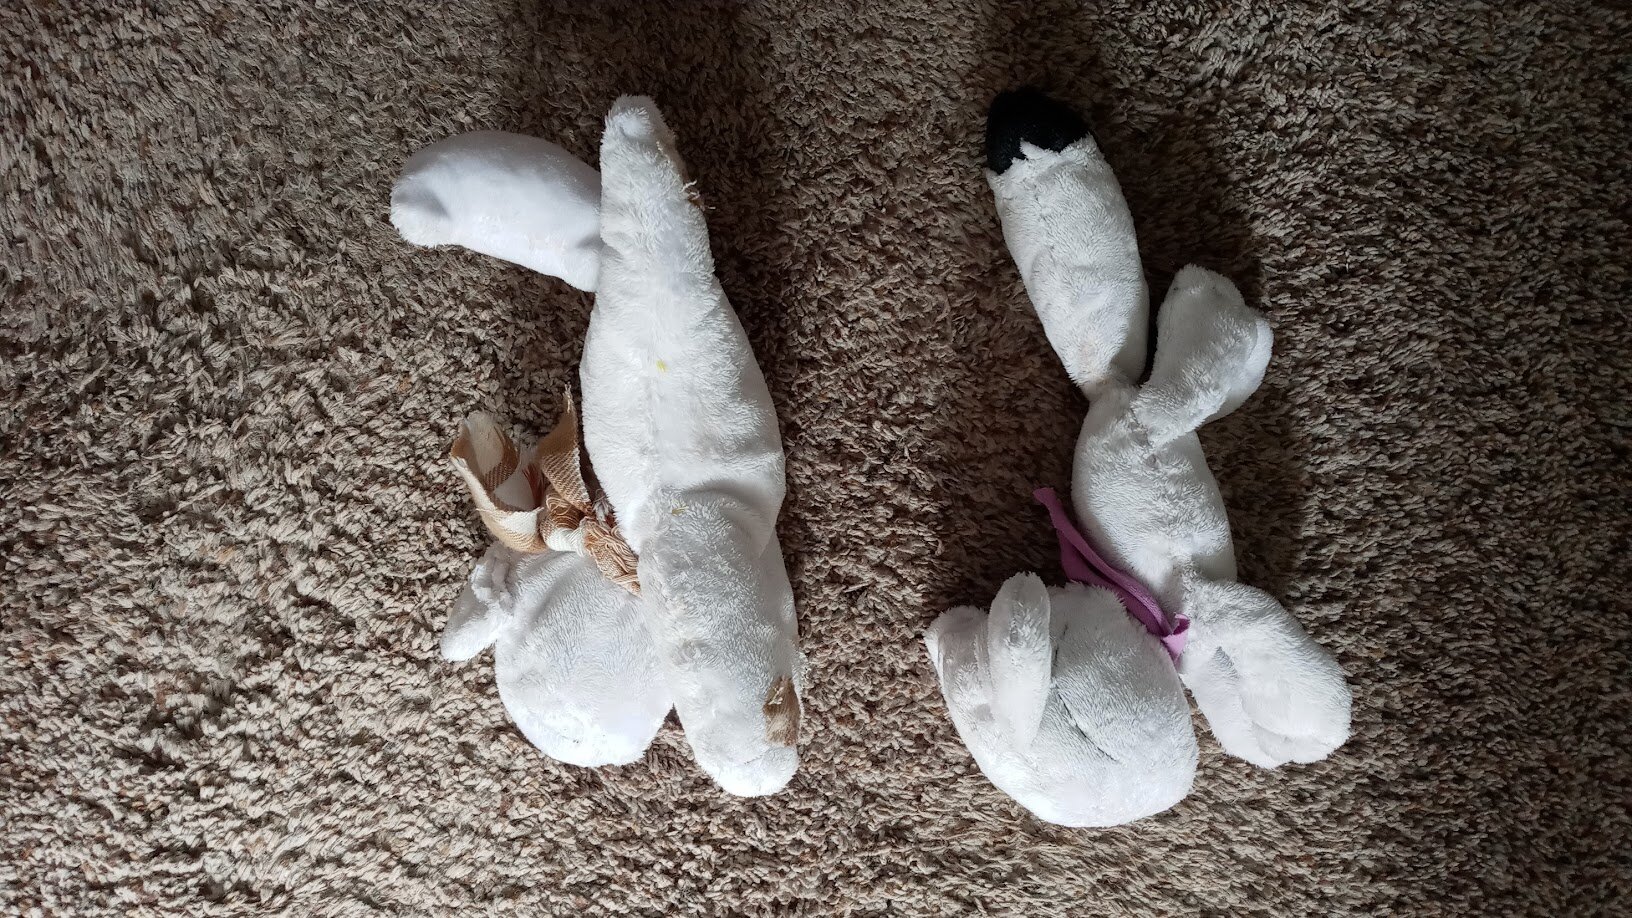
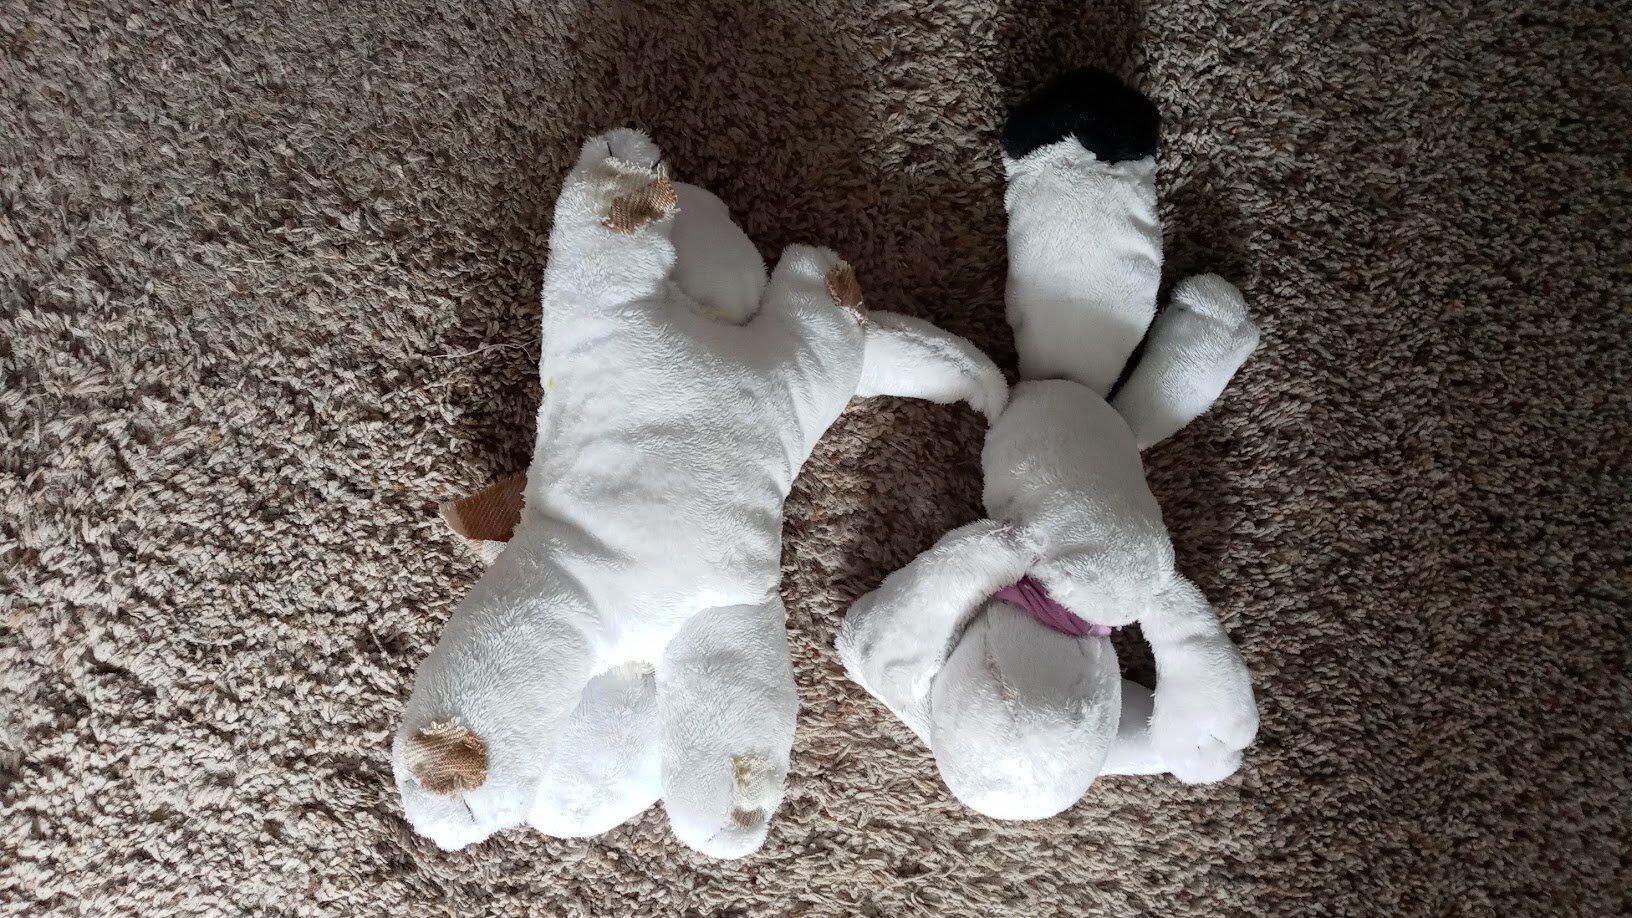
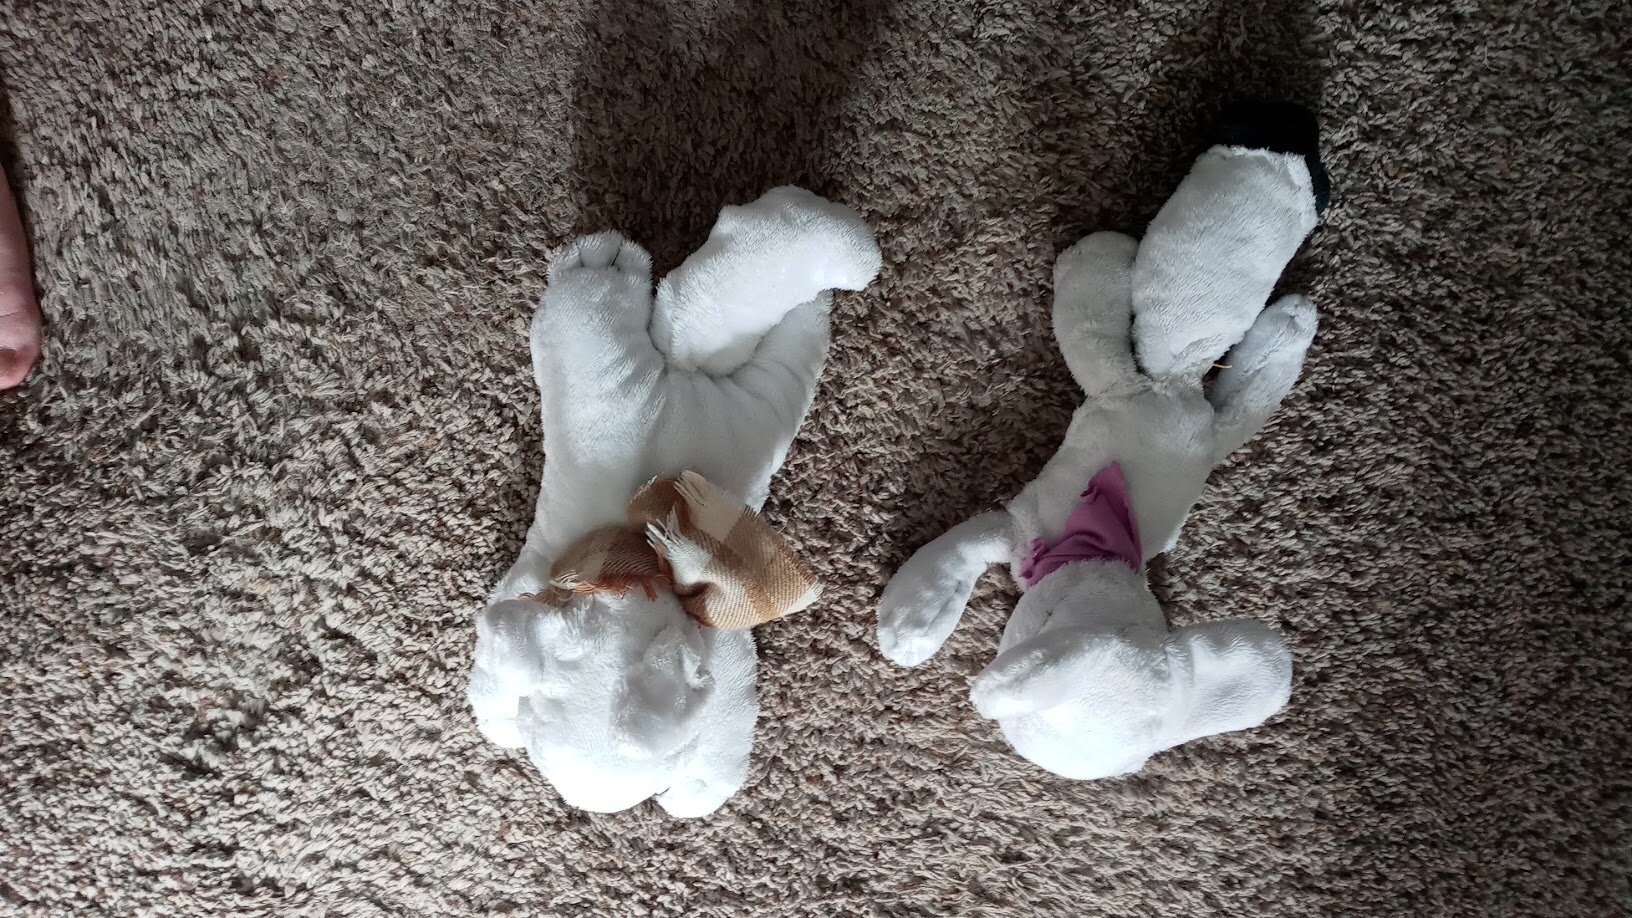
honestly, i think aside from some modifications, the new one is a lot nicer. i really enjoy the sensory feeling of squishing its feets. it can even sit up properly and doesn't fall over because of the weighted paws!
as a retrospective, here are some things i'd probably change next time i try reusing this pattern:
- test the head shape once more (i think i have a better idea on how i'd put the head together now)
- use embroidery thread for the eyes instead of regular thread (or attempt to shave the fur slightly to make the eyes stand out better through the fluff)
- more accurately and symmetrically measure where the legs attach to the body, and leave the stuffing-hole open in the back where the tail goes, instead of stuffing from the side
- make the ears a bit shorter (theyre too long for the head here imo)
- perhaps put something in the ears to make them stand a little easier? (maybe not)
- add pawpads
- add head/cheek tufts?
- use pins more liberally
- use a lighter pen when marking for cuts (so it doesn't seep through the fur, though it isn't too visible in photos)
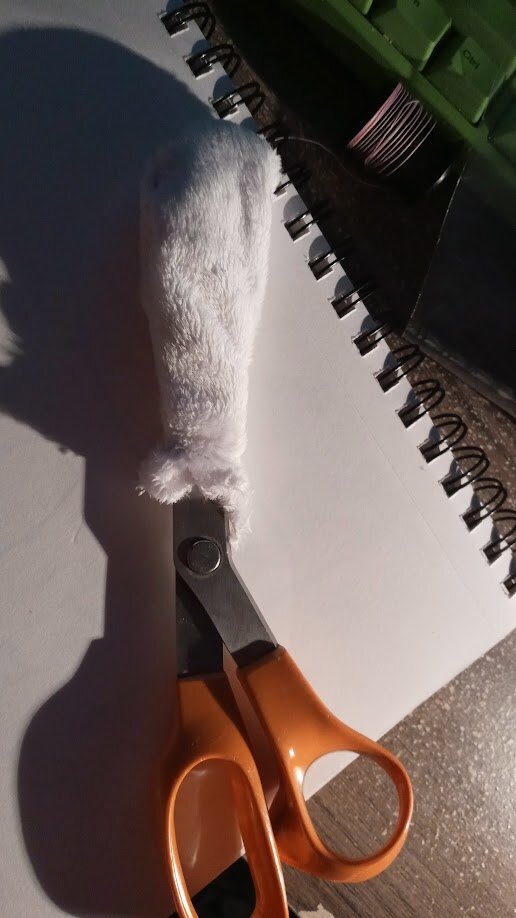
- cut the white bits of the tailtip more cleanly BEFORE sewing them together
- USE SHORT-GRAIN RICE AND TRIM THE EXCESS SEAM ALLOWANCE BEFORE STUFFING
i'll probably upload the plushie pattern once i've REALLY got it down. next up (whenever i get more fur) is toby plush. until then - i hope you enjoyed this post!
 |
| listening to: vylet pony - i've still got something to teach you |
| playing: pokemon heartgold |
| feeling: accomplished |
outside it is:  sunny sunny |