 >> swifty's hq v2.2 > main > blog
My Hiding Place: From Start To Finish
thumbnailing

as with any drawing, i started by plotting out the rough values and layout i wanted. i wanted this dark, imposing arched hallway, with a fox at the entrance peering in. there is a field in the background, vaguely implied with brushstrokes, and a grid on the ground showing that the perspective is closer to the fox's shoulder-level and is far back in the tunnel.
in this stage, you don't need to worry about detail. the most important things are the values and the composition. the stuff closer to the camera is dark, and the stuff farther away is pale and lower-contrast. i wanted to make the contrast of the light very striking here, to elicit the feeling of almost being trapped, and being seen, but maybe not being in danger. you know? it was a hard thing to pin down.
layout
so then i hopped to blender and started working.
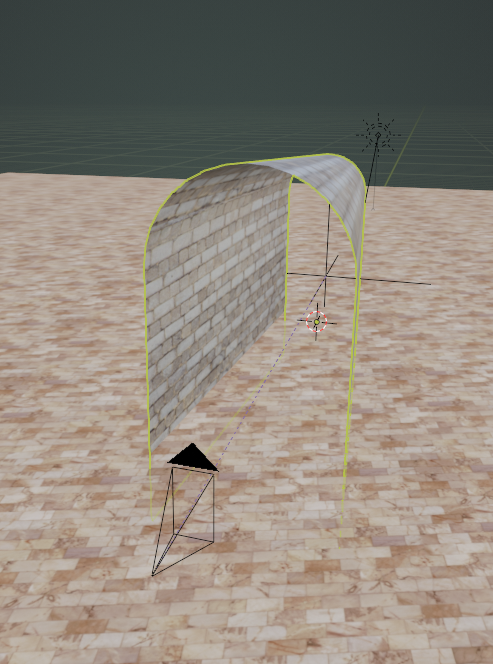
i started with a basic brick texture on a ground plane and an arched hallway with a different brick texture. these are placeholders until i figure out what i want to do with them better. but these are the establishing features so far.

i turn on the lights, and put an empty axis in, which has a parented camera with the 'track to' constraint so that i can better control the angle and position of that camera. that's a trick i've done for so long that the process of making an empty, spawning a camera, and setting the camera's parent to the empty is just second nature to me now.
with that, we can start working on the fox.
shape blocking

i start with a few different shaped meshes and slap a subdivision modifier on them. this makes it easier to handle the general shape without messing up the smoothness of the meshes. the legs are poorly defined, so i give them a second pass.
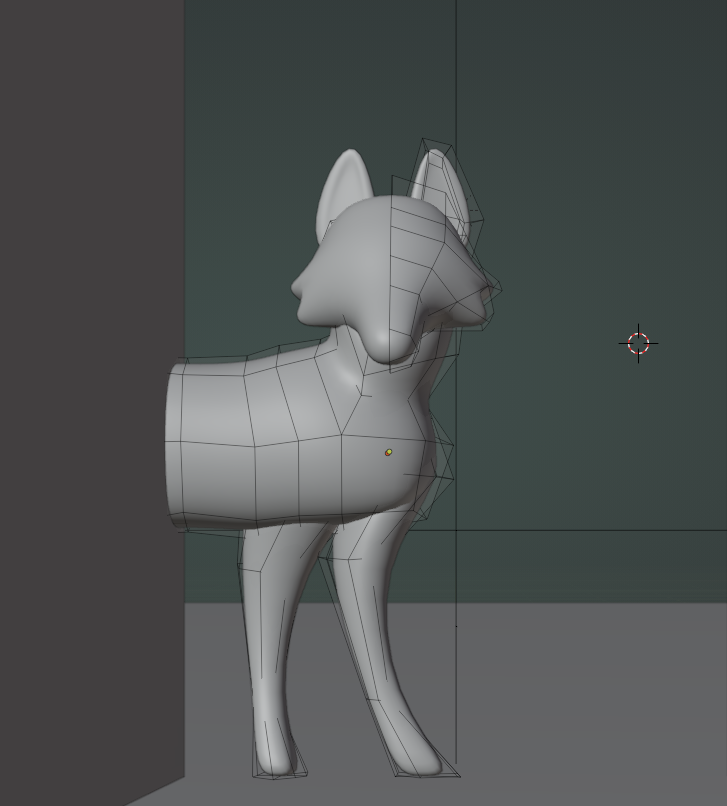
i also end up adding a better-defined neck and cheek-fur. i will continue to tweak these as i work, but this is a pretty solid foundation.

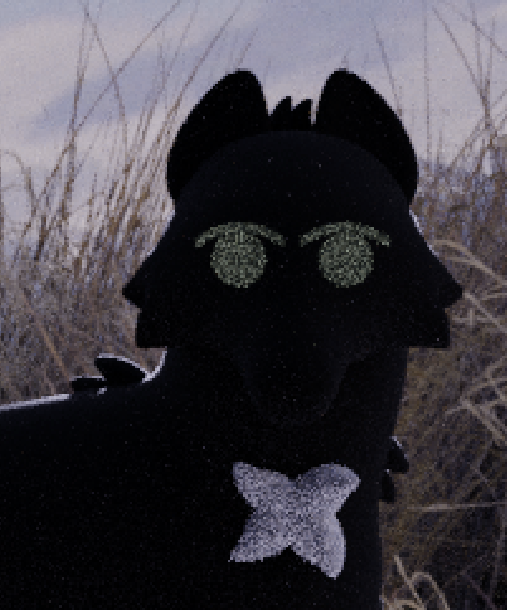
i finally create some texture and apply it to the shapes. i also add the eyes and some fluff for flavor. the eyes themselves are flat planes in front of the face.
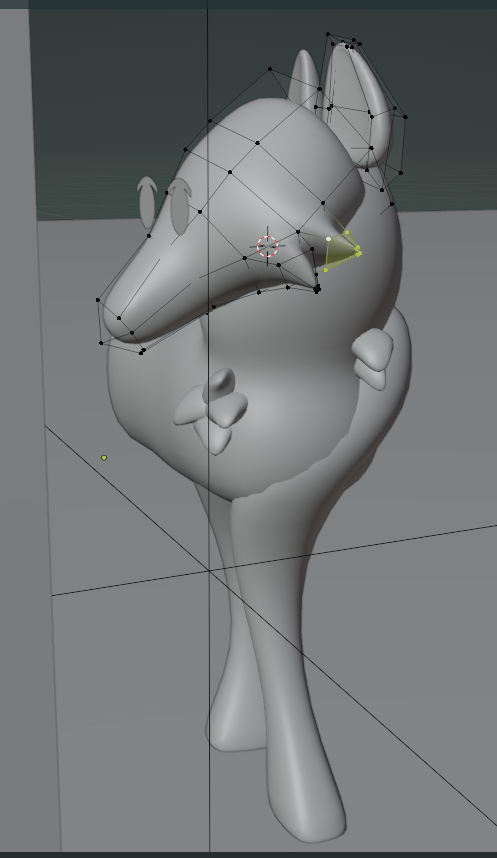
it doesn't need to make sense from the side, but it does make me laugh to press numpad3 and see how strange the body looks from that angle. but, hey, this isn't meant to be viewed from anywhere but the front, so i don't have to sweat the shape so much. remember, we're making a static image!
scenery
i create a second floor plane slightly beneath the other one and placed in the background, angled slightly, like a hill.
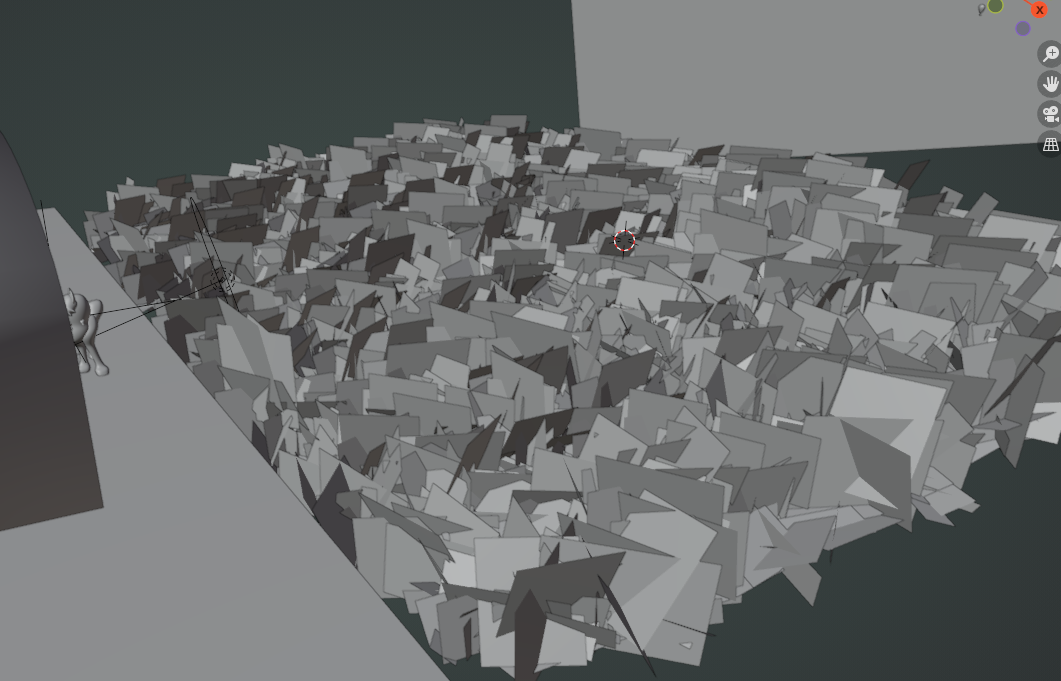
i then use geometry nodes to scatter some grass planes onto it at random. this allows me to clump them together, scale them, rotate them, the whole shebang. i try to make it dense and clumped up, like real grass.
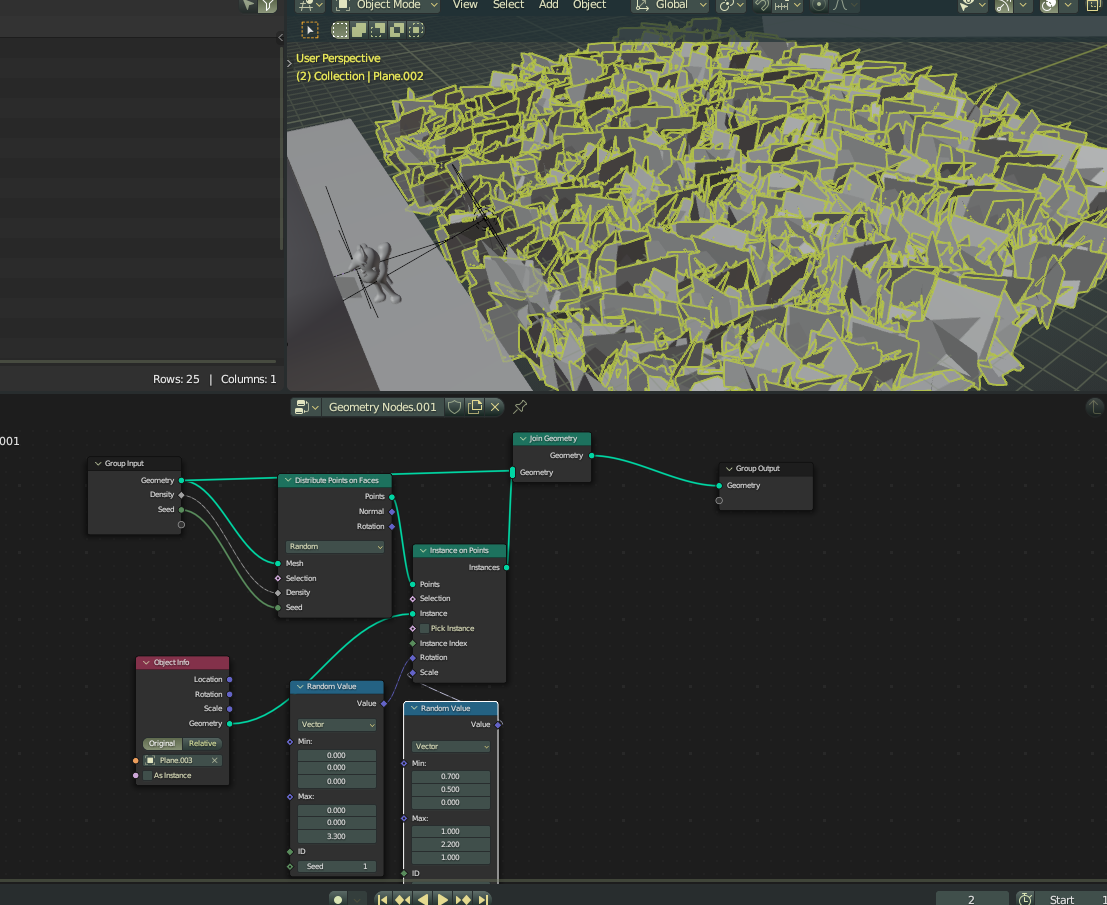
so although this looks like a lot of planes, it's just multiple instances of a single object that consists of just a few planes in a cluster.

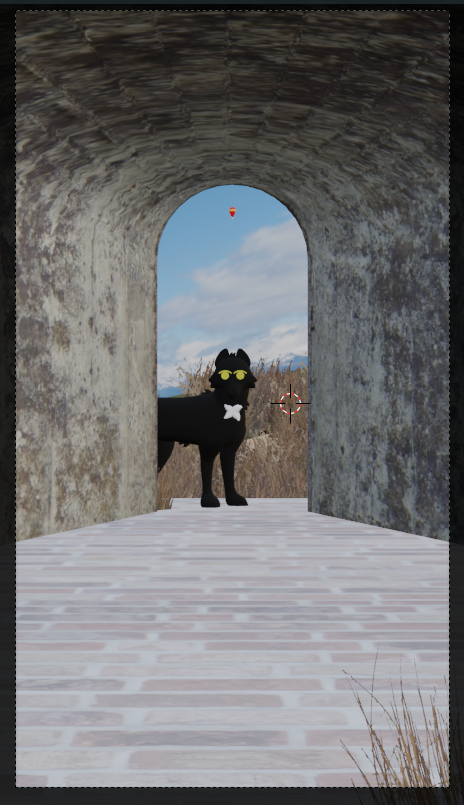
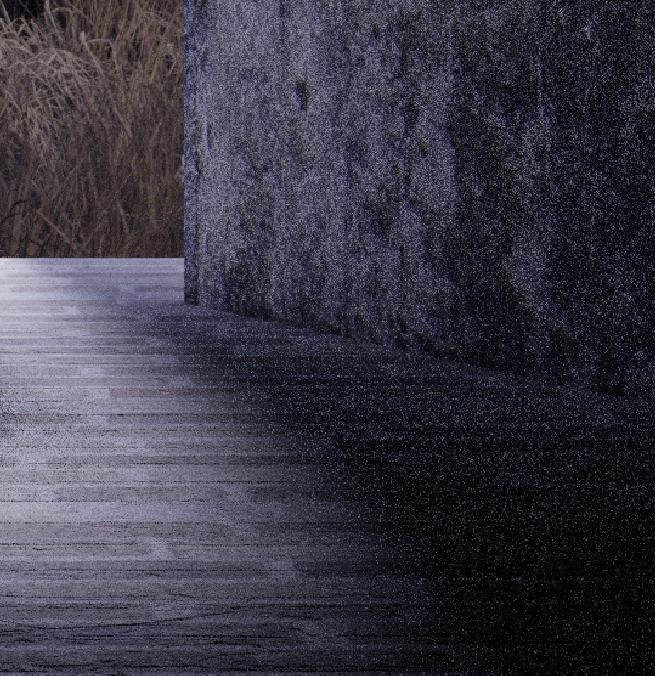
it looks a lot better with the material texture on! the background here is taken from a personal photograph of mine. it works nicely here.
final draft
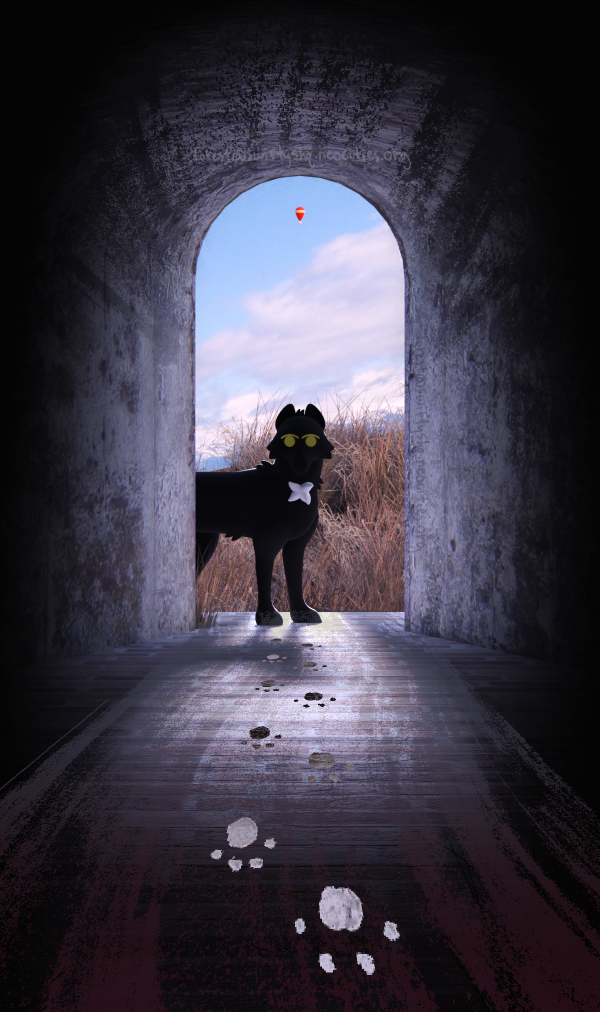
here's where we add some finishing touches - a bright red balloon in the distnace, centered above the fox, better textures for the walls and floor, and a bit of grass in the foreground, though that ends up getting drowned out in the finished product. ah well!
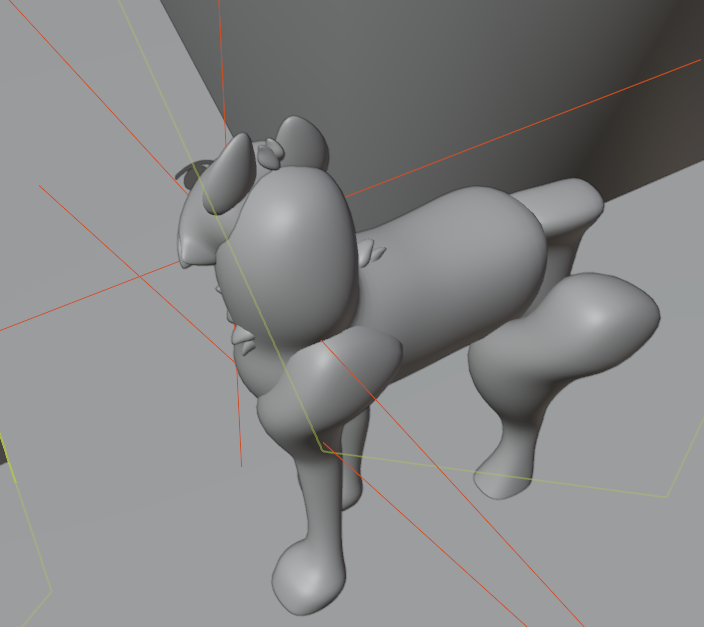
and here's one more peek at the side view. there's a whole extra leg here you don't see at all. i could have removed it, but i wanted to be thorough. i think the paw shapes here are nice.
and with that, we render it...
compositing
the initial render is looking good, but i want to give it more oomph and some personal touches, so i open it up in clip studio. (i don't have screenshots of that process.)
i took a wavy watercolor texture i scanned in and recolor it, then overlay it on the top and bottom to give the appearance of a path or mist. i then overlaid some pawprints i drew on paper and set the layer to.. i think difference, or exclusion, in order to make them stand out on the gradient floor.
and of course, finally, i added more shading in the foreground, though i think i could have done better evening it out on both sides. ah well! i also make some edits to the color profile to add more contrast and saturation.
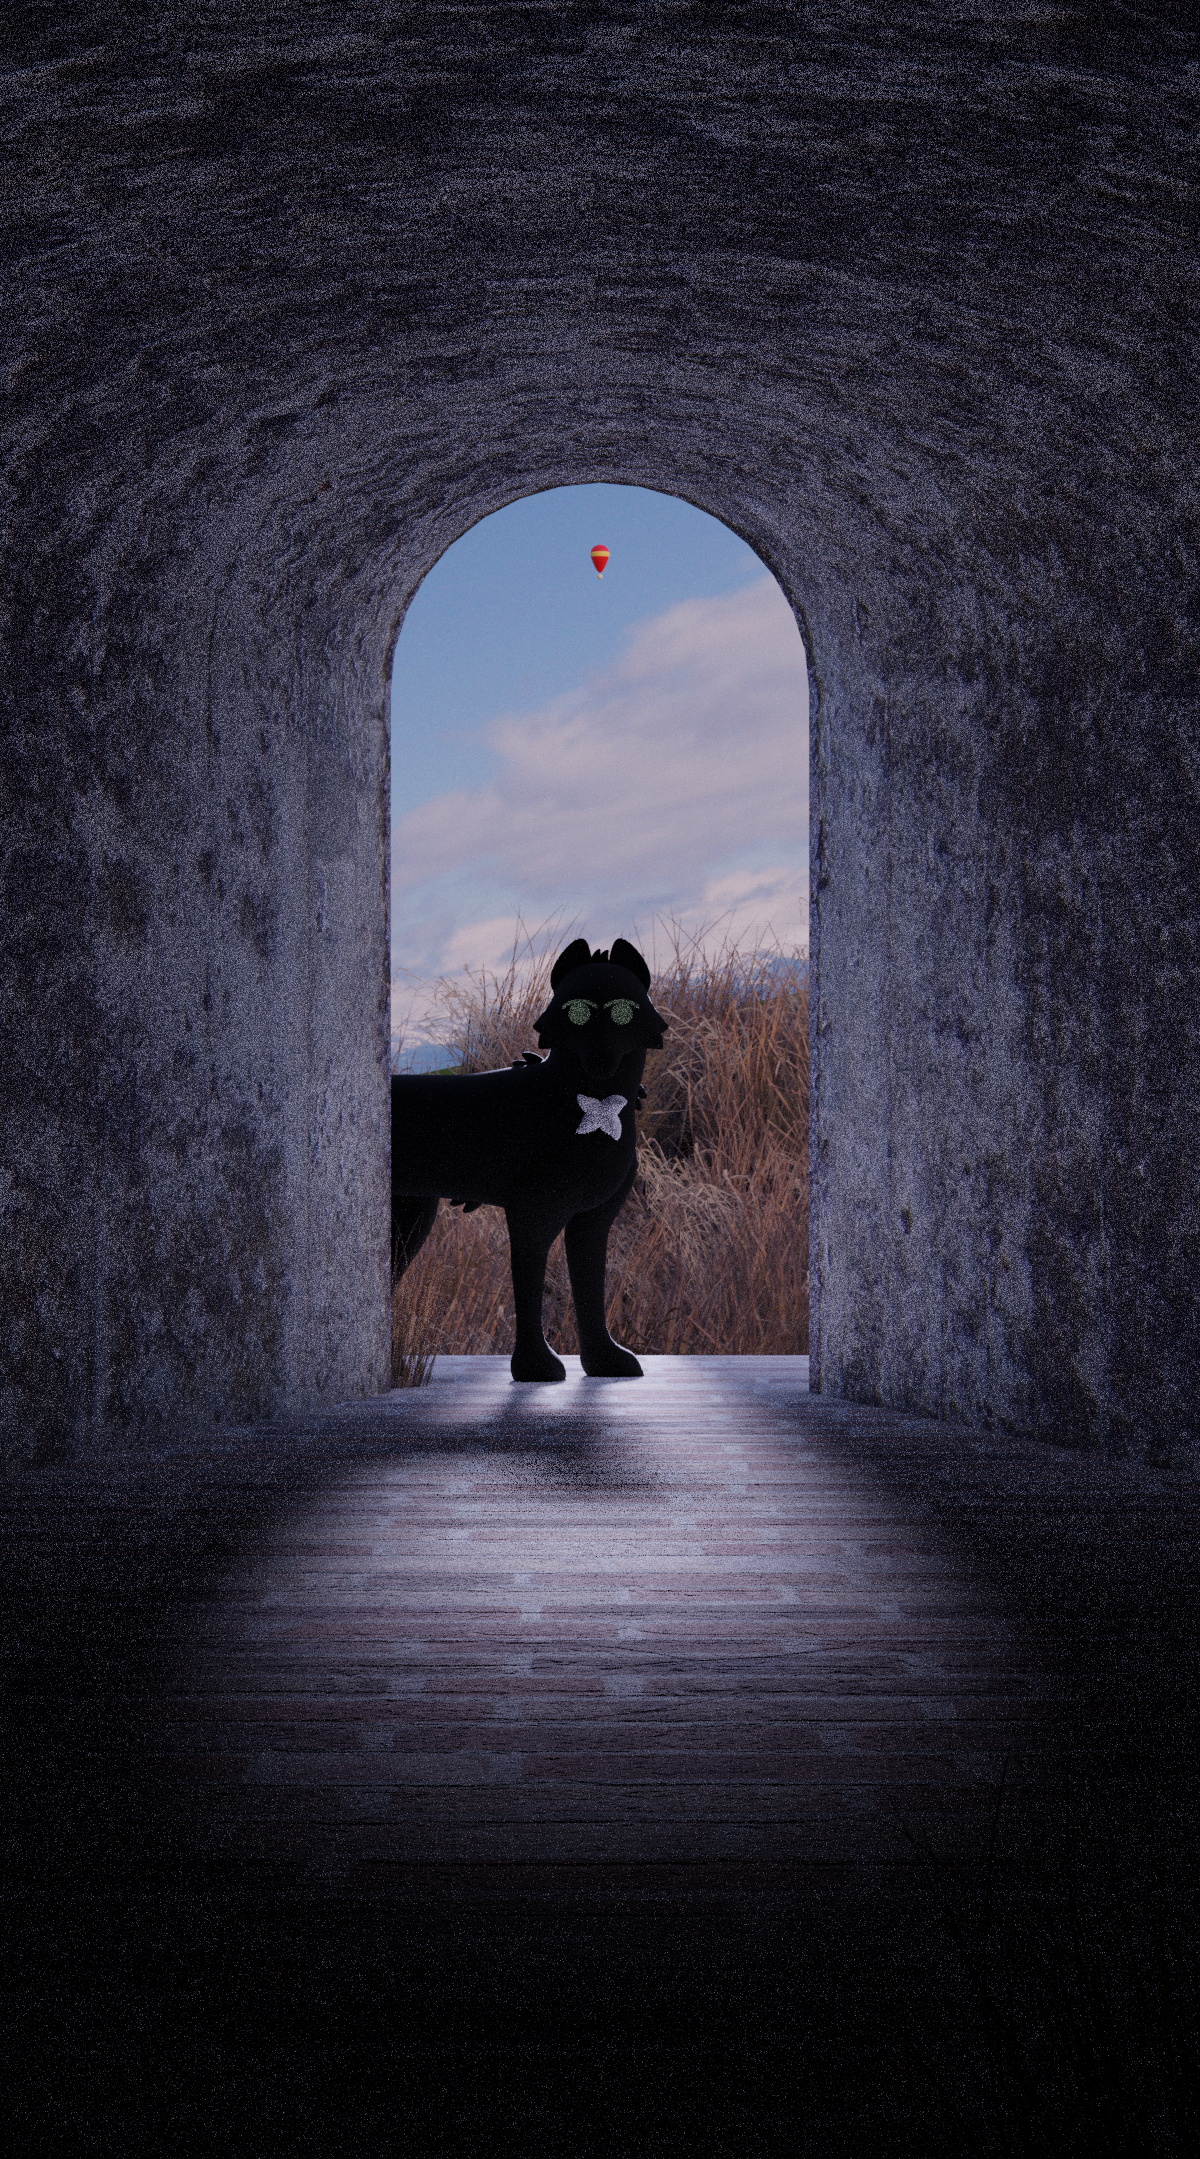
and the finished product? well, i think it looks really nice!
trivia
firstly, i started making this literally the night and day before i left on vacation. i attempted to render this as recently as ten minutes before i had to get to the airport, but there was soooo much noise (due to the low lighting) that i felt it best to just let it sit until i came back. i didn't trust the computer i was borrowing there to render anything well - it has low system voltage and a very ancient graphics card (a quadro 2000!), and i figured i should be nice to it.
by the time i came back, i realized i'd kind of lost the initial burst of inspiration i'd had for it. which makes sense, given i was away for a whopping four weeks. thankfully, in the time leading up to travel, i'd done most of the work that required it - everything up to the blender render itself. all i needed to do was play it by ear and edit it in clip studio paint in ways that felt complementary to the initial concept.
in the video you can see a lot of times where i was messing with foliage (most of which came from opengameart.org, btw), and a point where i tried to draw clouds and ended up just cutting off part of an old photo of mine for the backdrop. you can also see that i was struggling with the color profile for a while, because i really wasn't sure how i wanted to do it. in the end, i went with something dreamlike and reminiscent of early morning sunlight.
i also tried the particle system when making the grass, but it just wasnt really anything... same with the ivy on the walls. i couldn't get it to look very good at all -_- it's fine though. it was worth a try anyway.
the video
i made a speedmodeling video for this, though it misses some of the initial stuff & doesn't have the compositing steps. you can view it on youtube here