 >> swifty's hq v2.2 > wampm > setup
winamp modern skin setup
table of contents
- setup
- song name
- artist name
- album name
- play bar
- volume / seek bar
- play buttons
- shuffle/repeat buttons
- minimize/close window
preliminary setup
this one should be easy. go to wherever you have your default skins installed and find "Winamp Modern". duplicate this folder and rename it with whatever you want your skin name to be. for this example, i am naming it "CloudNine".
in the base directory, you will "skin.xml". open that in your text editor of choice - i use notepad++ for my skinning. the basic layout should be familiar to anyone who's done any sort of html coding.
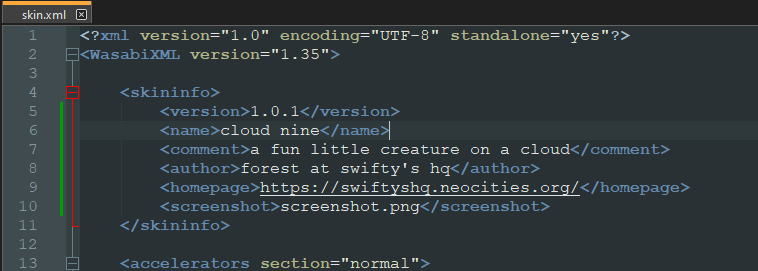
in the first half of this file, you want to replace everything between the version tags, name tags, etc to be your own information. for example, i will be changing my initial version to 1.0.1, and changing the name to "cloud nine", and so on. 'comment' is a brief summary of the skin and any extra credits. you can set an email, homepage link, and a preview screenshot (taken from the main directory of your skin).
if you aren't used to html, here's an example of how i've edited mine. notice where the information is put, between those angled bracket "tags"!
after the 'skininfo' section, you can scroll past the 'accelerators' (these are just keybinds for shortcuts!). you will see some "include file" nonsense. don't worry about changing anything in this part yet. remove the 'scripts' part (it will throw errors later otherwise).
directory cleanup
this is where we'll start cleaning out some of those default files and 'trim the fat'. i will be deleting 'about' and 'notifier', and i will be deleting the images within 'player' and 'shade'.
the other folders can be left alone for right now. now, we're going to shift gears...
drafting
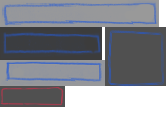
modern winamp skins are pretty awesome. you can make them pretty much any size, and they can have transparency. for this example, i'll be making a skin that is sized 359x283 (arbitrary numbers).
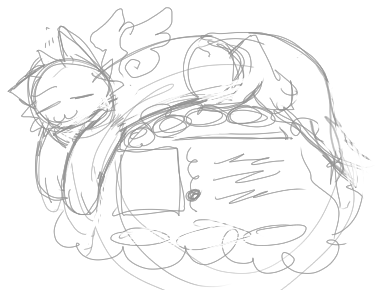
the most important parts you will want to incorporate, though not an exhaustive list, are:
after a bit of tweaking as i work, i finish up the basic layout in clip studio paint.
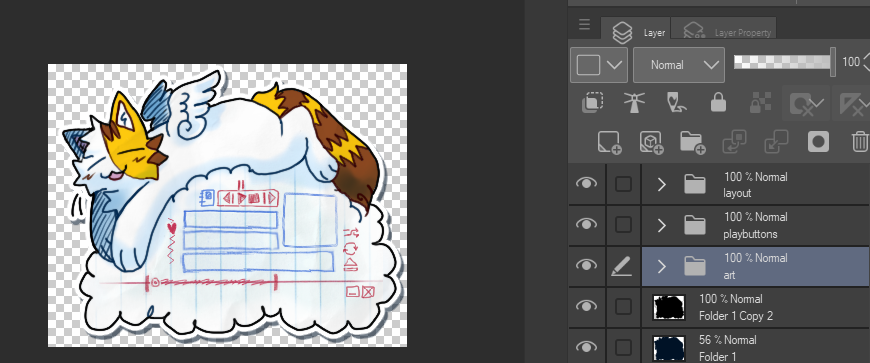
sorting and dividing up elements
in preparation for this part, i have already separated all my buttons into their own layers, but NOW it's time to start separating them into their own images.
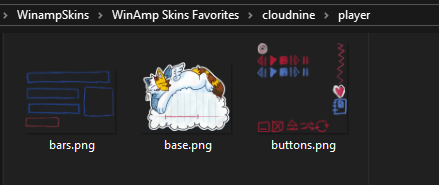
first, i will take the background, or base image, and remove all UI elements that will be going off to their own files. this background file will be called 'base.png', and i will be putting it the 'player' folder.
next, you'll be taking all your buttons and spreading them out onto a transparent, blank canvas. make sure they are spread apart enough that they don't overlap; i went ahead and made another layer to put underneath my buttons so i can find their dimensions (width and height) later on. you should do that too, if you can!
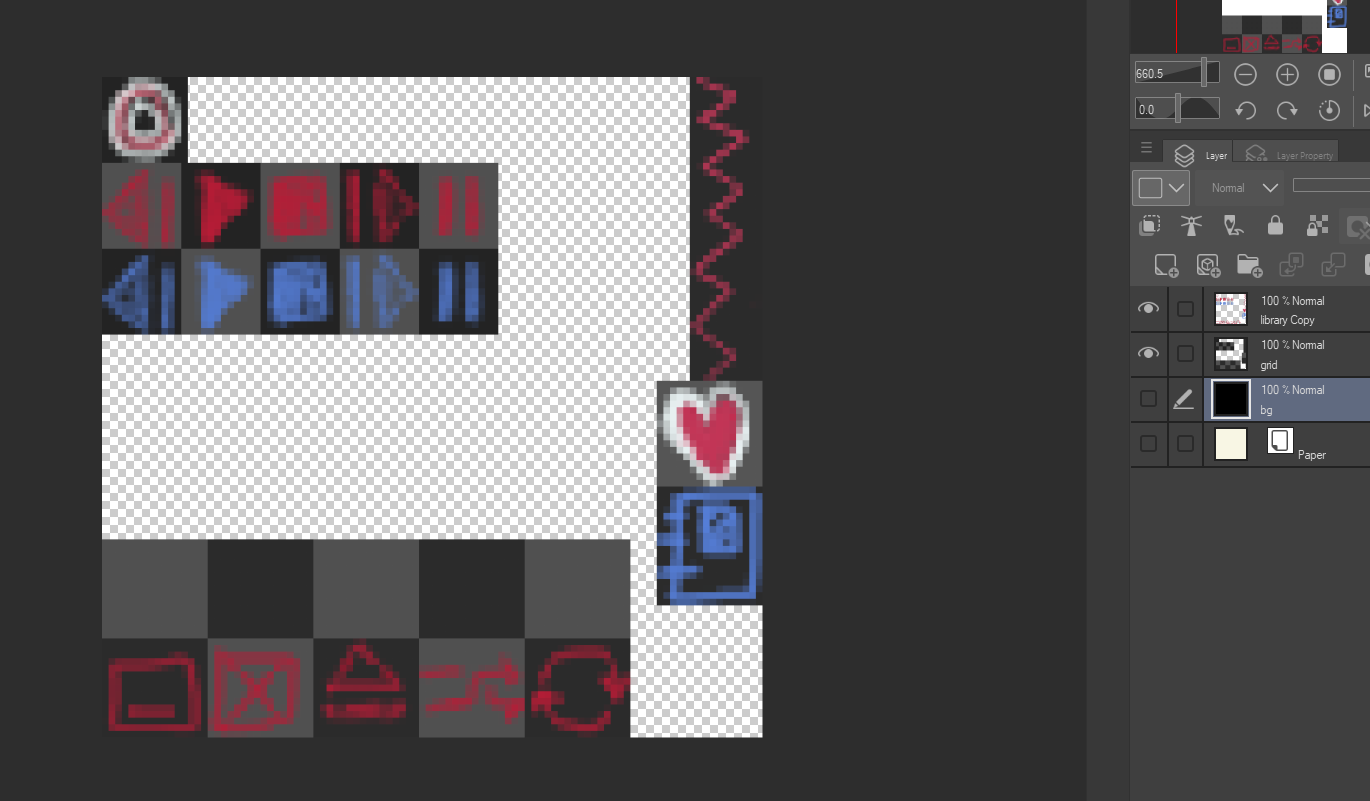
for this skin, i've made two files - 'bars.png' and 'buttons.png' - and placed them in my 'player' folder. remember to turn off the color block reference until later, when you actually define their locations later.
starting the coding
you got the graphics separated, so now it's time to get to the xml files. don't run away!!!! it'll be okay!!
first, open up 'player-elements.xml' in the 'xml' folder of your skin directory., and delete everything under the 'Player Backgrounds/Overlays' comment, then skip past 'media library' and 'playlist window' and delete everything else. .
you will want to start referencing all your different buttons here. for example:
<bitmap id="player.base" file="player/base.png" x="0" y="0" h="126" w="180" gammagroup="Backgrounds"/>
this gives the base image (a 'bitmap') a unique name to reference this image (player.base), defines the filepath (it's in the 'player' folder, saved as 'base.png'), defines its location (0, 0), and its height and width. the gamma group can be tweaked later.
now you have to go through those buttons and bars you made and figure out the top-left-most pixel's position on the canvas. here's how i do it, using my 'next' button as an example:
first, i select everything to the top and left of it.
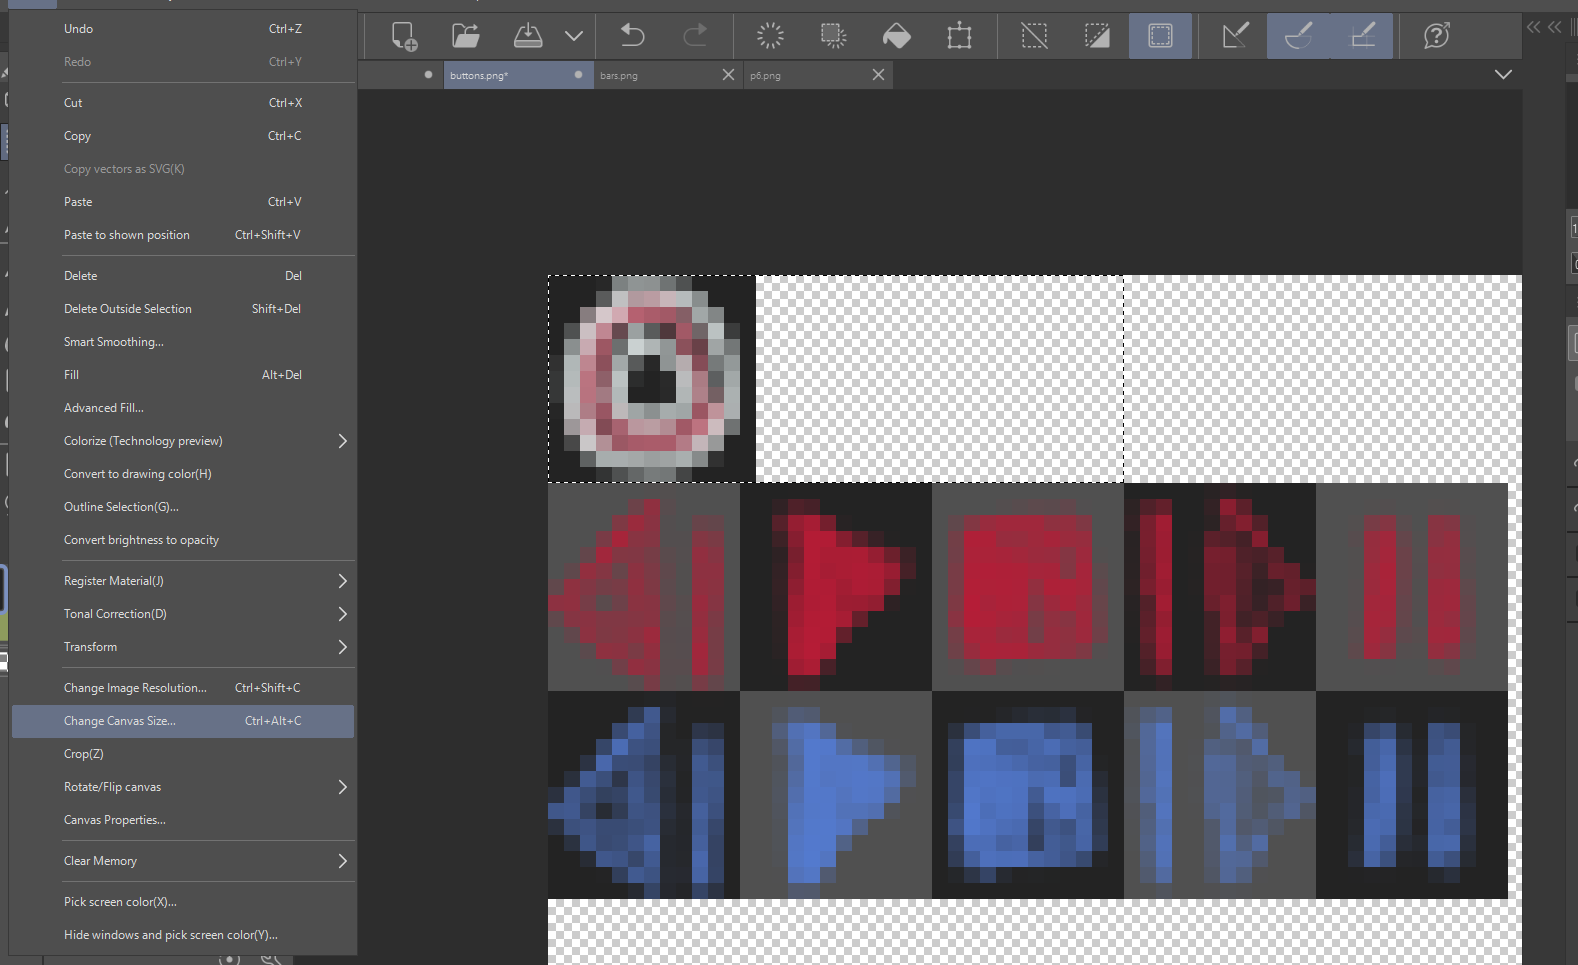
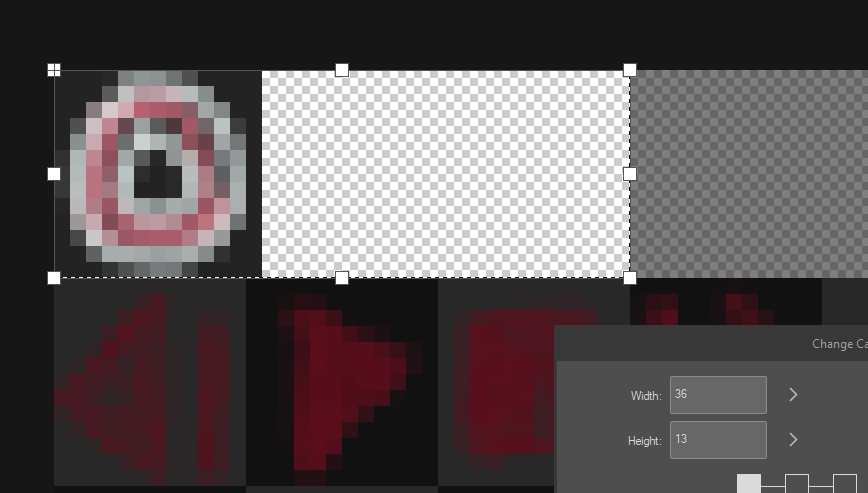
by checking the size of that cropped section, you get the x and y values - in this case, 36x, 13y! i then check the dimensions of that button using the block reference on the layer beneath it...
<bitmap id="player.button.next" file="player/buttons.png" x="36" y="13" h="13" w="12" gammagroup="Buttons"/>
it helps to keep your buttons the same size if theyre going next to each other like mine are. that way the numbers for x, y, height, and width are standard and you can spot issues faster. for example, in my file, all my buttons are 13 tall and 12 wide, so i just increase the x value by 12 every time i go over one column.
in player-normal.xml, remove everything and replace it with this:
	<include file="player-normal-group.xml" />

 <layout id="normal" w="359" h="283" droptarget="pldr" desktopalpha="1">

  <layer id="MainBase" image="player.base" x="0" y="0" sysregion="1"/>
</layout>
be sure to switch out the width and height and base image to the size of one you made. if you apply the skin to your winamp, it should now show that base image... but nothing else yet!
adding the buttons
open up player-normal-group.xml and change the 'playback buttons' section so it contains all your buttons formatted in a similar order to this:
	<layer
    id="Previous.button"
    x="5" y="3"
    image="player.button.prev"
  />
  <button
    id="Previous"
    action="PREV"
    x="5" y="3"
    image="player.button.prev"
    downImage="player.button.prev"
    hoverImage="player.button.prev"
    tooltip="Previous"
    rectrgn="1"
  />
it works like this: first, you have a layer containing the graphic. then, you have the actual button. (this means the things higher in the code will be drawn first, underneath everything afterwards. remember that for later!)
after youve put in all your buttons in one group like that, you can append this new group to your player-normal.xml, right under the mainbase layer, using the 'group' tag:
<group id="player.normal.playbuttons"/>
for reference, my player-normal.xml looks like this now:
	<include file="player-normal-group.xml" />

 <layout id="normal" w="359" h="283" droptarget="pldr" desktopalpha="1">

  <layer id="MainBase" image="player.base" x="0" y="0" sysregion="1"/>

  <group id="player.normal.playbuttons"/>
</layout>
the group can be positioned in its group definition in normal-groups using x and y values, like this:
<groupdef id="player.normal.playbuttons" name="Player buttons" x="149" y="126">
this means my entire group gets drawn 149 pixels to the right of, and 126 below, the top left corner. in contrast, the x and y in each individual button is relative, so it's to the right and down of the top leftmost of the group.